


A few weeks ago, Four Exercises Your Child Wants To Do, illustrated four exercises intended to strengthen and correct movement, while keeping things challenging and fun in the weight room. Using equipment from www.elitefts.com, it’s possible to transform typical gym exercise into a child-approved extravaganza. Here are four MORE exercises your child wants to do.
As a reminder, these exercises can be part of an exercise schedule, something similar to what I create for Blaine, or performed as single activities spread over a week or months’ time. Depending on the child and his or her abilities, modify as needed.
1. Foam Roller Bowling
Equipment Needed
(10) Foam rollers, (2) Powermax med balls
Application
1. Setup ten foam rollers, vertically, in a typical bowling pin formation– four pins in the back row, then three, then two, and finally one in the front and centered.
2. Approximately 15 feet away from the foam rollers, draw a line to show the minimum distance the ball must travel.
3. Using a med ball, each player will take turns standing behind the line, and roll it towards the foam rollers. (The goal is to hit as many foam rollers as possible).
4. Following the same rules as traditional bowling, each player will have two chances to hit as many foam rollers as she or he can.
5. Take turns setting up pins and clearing pins mid frame. For example, if you’re up to bowl, your partner will adjust and/or clear the pins as needed.
6. Designate a scorekeeper to keep track of points. Use a typical bowling score-system.
7. Play for a total of 10 frames.
Purpose
I love this variation of bowling because it requires physical movement, throughout. Regardless if it’s your turn to bowl or not, there is no inactivity due to the constant setup of the foam rollers. Aside from this aspect, this game is also great in promoting aim and hand-release skills.
Modifications
1. Use bumpers on the side of the “lane” to keep the med ball in lane.
2. Shorten or lengthen the throwing distance.
3. Label each foam roller with a number (1-10). This visual may help in the aiming aspect.
4. Adjust the throwing technique (use bounces, roll from various positions (standing, seated, kneeling) by using a one- or two-hand release.
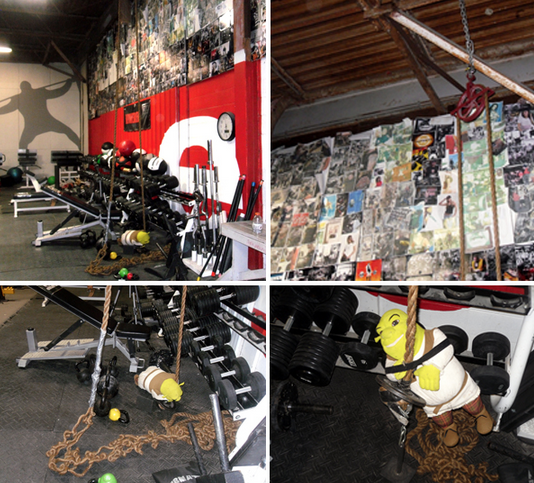
2. Shrek Slams
Equipment Needed
(1) Pulley System affixed from the ceiling, (1) Stuffed Shrek, Plates, (1) Plate holder, (1) Rope
Application
1. Based on the visual, create a similar setup to mimic this pulling system.
2. Place the desired amount of plates on the plate holder.
3. Have child grasp the rope with both hands.
4. On the command to go, have the child use a hand-over-hand technique to hoist Shrek up to the ceiling.
5. Once Shrek hits the ceiling, have the child reverse the hand-over-hand technique until Shrek reaches the ground.
6. You may count reps as the amount of times until Shrek reaches the ceiling, or have it that Shrek going up and down is considered one rep.
7. Add weight each set.
Purpose
A great way to change up the benefits of pull-ups, pull-downs, rows, and tug-of-war, is to use this variation. It’s an exercise that has a clear beginning and end, by the visual aspect of Shrek getting higher, reaching the ceiling, and then finally making it back to the ground. I love how this setup forces the child to isolate one arm and hand at a time, allowing hand control and grip to play a big role.
Modifications
1. Designate a speed. I suggest modeling controlled rows to learn form and technique. For fun, change the speed of each pull by going extremely slow for a round, and then extremely fast for the next. Don’t let form break, though.
2. Decide how far back the child should bring down his or her elbow. Just as a row and pull-down, highlight the fact that you want them to drive their elbow down. Specify if the elbow should stop as it reaches his or her side, or if you want them to accentuate the pull by surpassing their side.
3. The name “Shrek Slams” originated once Blaine thought it would be comical to have Shrek slam into the ground, harming Shrek’s head, stomach, back, legs, and (you guessed it) balls. Therefore, at the end of our working sets, Blaine tends to free fall Shrek from the ceiling, down to the ground. This IS the ONLY way to “slam his balls.” Again, this is a motivator for Blaine to do his working sets with good form and technique. If it’s acceptable for your child, give it a try!
3. Sticky Note Find
Equipment Needed
(5) Sticky Notes, (1) Sharpie Marker, (1) Supportive Pull-up Machine, (1) Med Ball, (1) Med Ball Rebounder
Application
1. Choose five exercises you’d like completed within a circuit setup (one placed after the other).
2. Using sticky notes and a Sharpie marker, write the desired amount of reps for each exercise and the exercise name on each sticky note.
3. Choose five locations to stick each sticky note.
4. On the schedule, label this circuit as Sticky Note Find. Underneath the title, write the following: Locate each sticky note at the following areas.
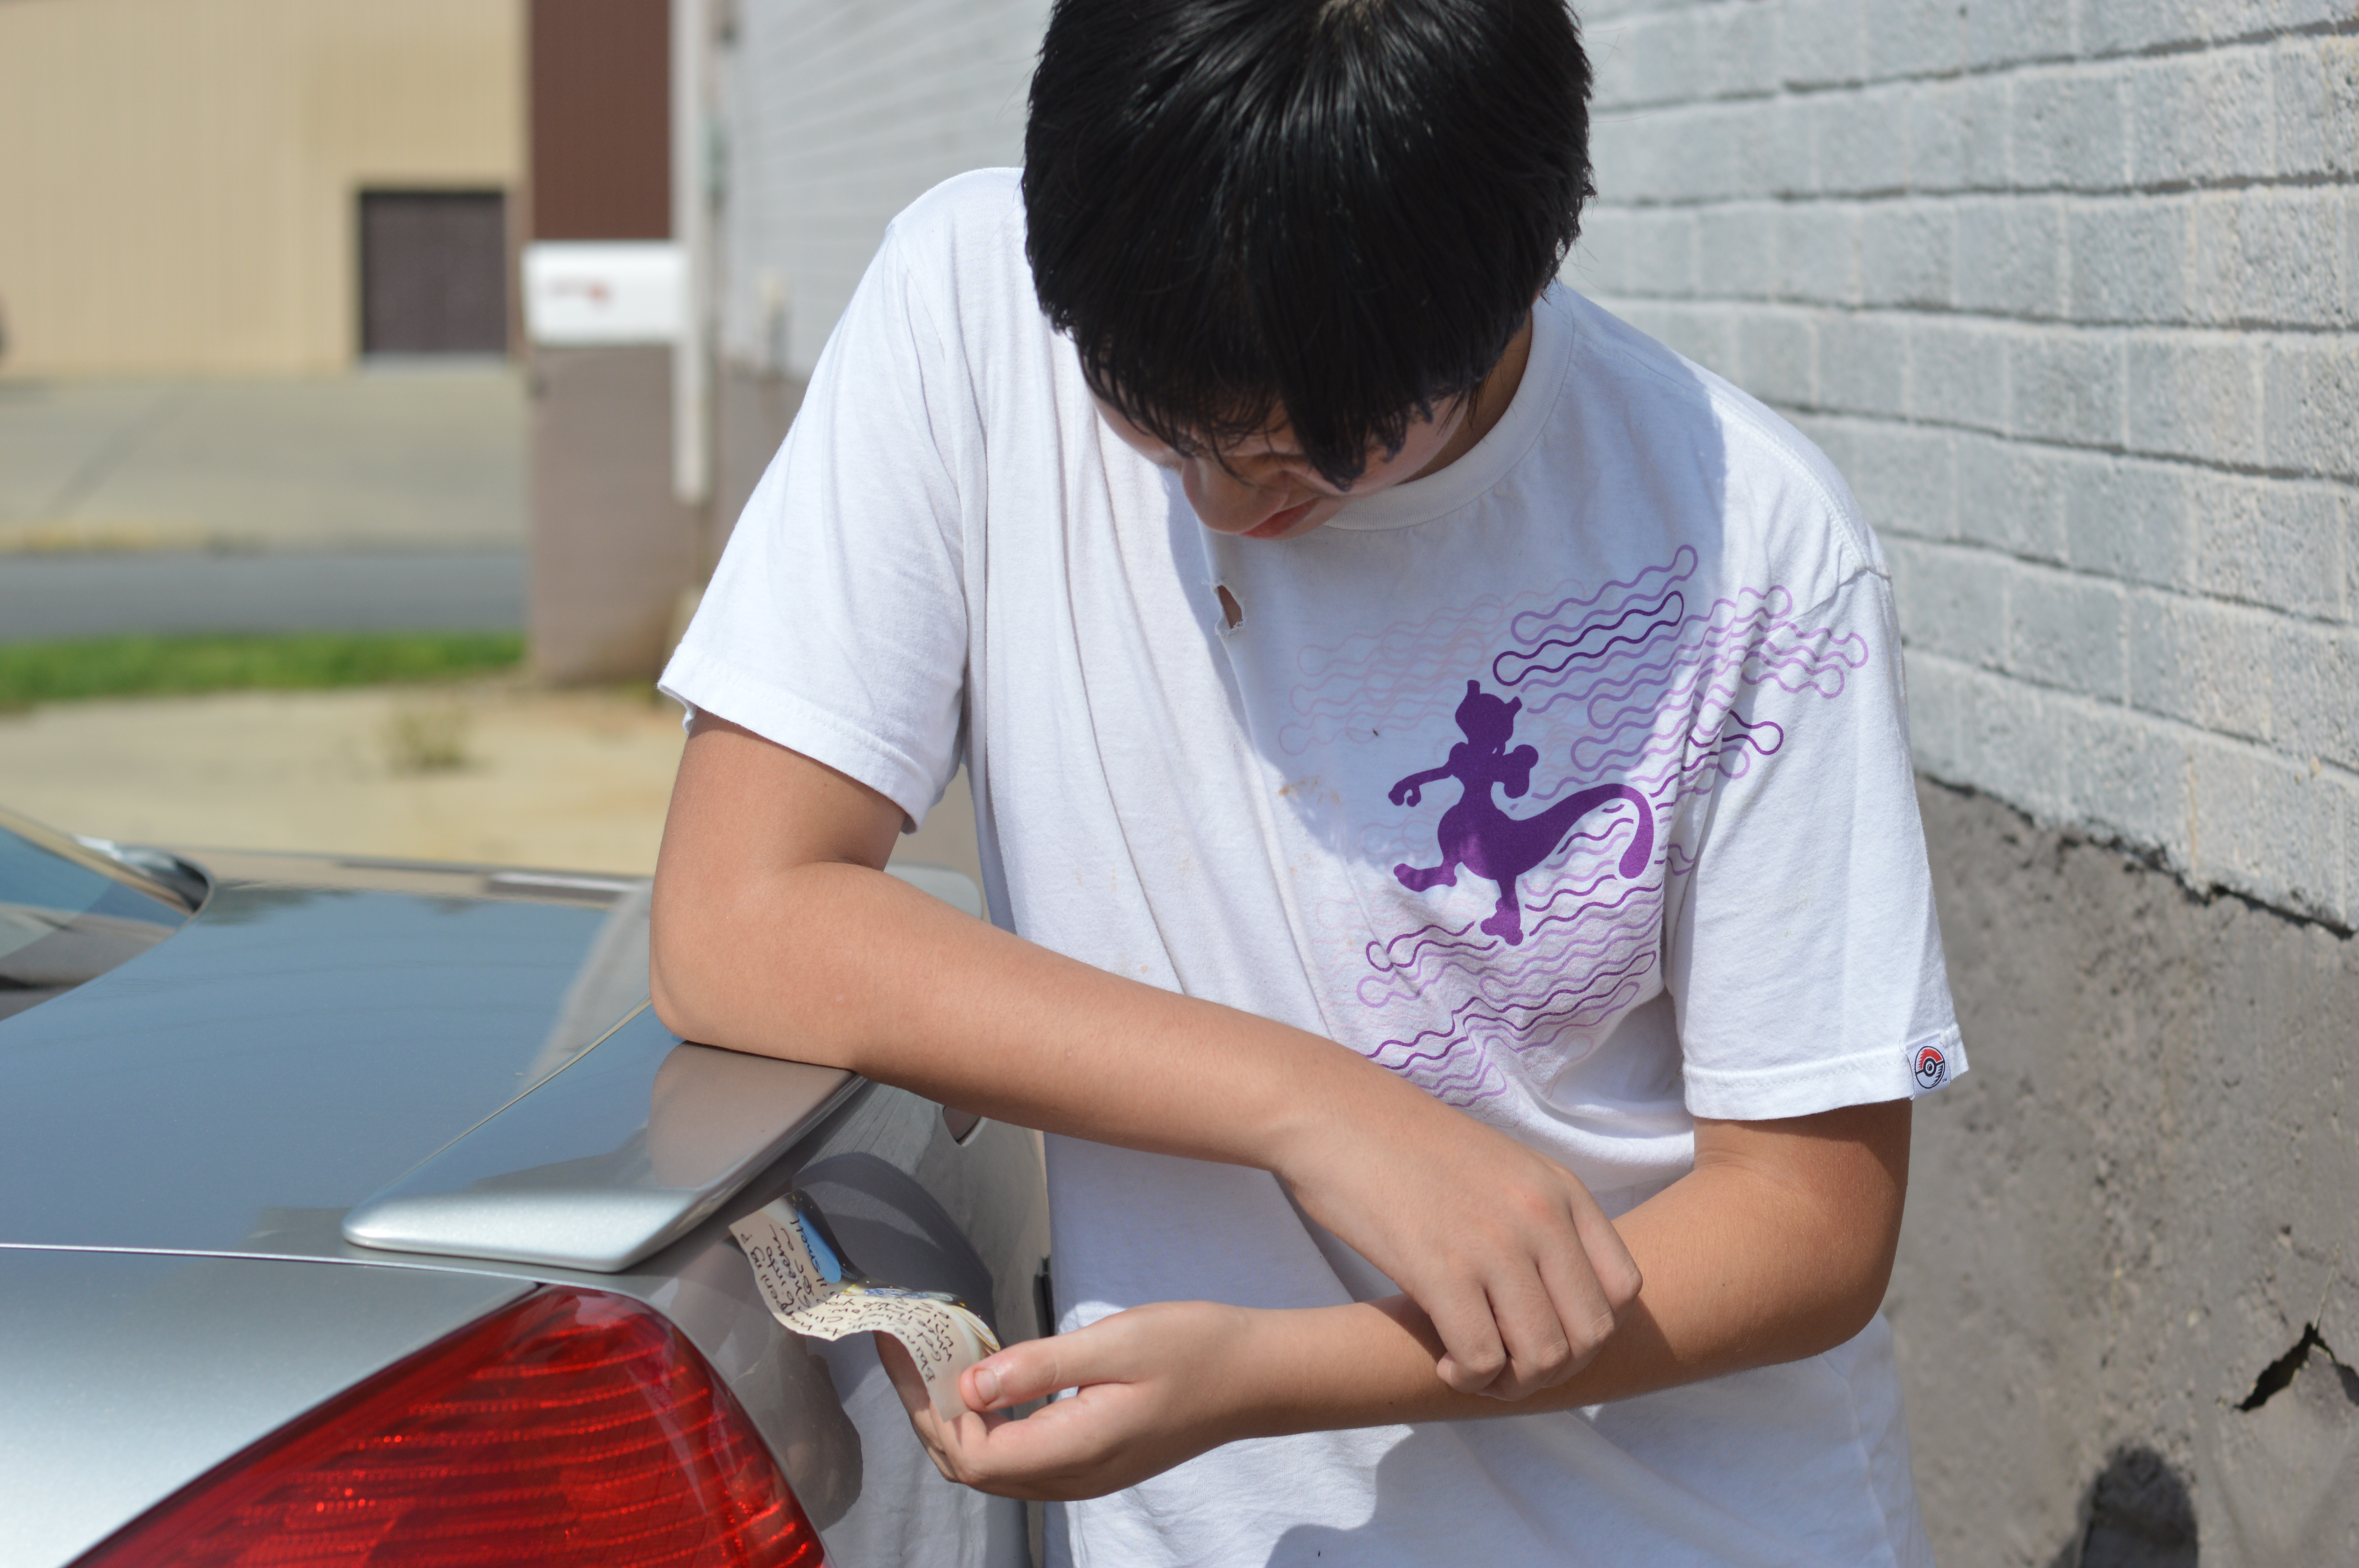
In my example below, I had Blaine travel to various locations in and outside of the gym. He navigated to a semi-truck, a dumpster, a sand bin, a treadmill, and below a conference table. In the circuit I had complete eight machine pull-ups, ten sit-ups, twenty med ball trampoline throws, thirty jumping jacks, and forty “Sheena walks”. Sheena walks (an exercise that Blaine created a few weeks back) are basically walks with an exaggerated high-step. It looks as though one would be stepping over imaginary hurdles. It may be how I walk in real life. I’m not sure.
5. In order, follow the instructions, find the sticky note at each location by walking, read the sticky note, and then perform the exercise.
6. Continue until all sticky notes are found and the exercises are completed.
Purpose
In Blaine’s training, we incorporate circuits frequently. I usually choose three exercises (exercises that have been previously worked in isolation) and place them in sequential order. He completes them one by one, and they’re usually in close proximity to the other (spatially-wise). This time around, I wanted Blaine to complete a circuit, but I wanted added recovery time between work sets. Therefore, I came up with the Sticky Note Find. This idea increased the workload and gave him extra time to recover (walking from the schedule to the new location, etc.) between work sets. Along with these components, I loved how this setup incorporated a mystery aspect (making it fun) and motivated Blaine to follow written directives.
Modifications
1. Lessen the workload by cutting reps, decreasing weight, or minimizing the amount of exercises. Increase the workload by adding reps, poundage, and the amount of exercises.
2. Instead of walking between exercises, run.
3. Choose exercises based on a variety of themes: aerobic, leg dominant, upper body dominant, alternate bodyweight exercises with added resistance, accessory work, etc.
4. If the child cannot read, read the directions to him or her, or provide visuals instead of written directions.
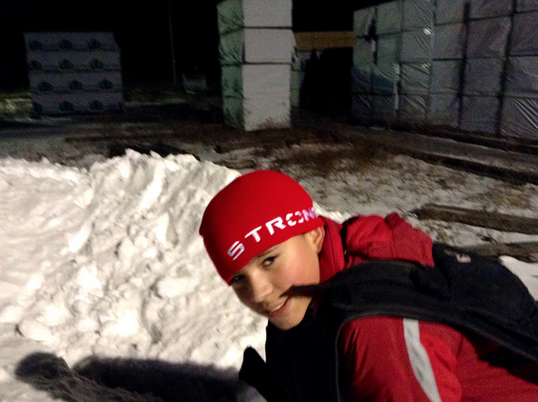
4. Rope Roller Ride
Equipment Needed
(1) Rope, (1) Rage Rolling Bumper Stand, Plates
Application
1. Have the child sit down on the rage rolling bumper stand with legs crossed.
2. Secure an end of the rope in their hands. Secure the other end of the rope in your hands.
3. Losing all slack within the rope, begin pulling.
4. Use a large, open space, to pull fast and slow, in circles, backward, forward, on smooth surfaces, and on bumpy surfaces. Be sure to model exactly how you expect the child to pull.
5. Time the ride for three minutes. Once three minutes has elapsed, switch roles.
Purpose
Encompassing the benefits of dragging a sled, this pull-variation uses the weight of another, instead of the weight of plates (initially). Benefits of this exercise include: grip strength (while riding or dragging), stabilization (trying to remain upright while seated), leg drive, endurance, hypertrophy, and increased work capacity. What I love about this variation is that the child looks forward to this exercise because they see this as a joy ride. As it’s more work to be the dragger, it’s quite motivating to know that a ride is soon coming up.
I like the use of the rolling stand because it works well with a variety of indoor or outdoor surfaces (matted or cemented floors, concrete, gravel, dirt, snow, and grass). The ability to be versatile on a variety of surfaces, which may change at a rapid pace, is a must! The rollers also make this challenge something that the child will be able to accomplish, regardless of role. Whether it periodically serves as substitute from the sled or Prowler®, it can also be used as a great tool to gradually transition to pulling a sled or pushing a Prowler®.
Modifications
1. Use a variety of pulling methods:
a. Forward walking/running
b. Backward walking/running
c. Walking chest press (single or double arm)
d. Walking tricep extension (single or double arm)
e. Walking pull throughs
2. Add weight to the stand by placing plates on it. Then sit on top of the plate(s).
3. Increase or decrease the amount of dragging and riding time.
4. If the child cannot drag your bodyweight, use someone similar to their size, instead. If this is not possible, use a favorite stuffed animal of theirs as a replacement.
5. Use a variety of pulling attachments.
Regardless of how you plan on using these exercises, each one is purposeful and can be modified in a variety of ways. Remember, the attractiveness of each exercise is their child-engaging features. In most cases, the child will interpret the approach as play. Give these eight exercises—your child wants to do— a try: Silly Sandbag Measure and Carry, Weighted Tic-Tac-Toe, Angry Bird Hangs, Brass Ball Holds, Foam Roller Bowling, Shrek Slams, Sticky Note Find, and Rope Roller Ride. Ultimately, meeting the needs of the child while providing him or her a positive experience will yield training momentum and consistency. Enjoy!