


Featured Deals

Specialty Bars
When the average bar just isn't enough
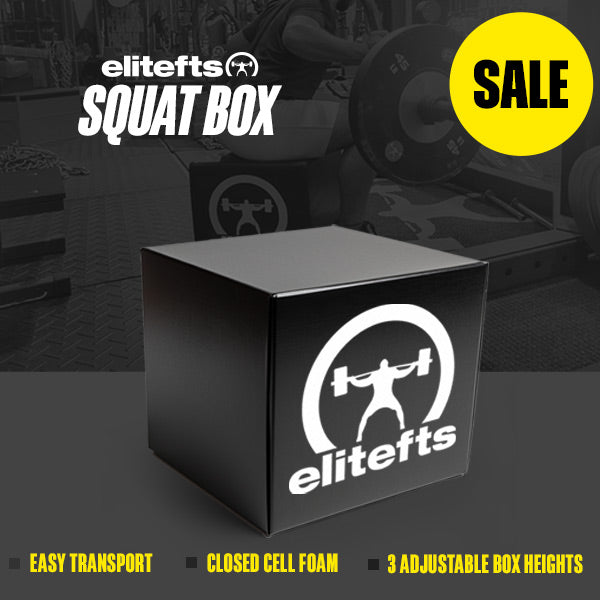
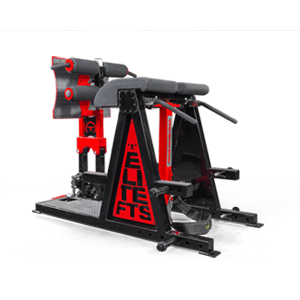
elitefts Squat Box
EliteFTS Squat Box: Perfect And Take Your Squat To The Next Level
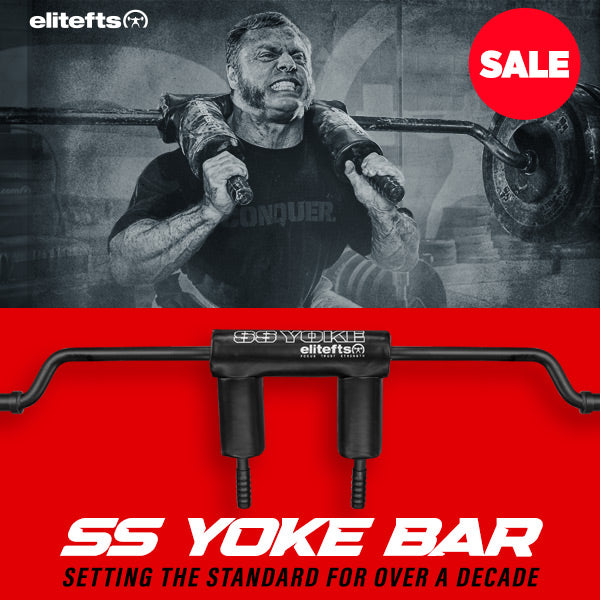
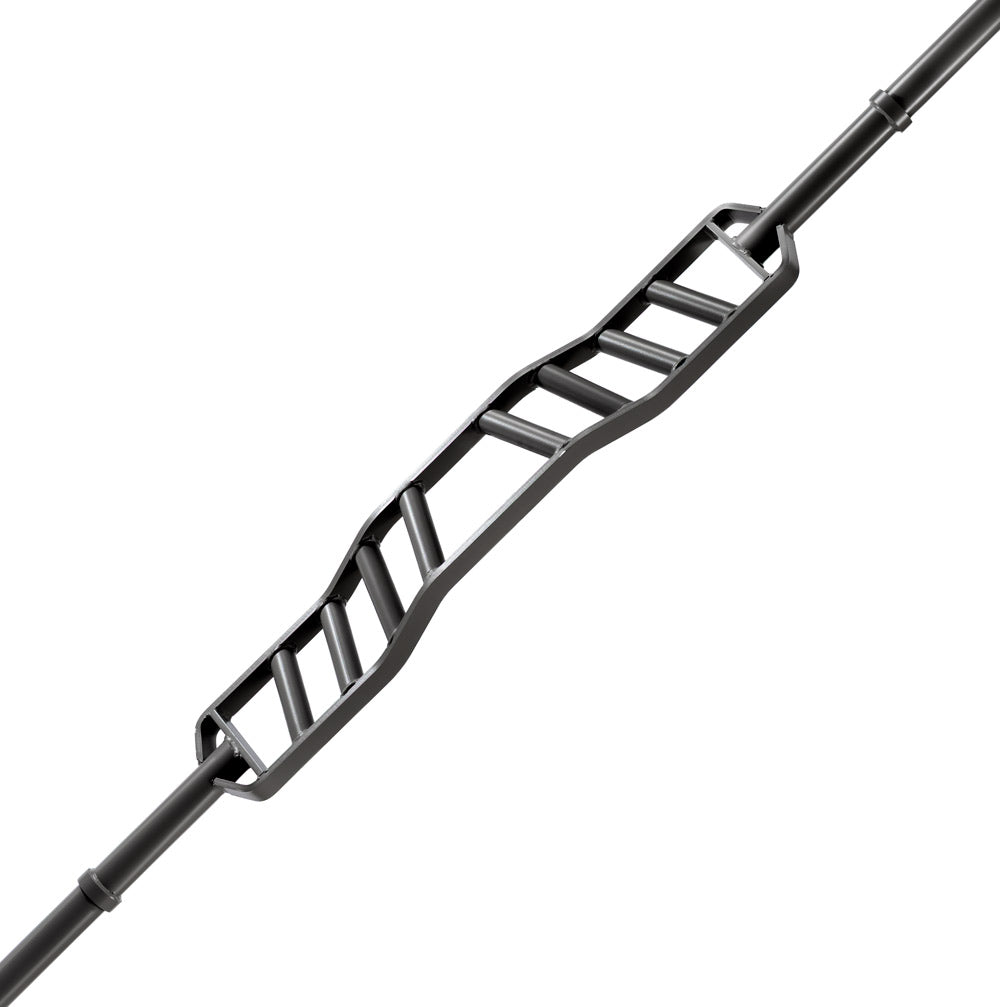
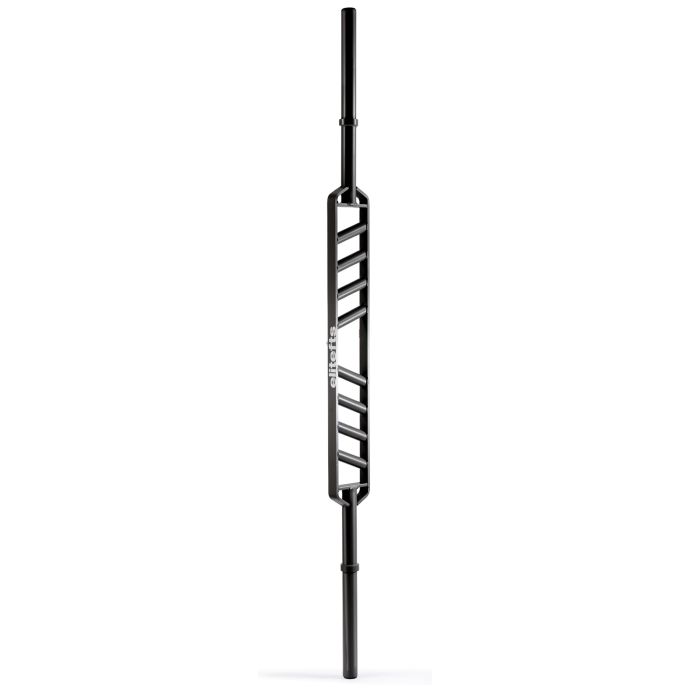
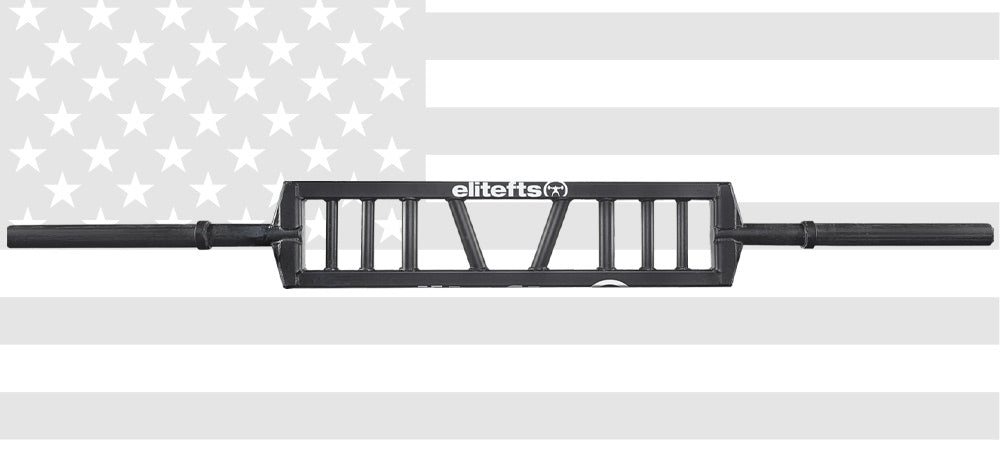
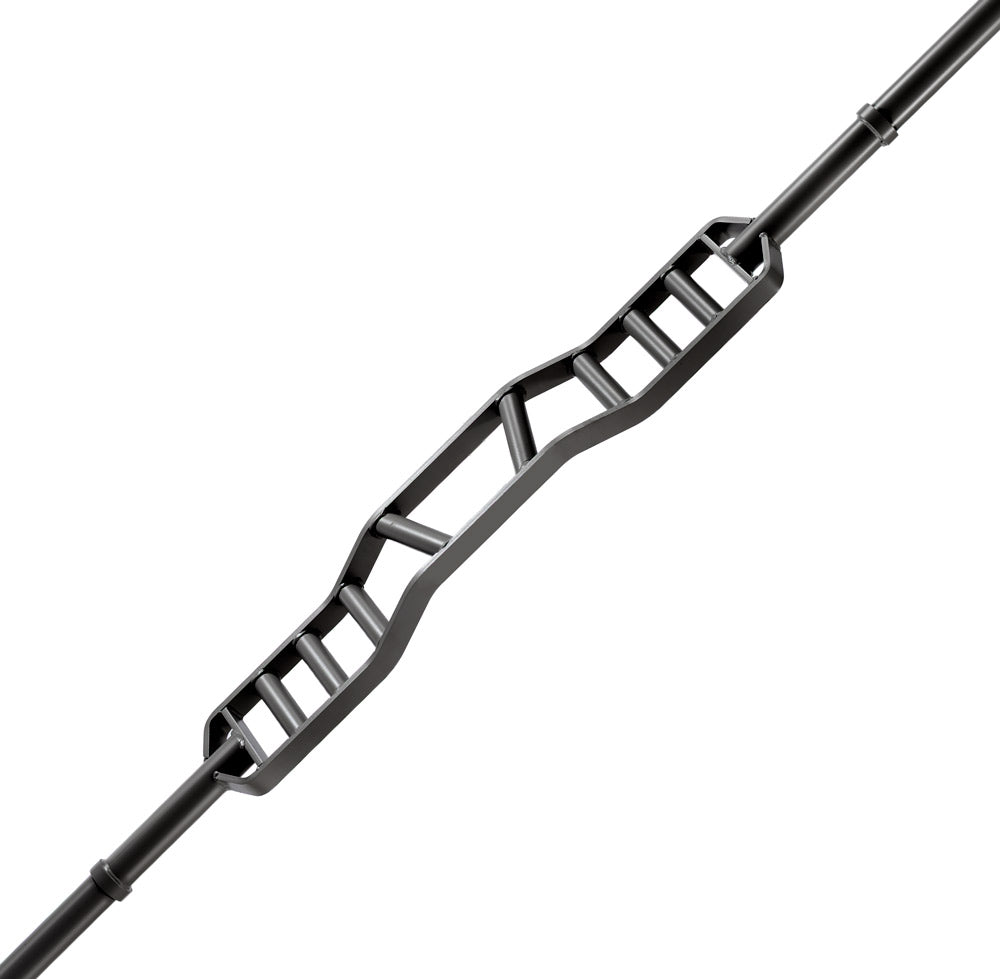
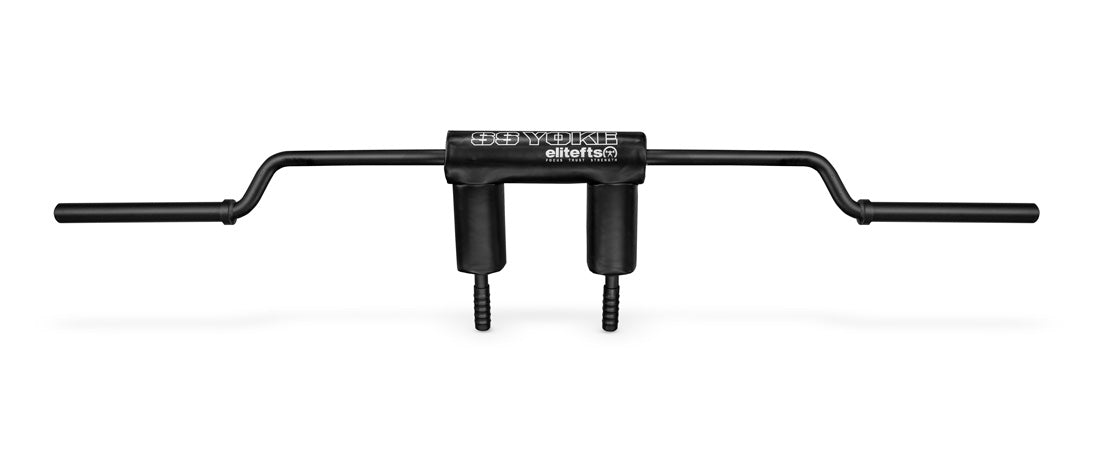
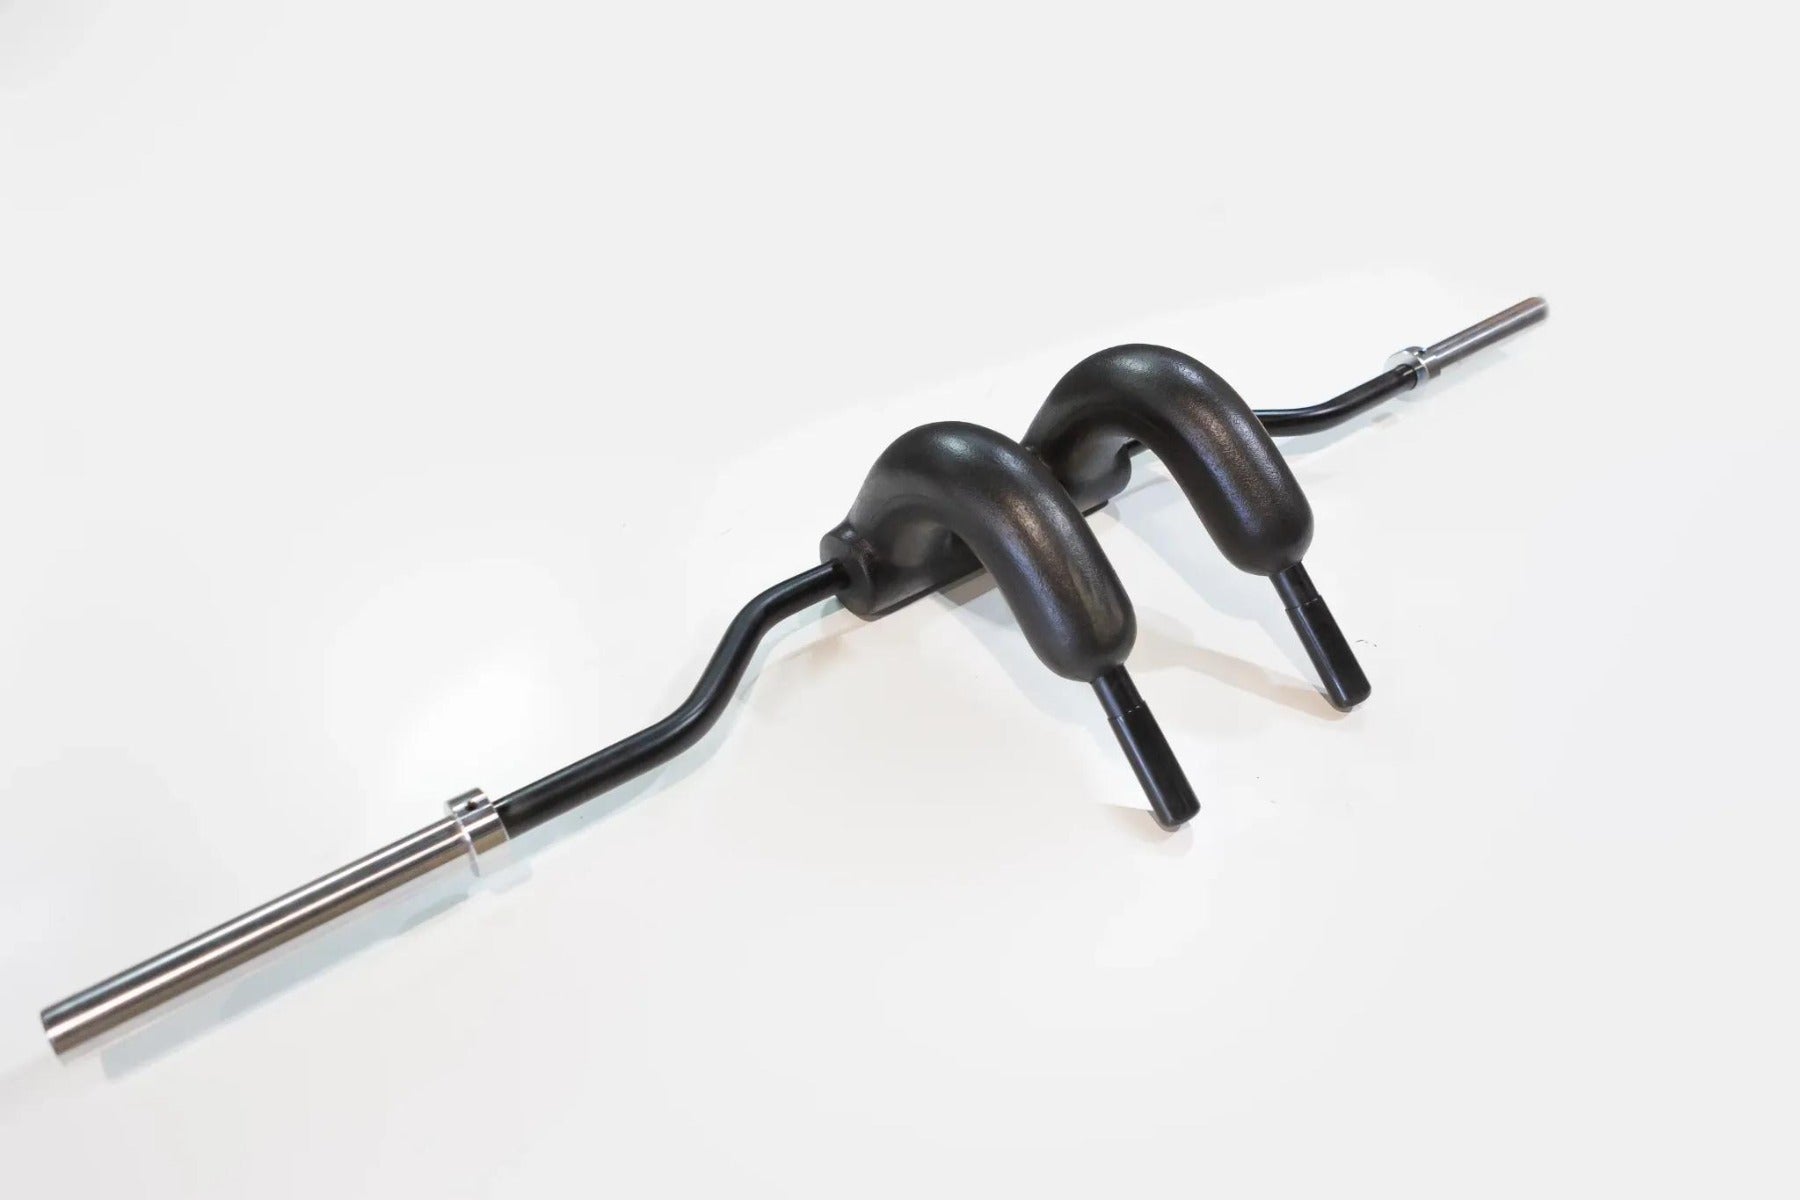
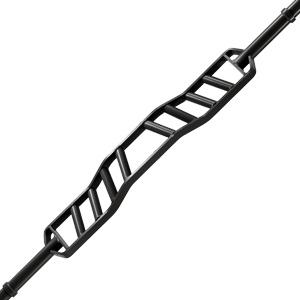
elitefts SS Yoke Bar
Designed for maximum comfort and durability, reduces shoulder strain while improving strength and stability. Ideal for powerlifters, athletes, and serious lifters.


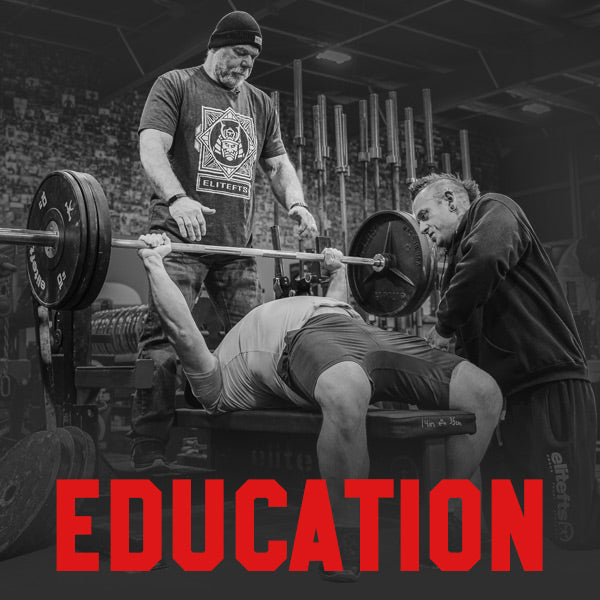
Education
Trench Built Strength & Conditioning, Workouts, Programs, Training, Coaching and more.

Join The Crew
Support us and access premium content monthly!
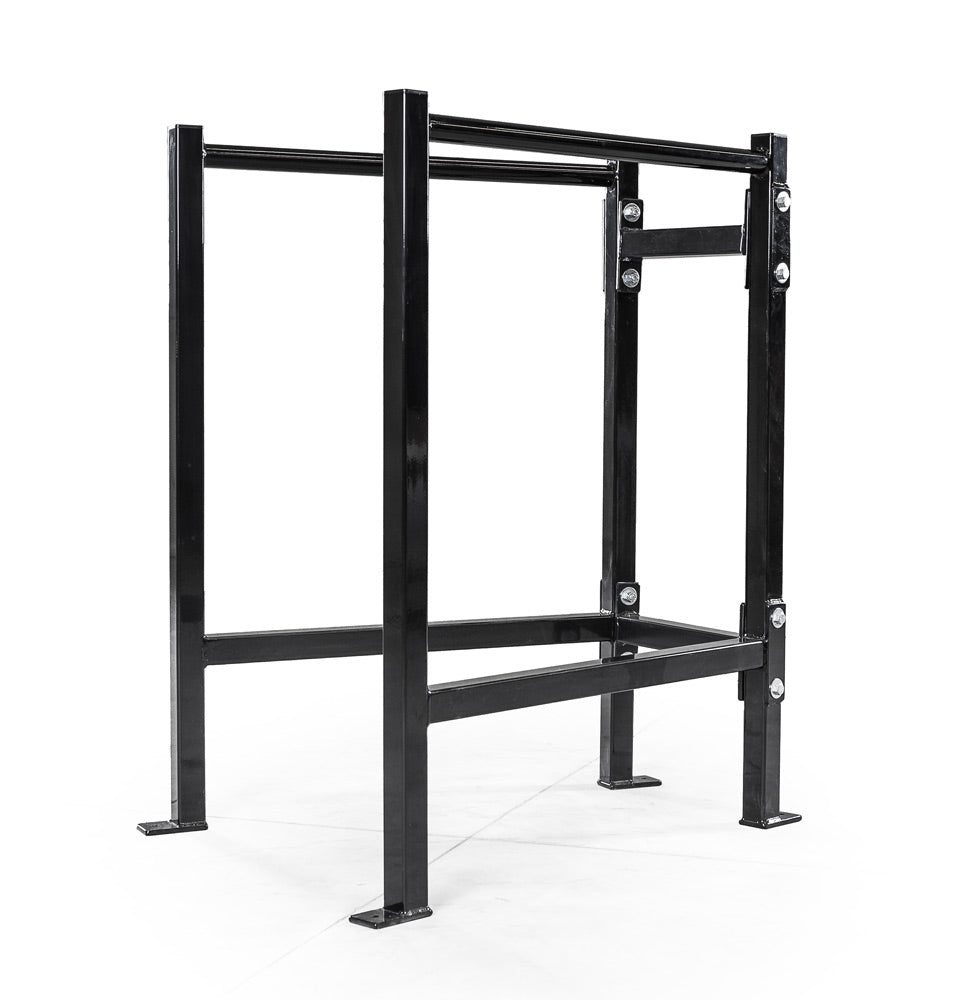
Equipment Specialists
Looking for PR-rated custom-built equipment for your home, gym, or school? We have Strength Equipment Specialists to help you out.

Our Company Story
For over 25 years, we’ve remained committed to fostering a culture of excellence, innovation, and integrity.