


Featured Deals
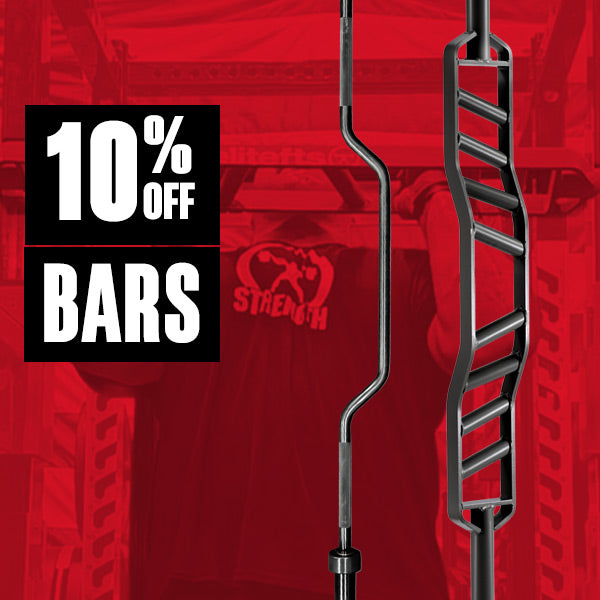
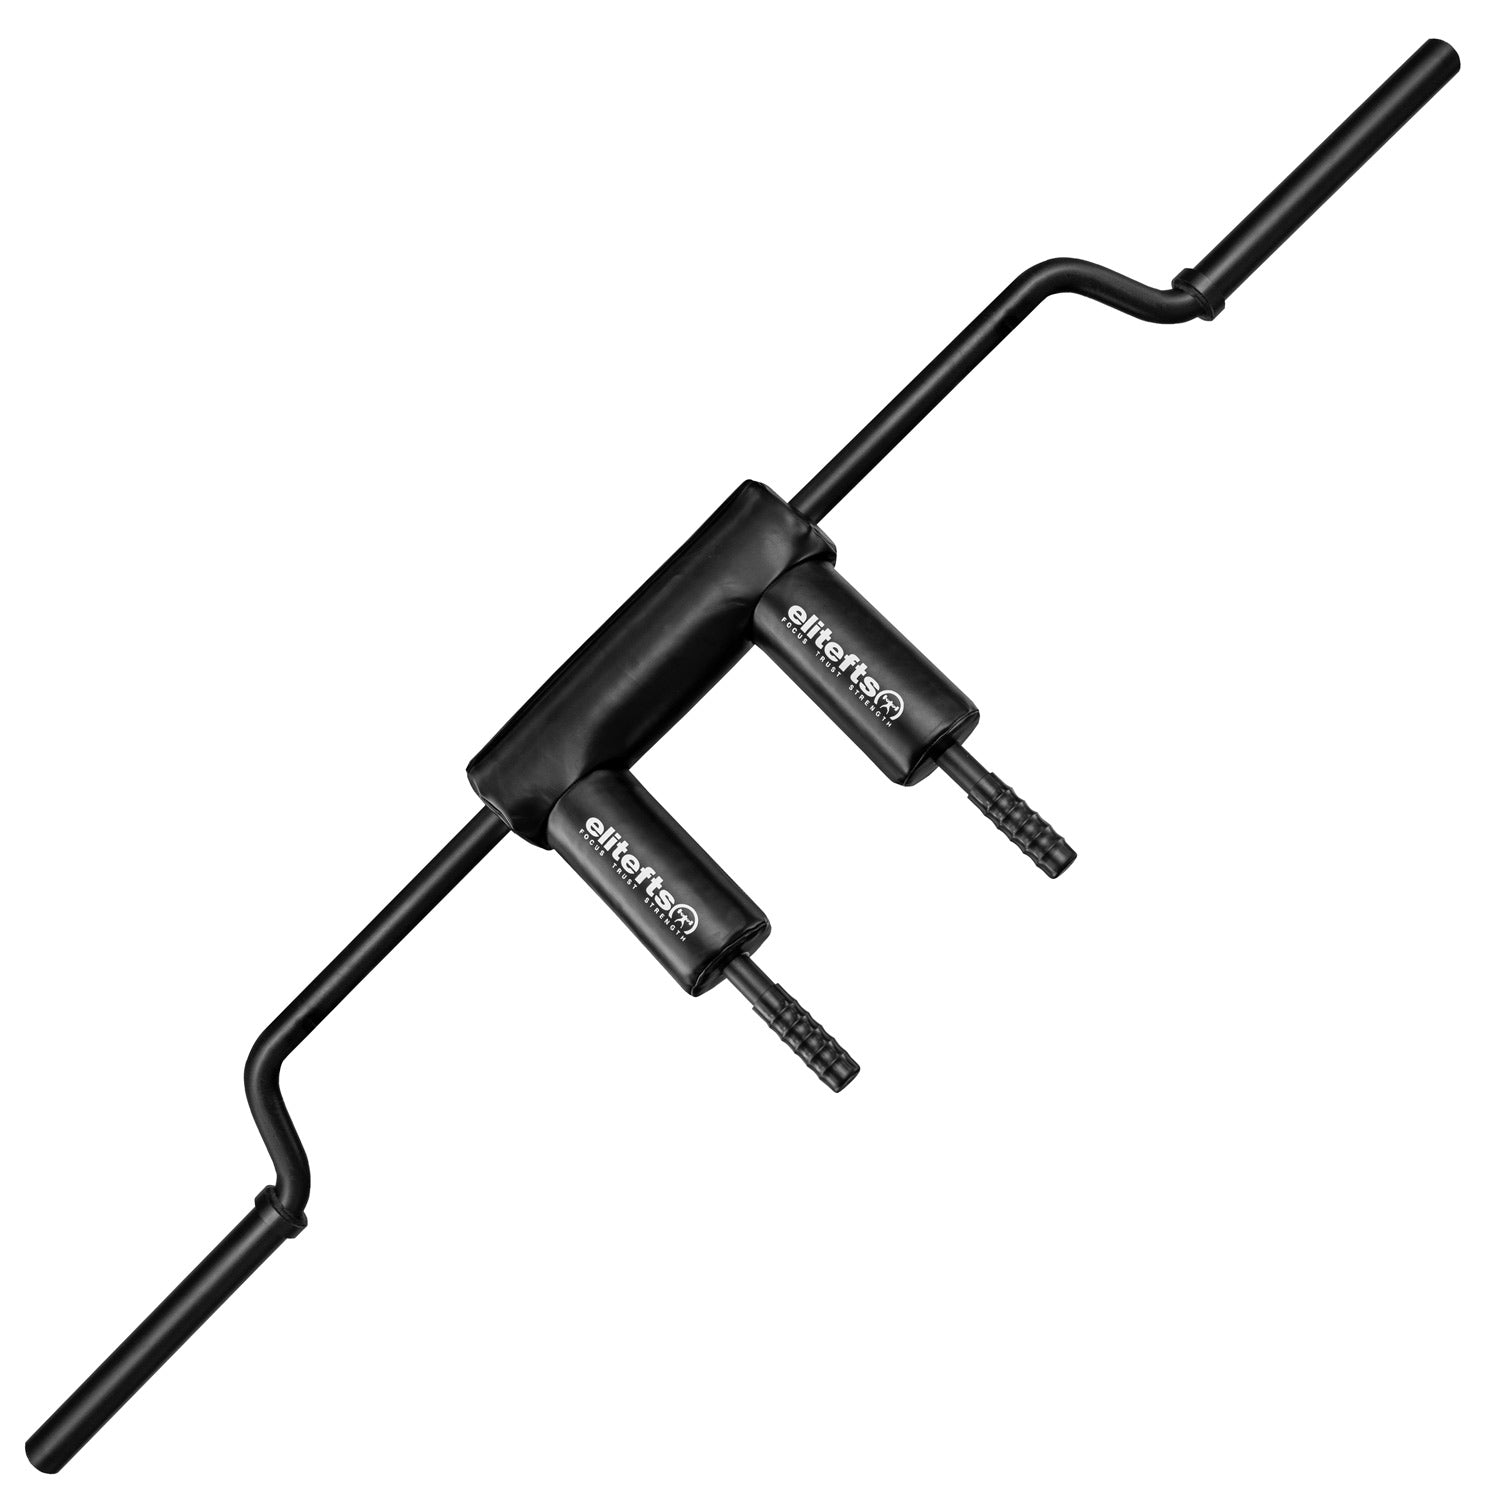
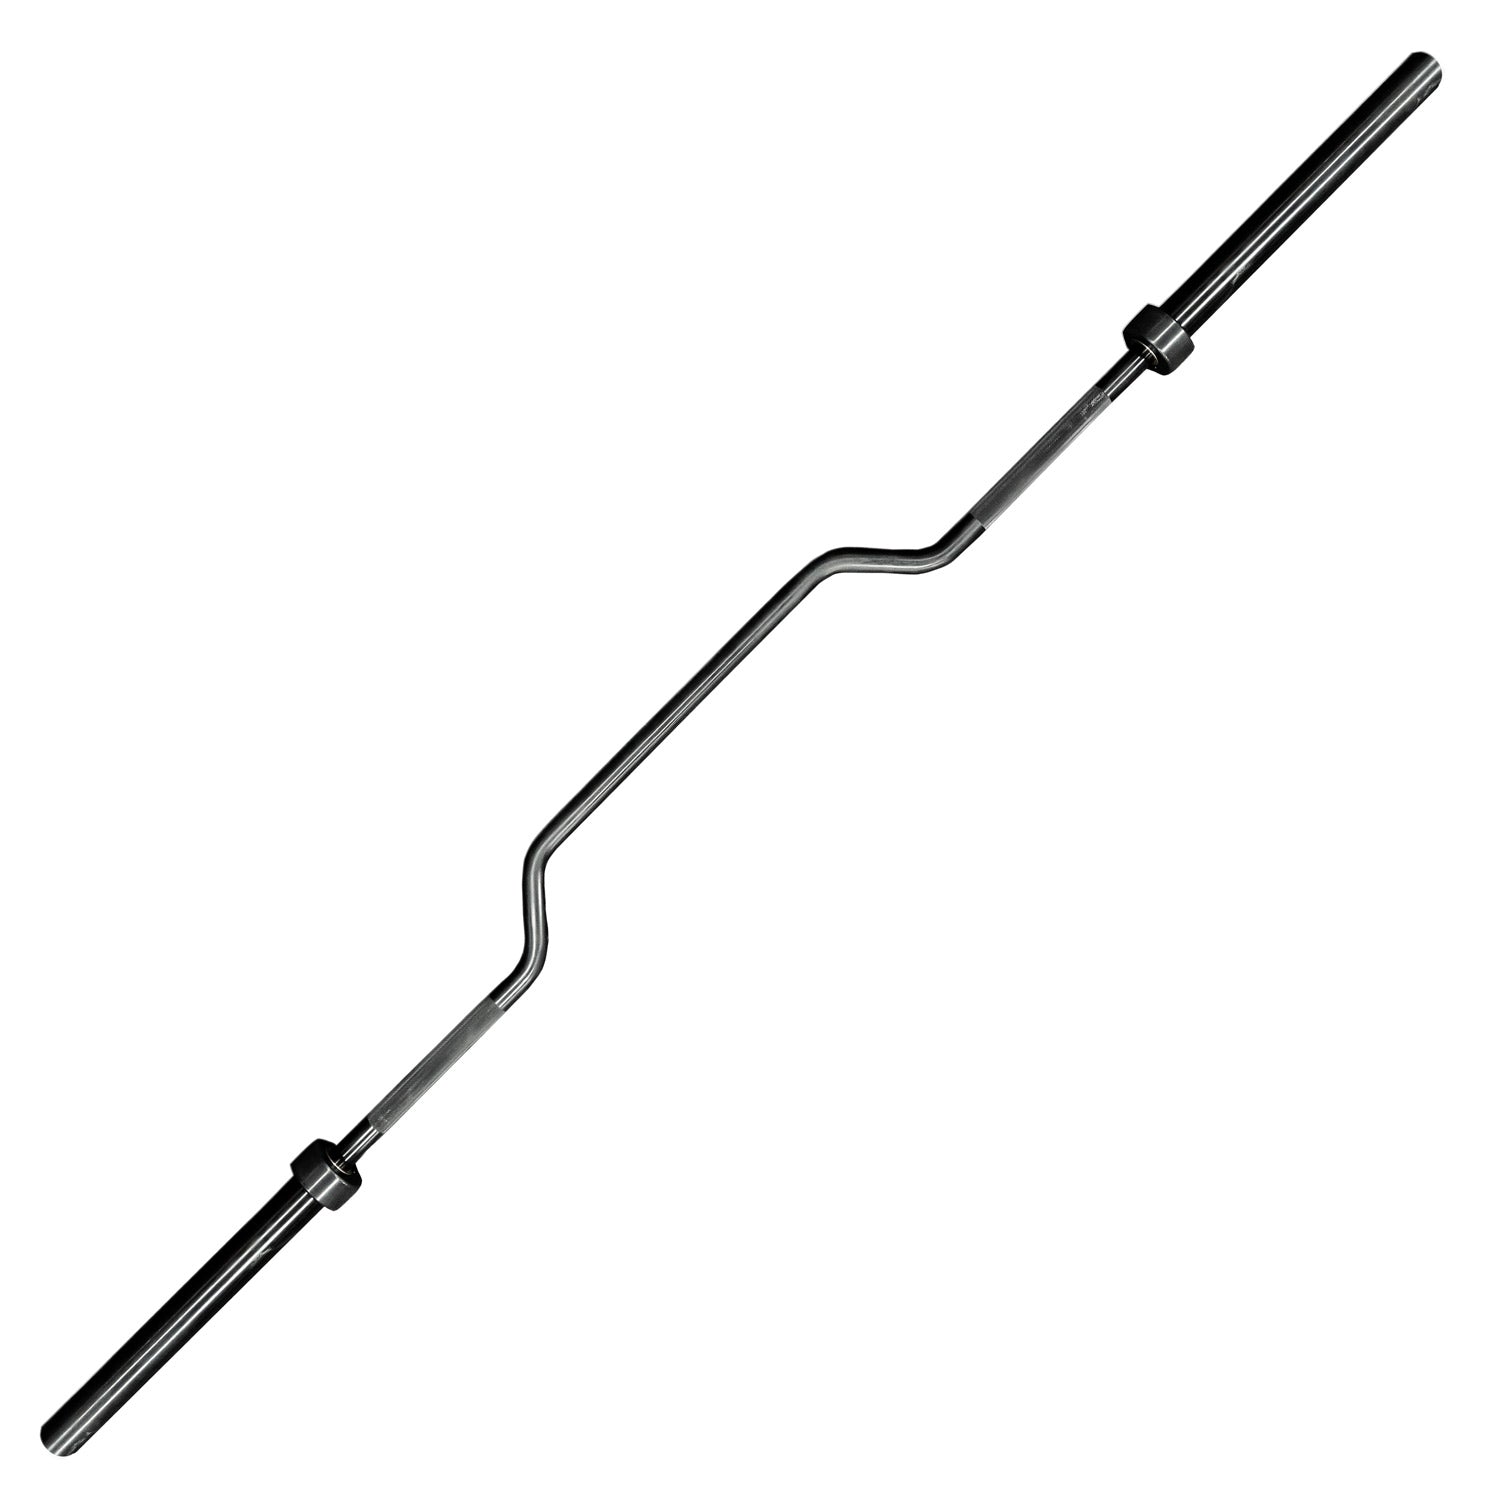
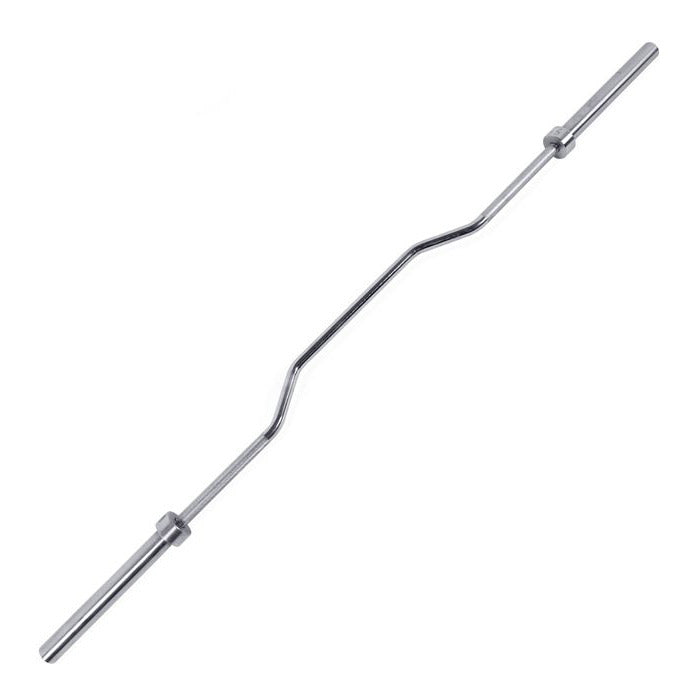
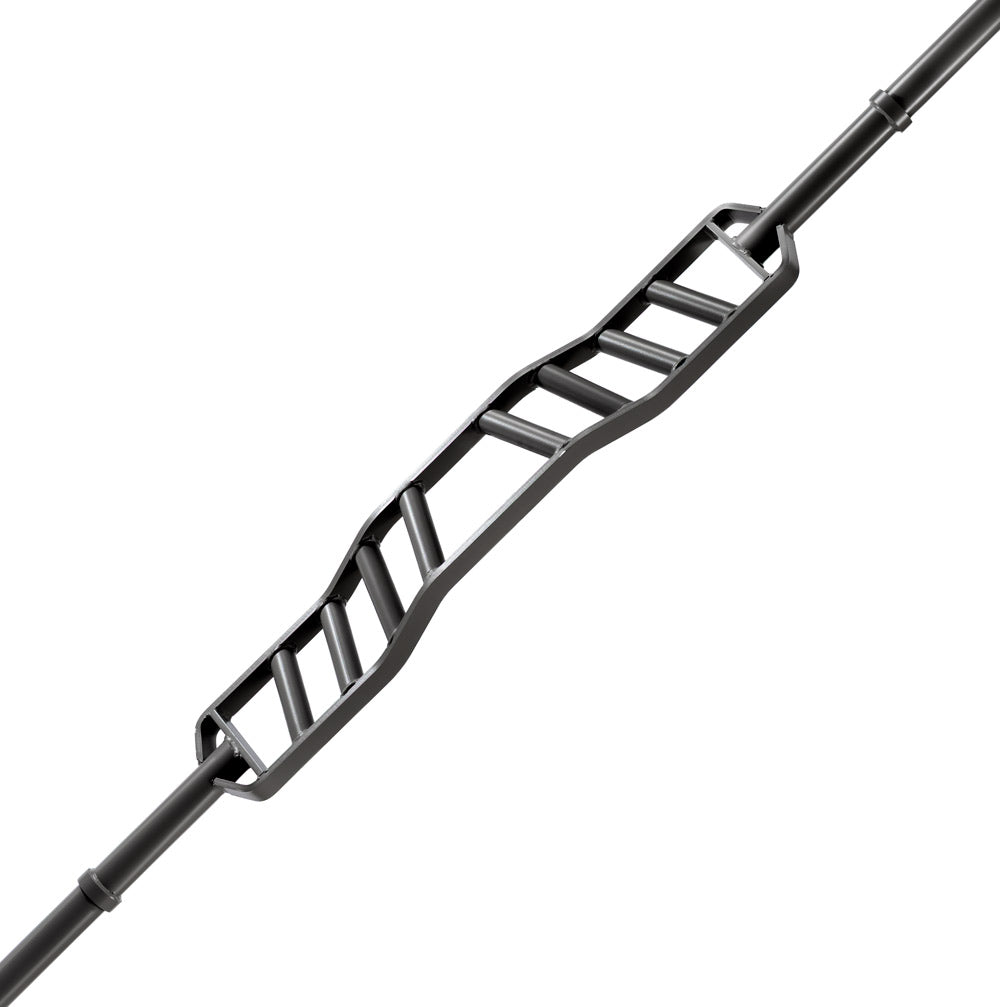
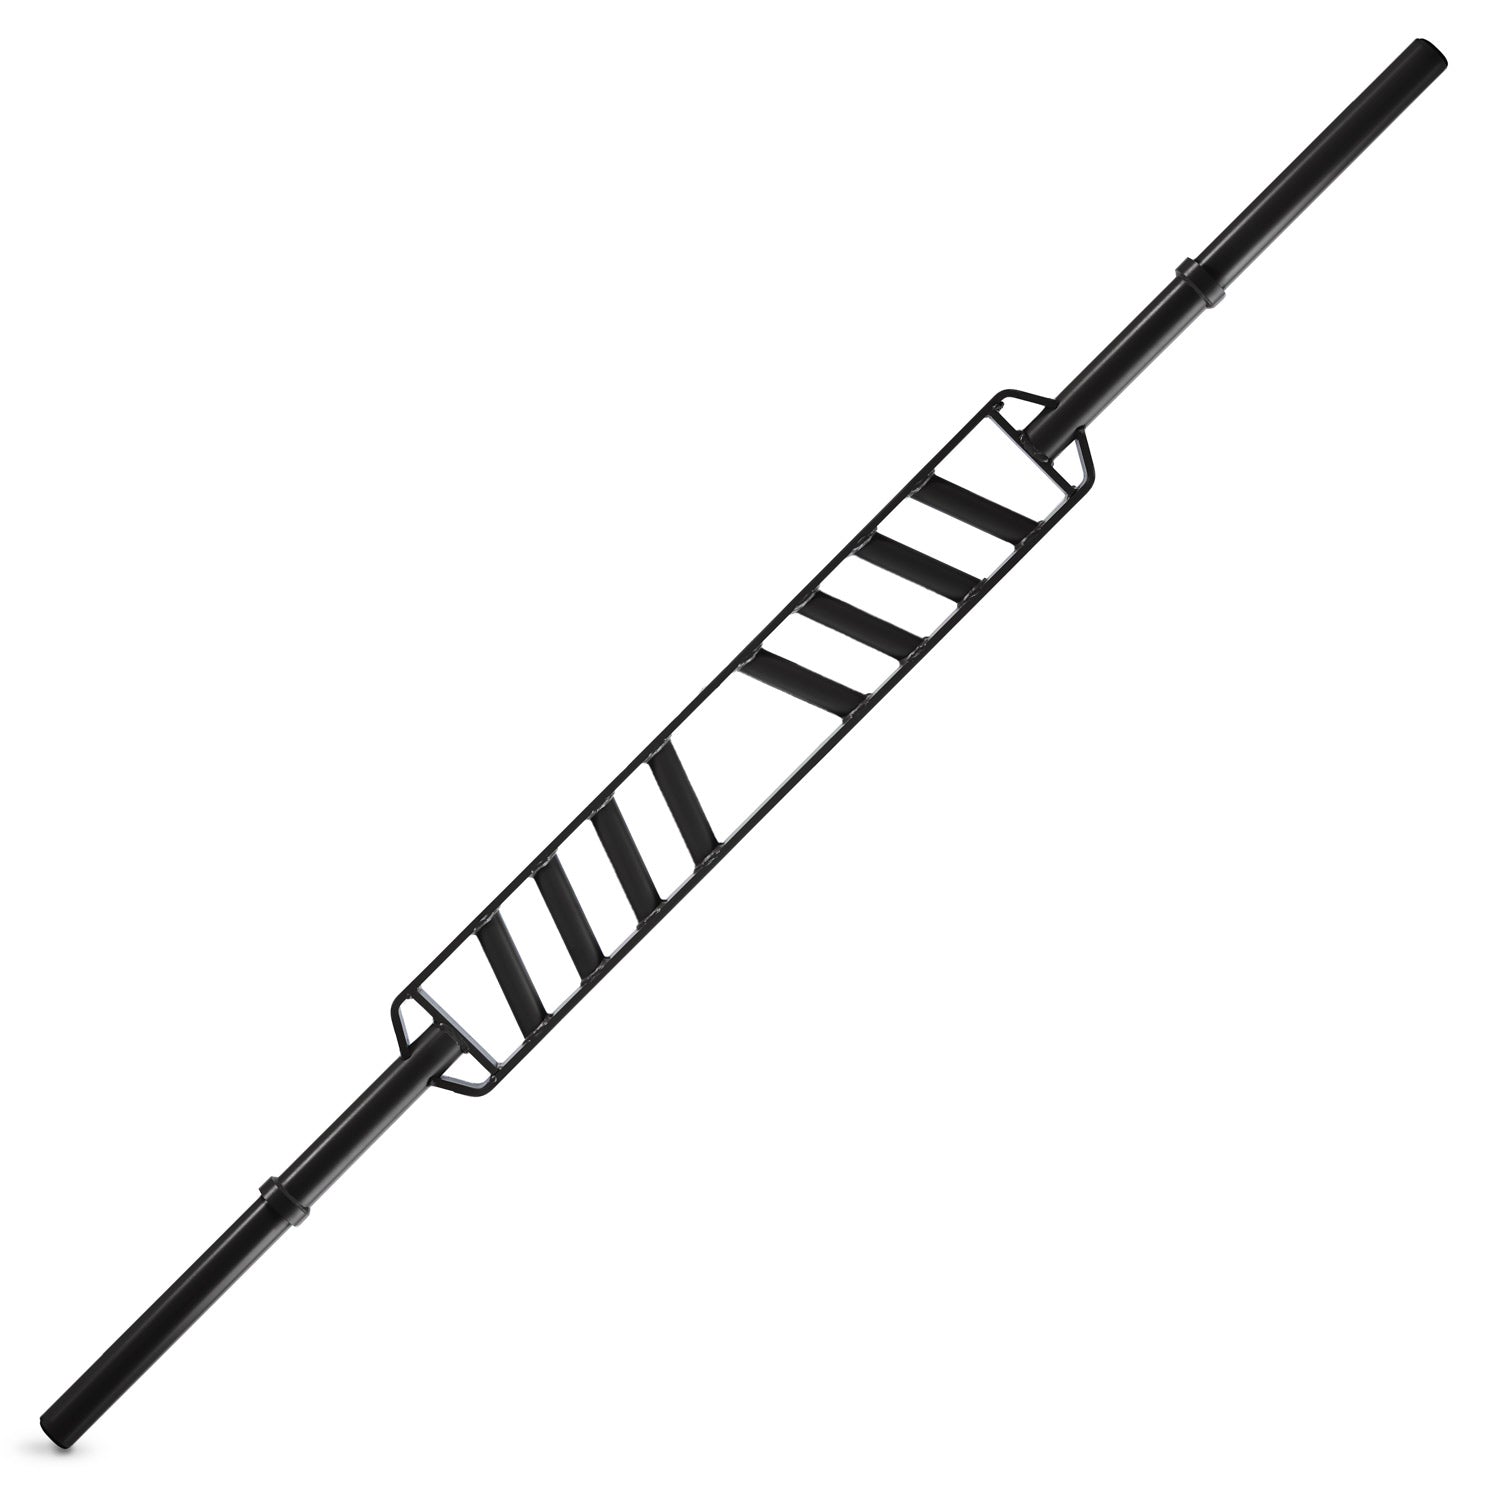
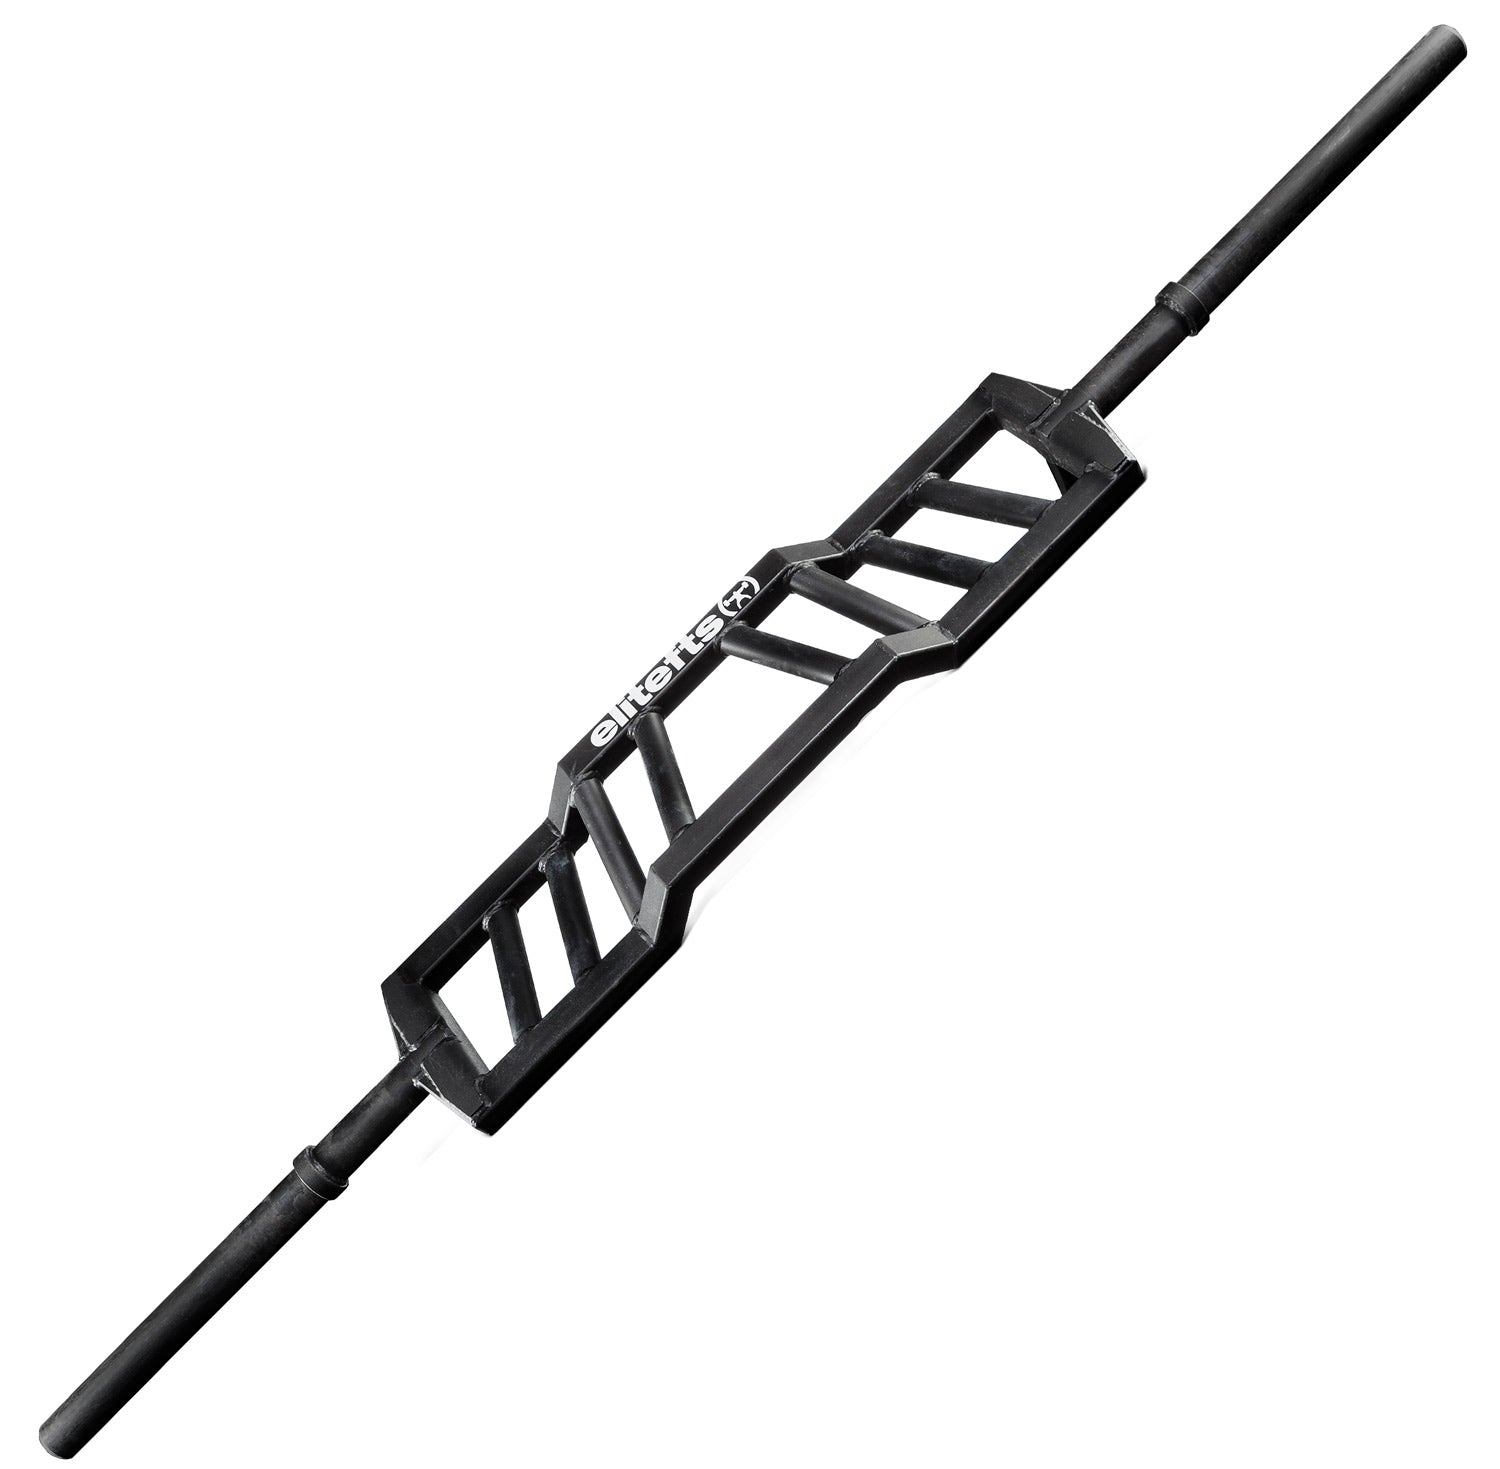
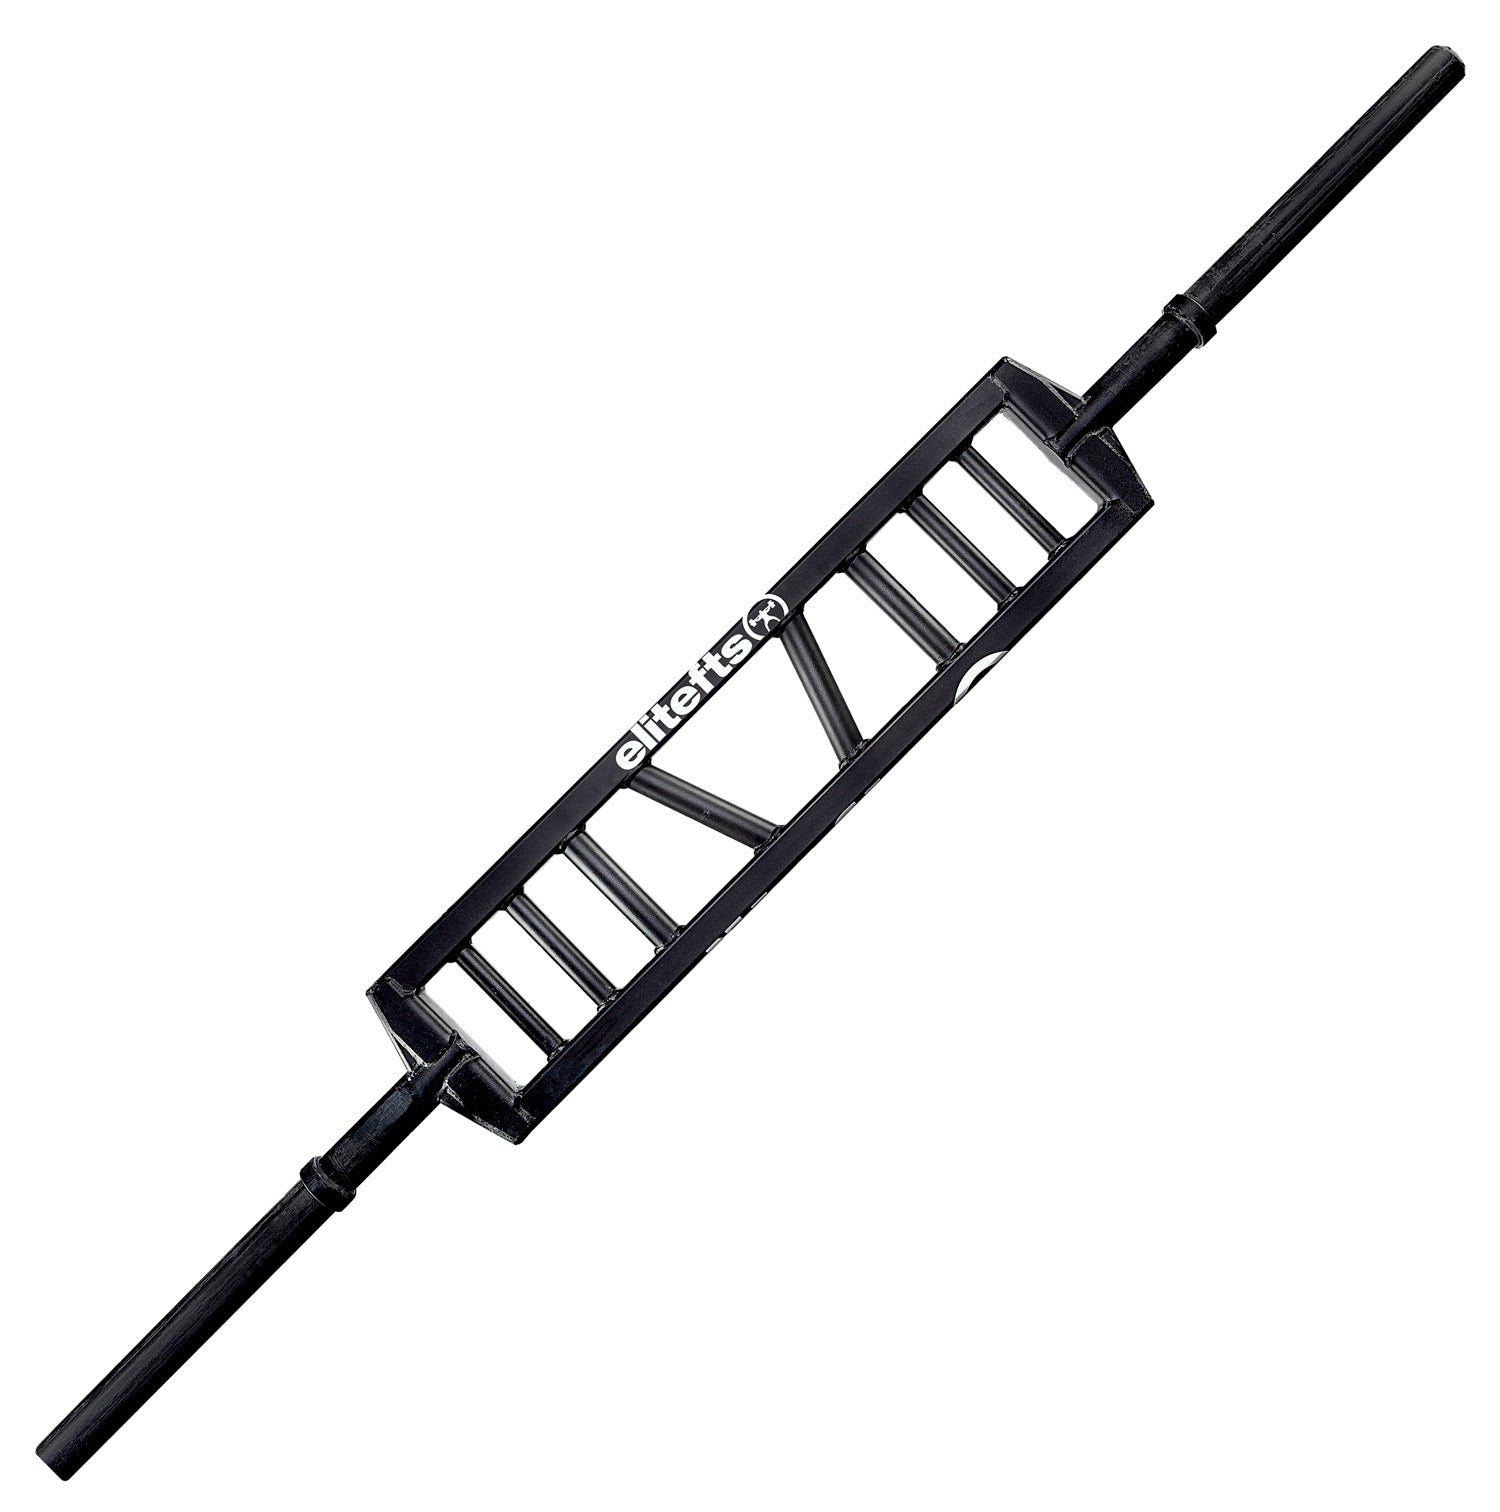
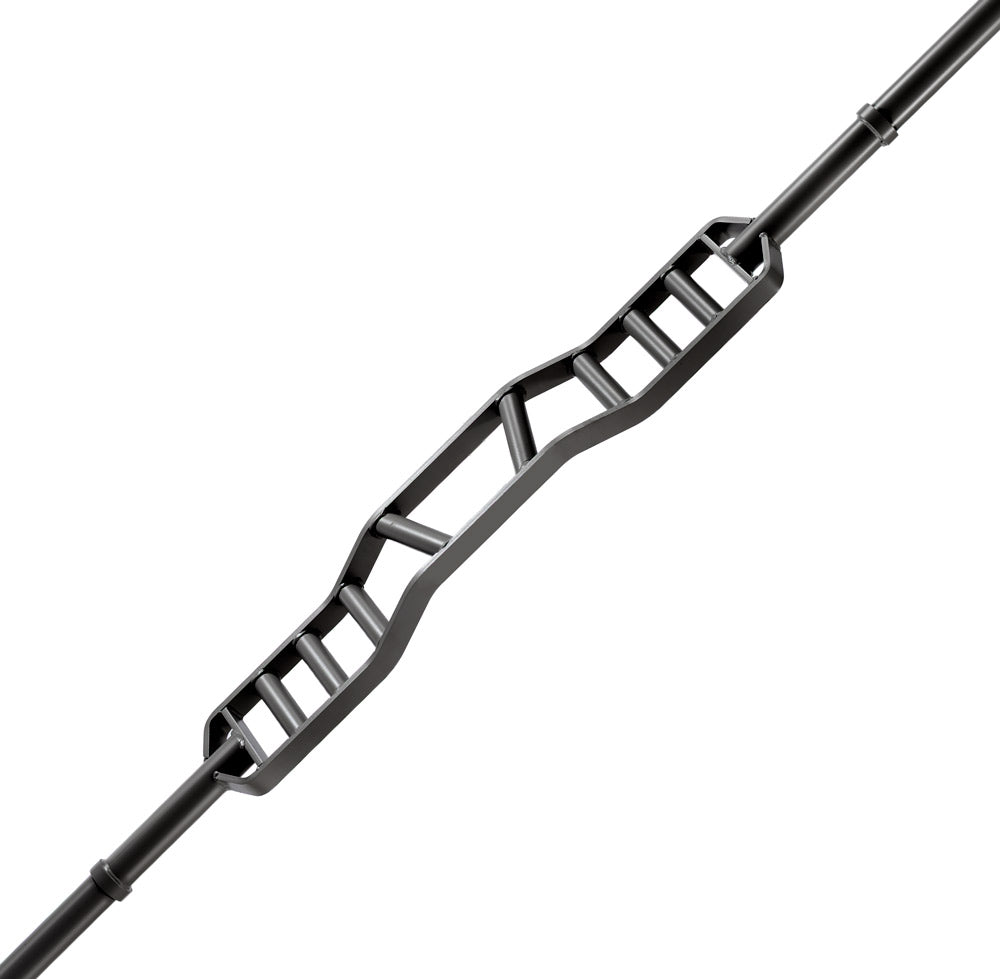
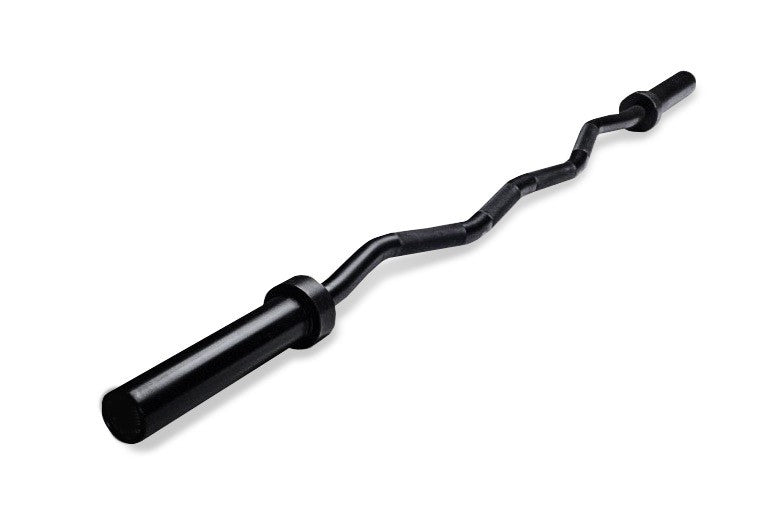
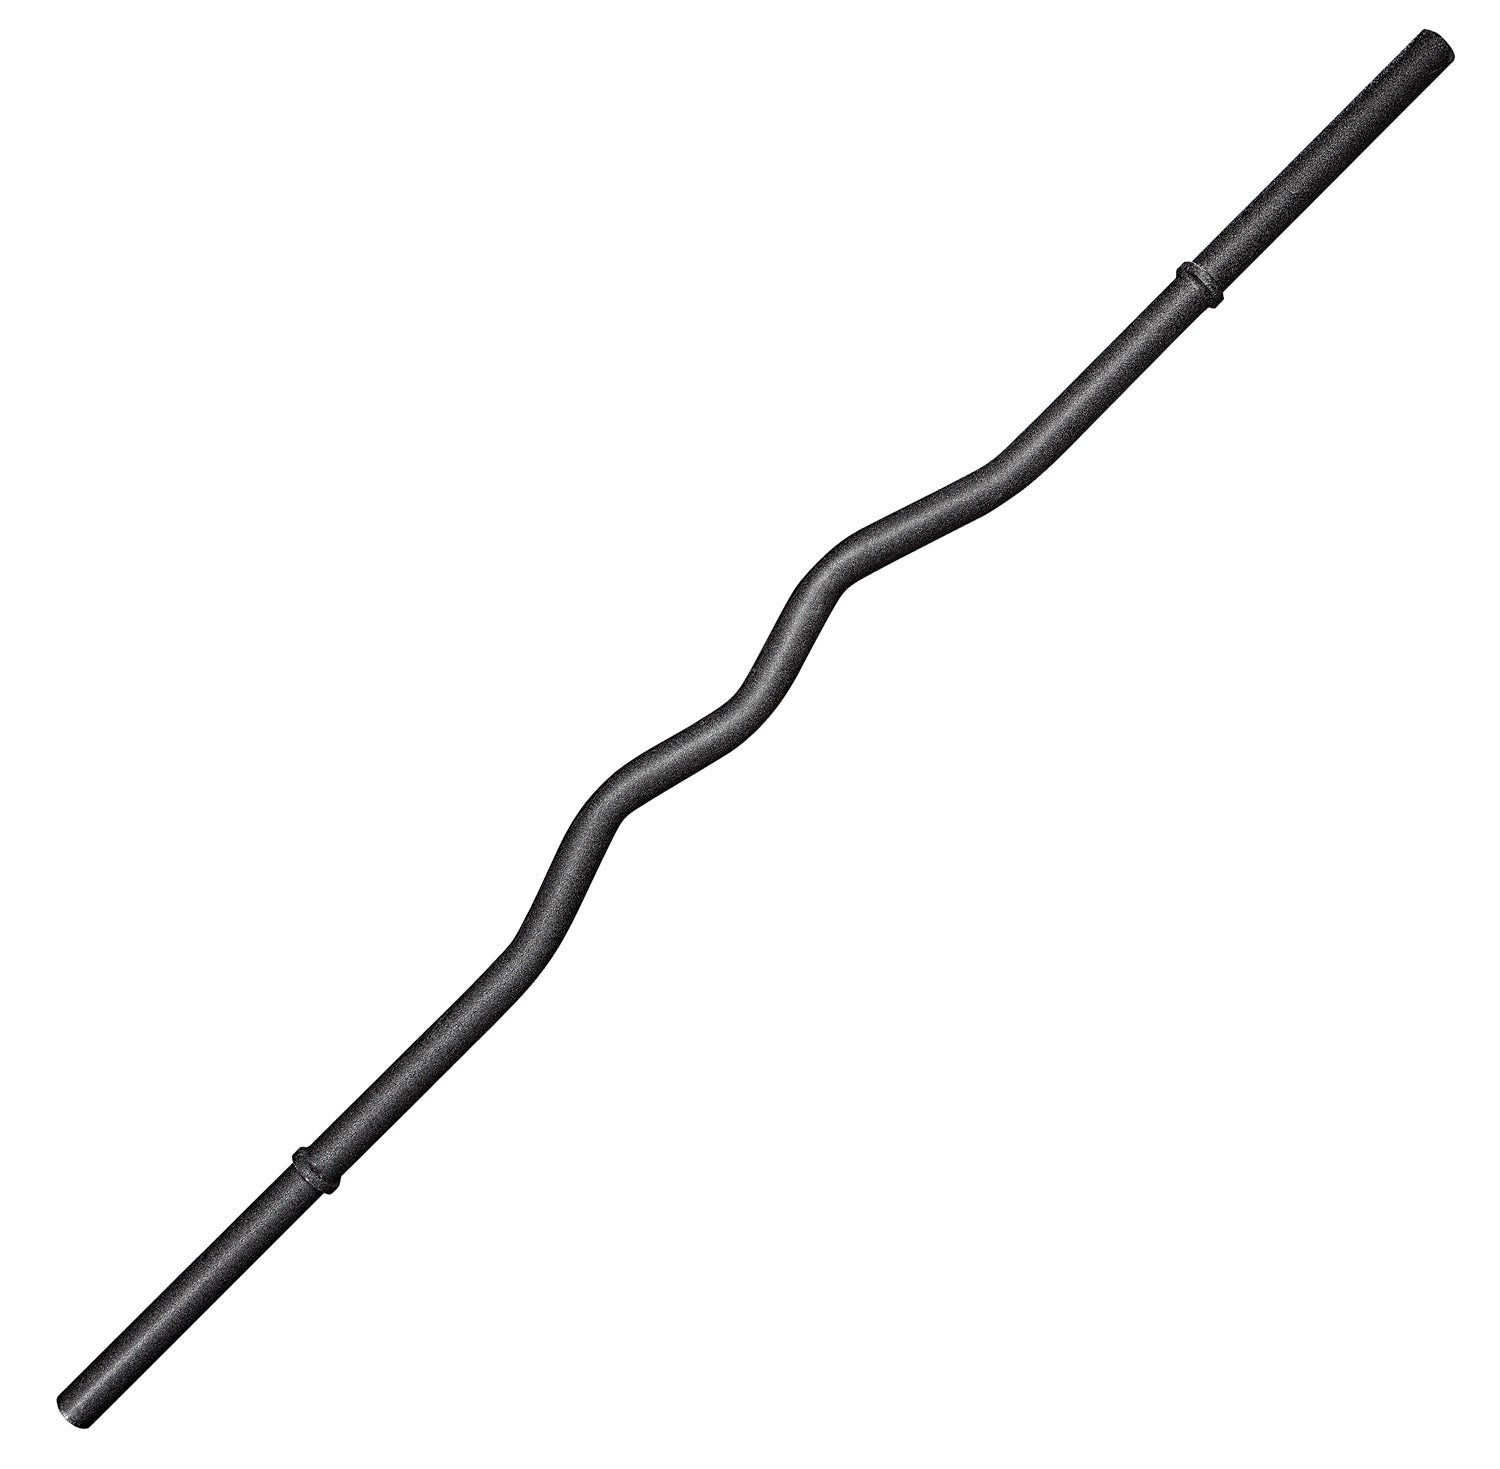
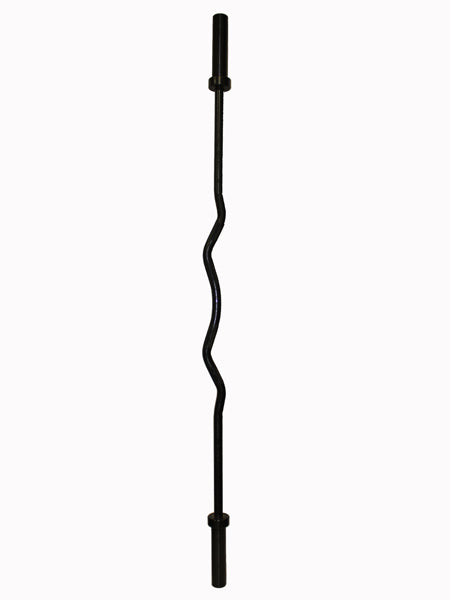
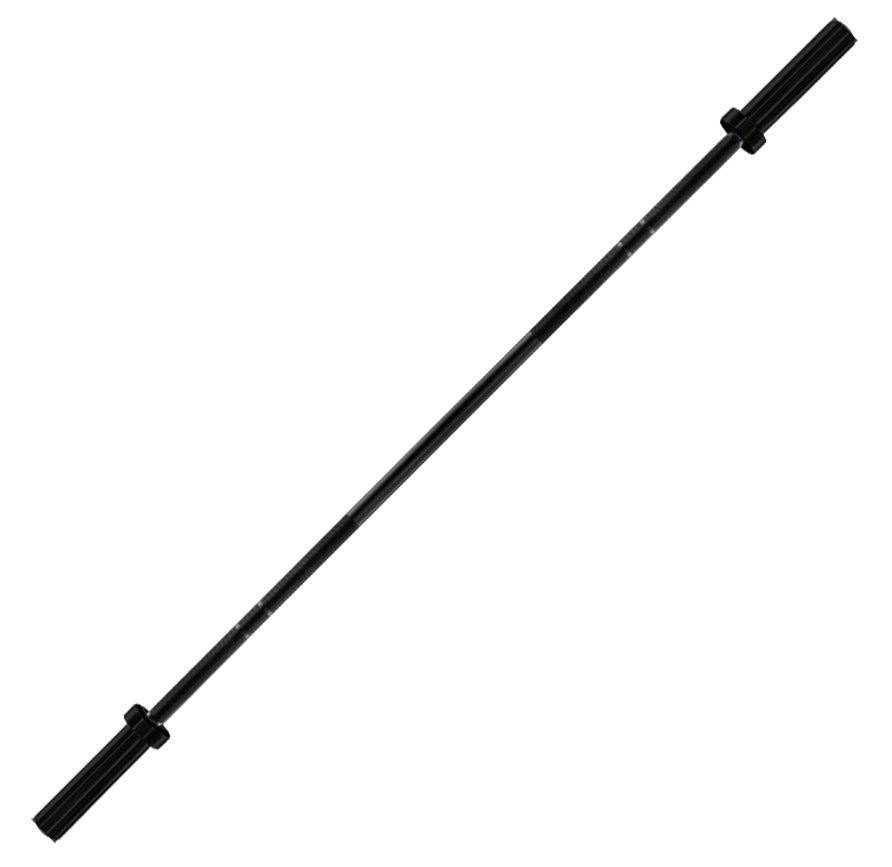
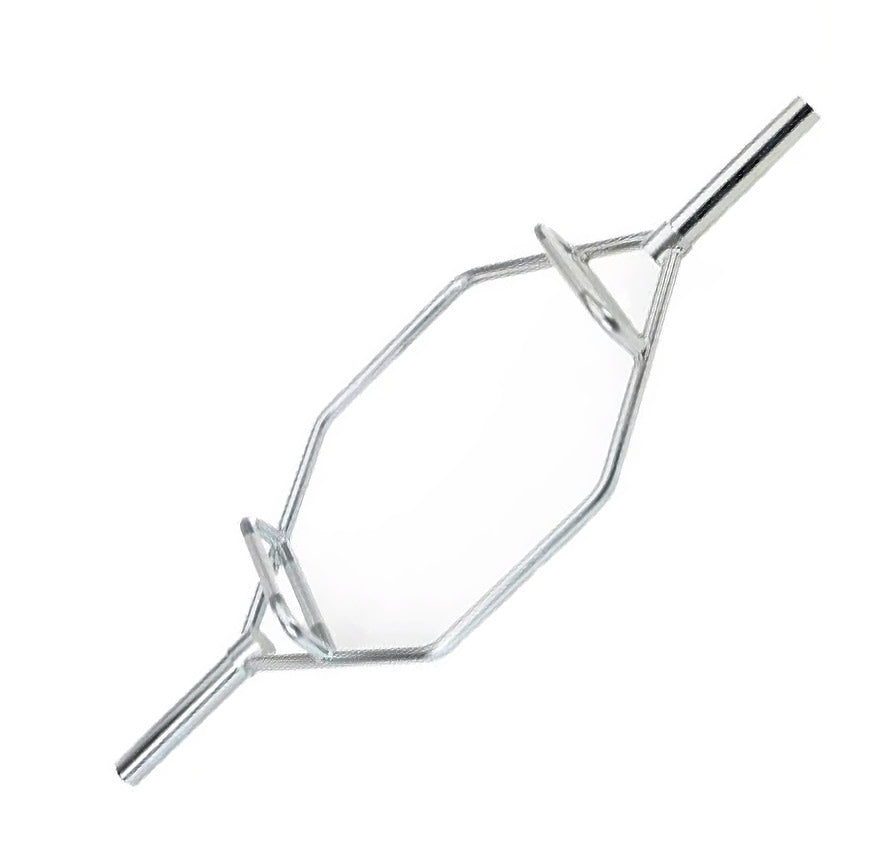
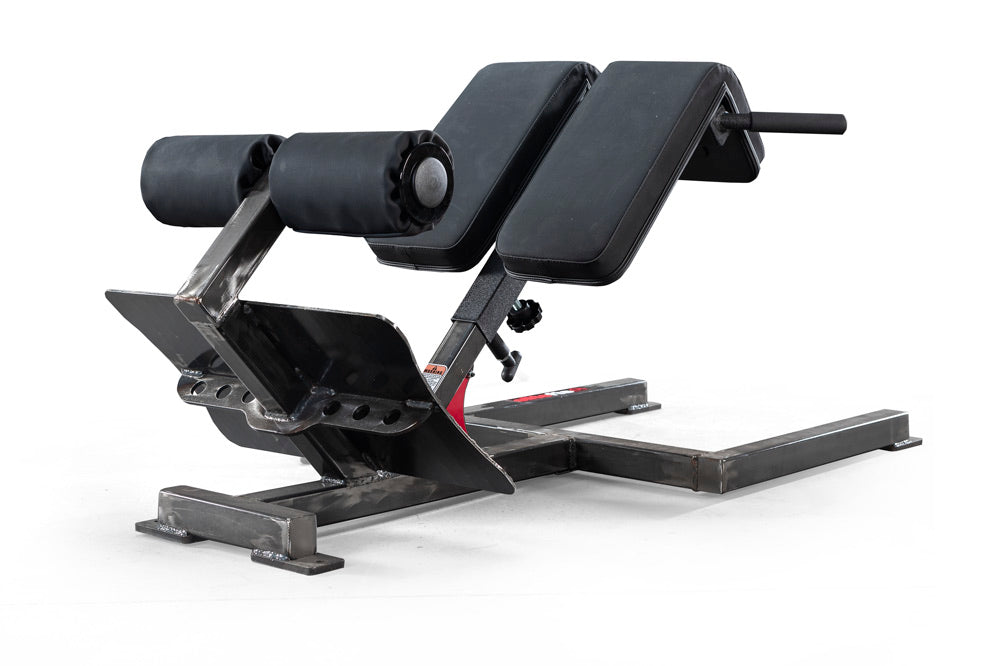
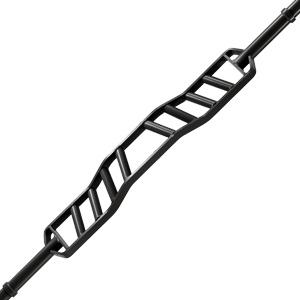
Specialty Bars
When the average bar just isn't enough
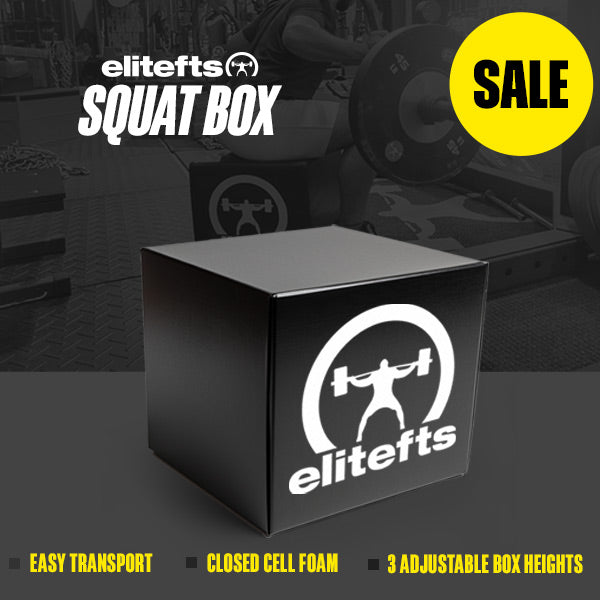
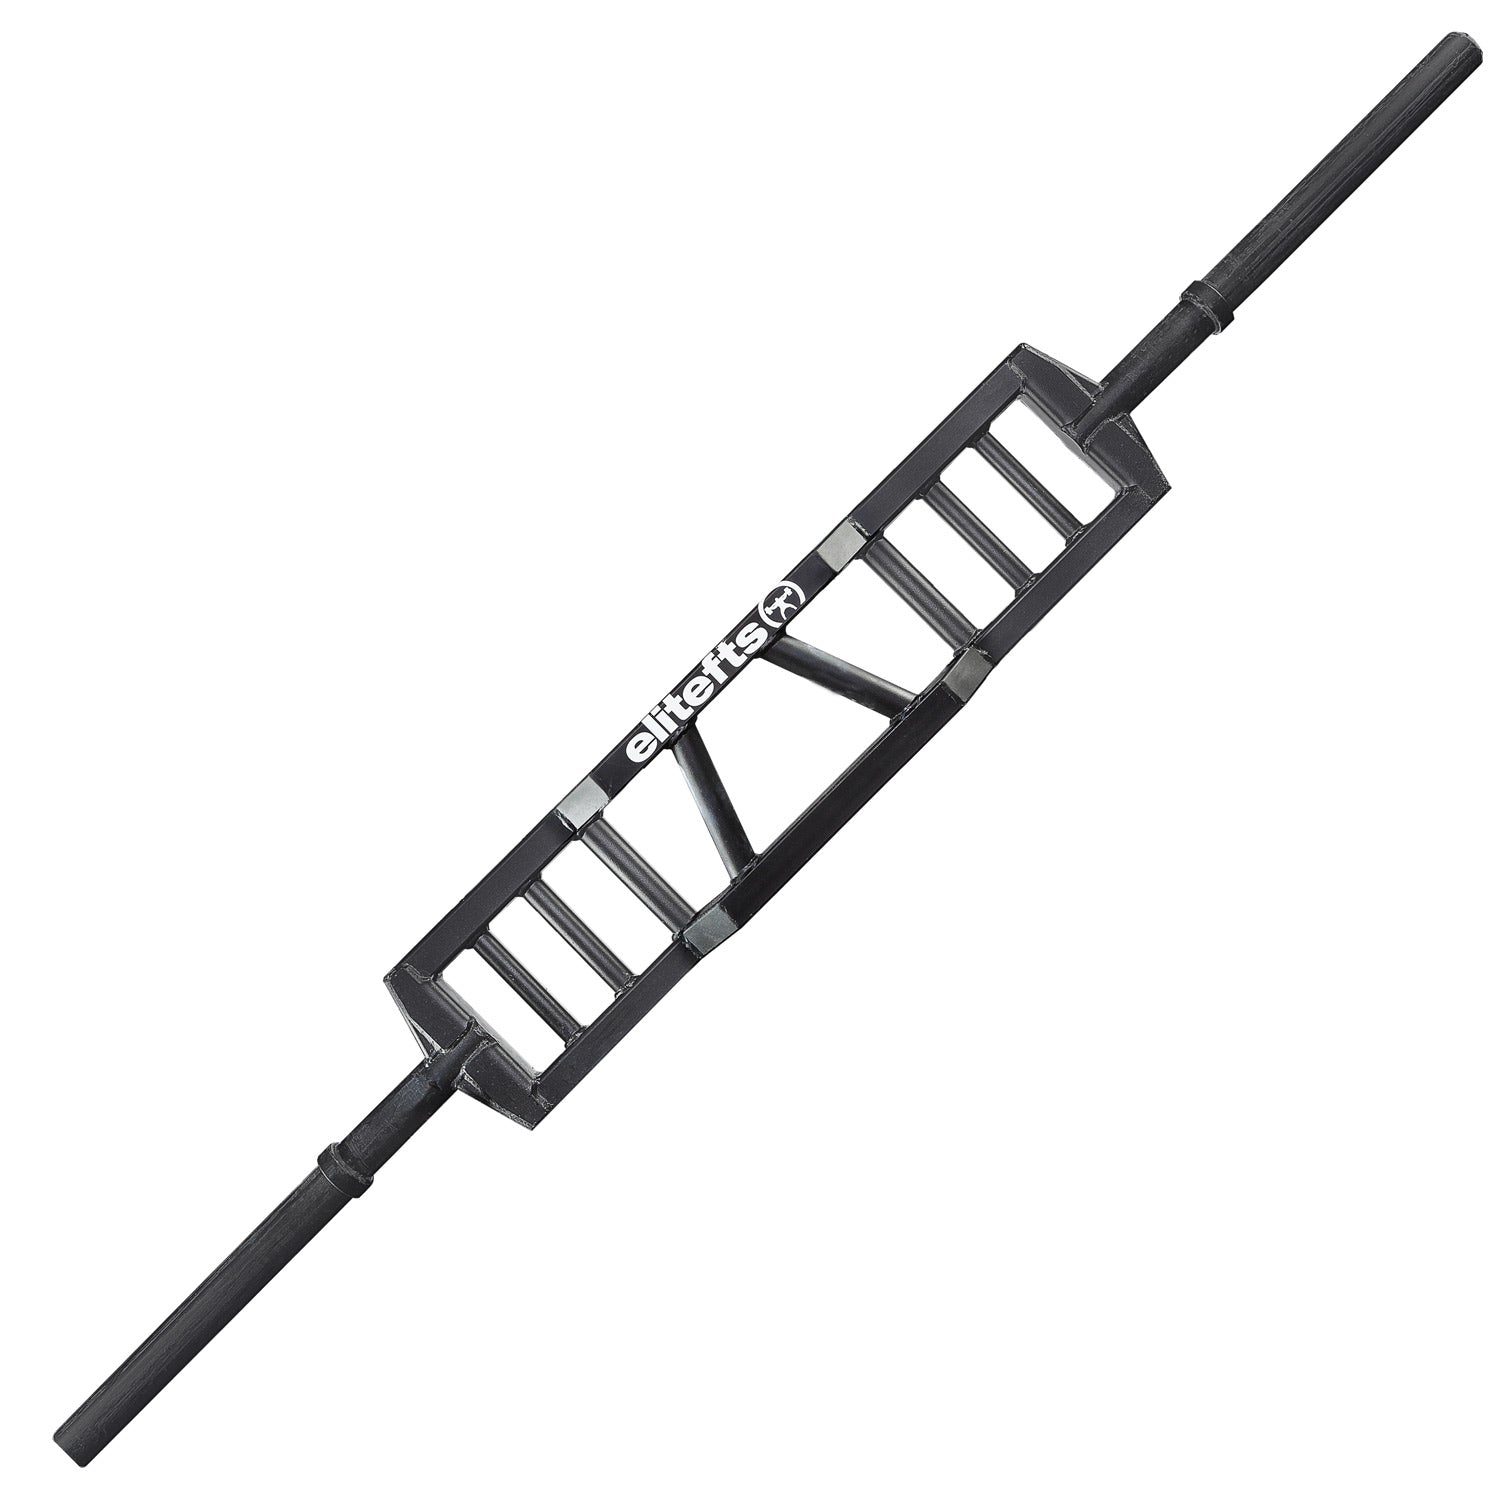
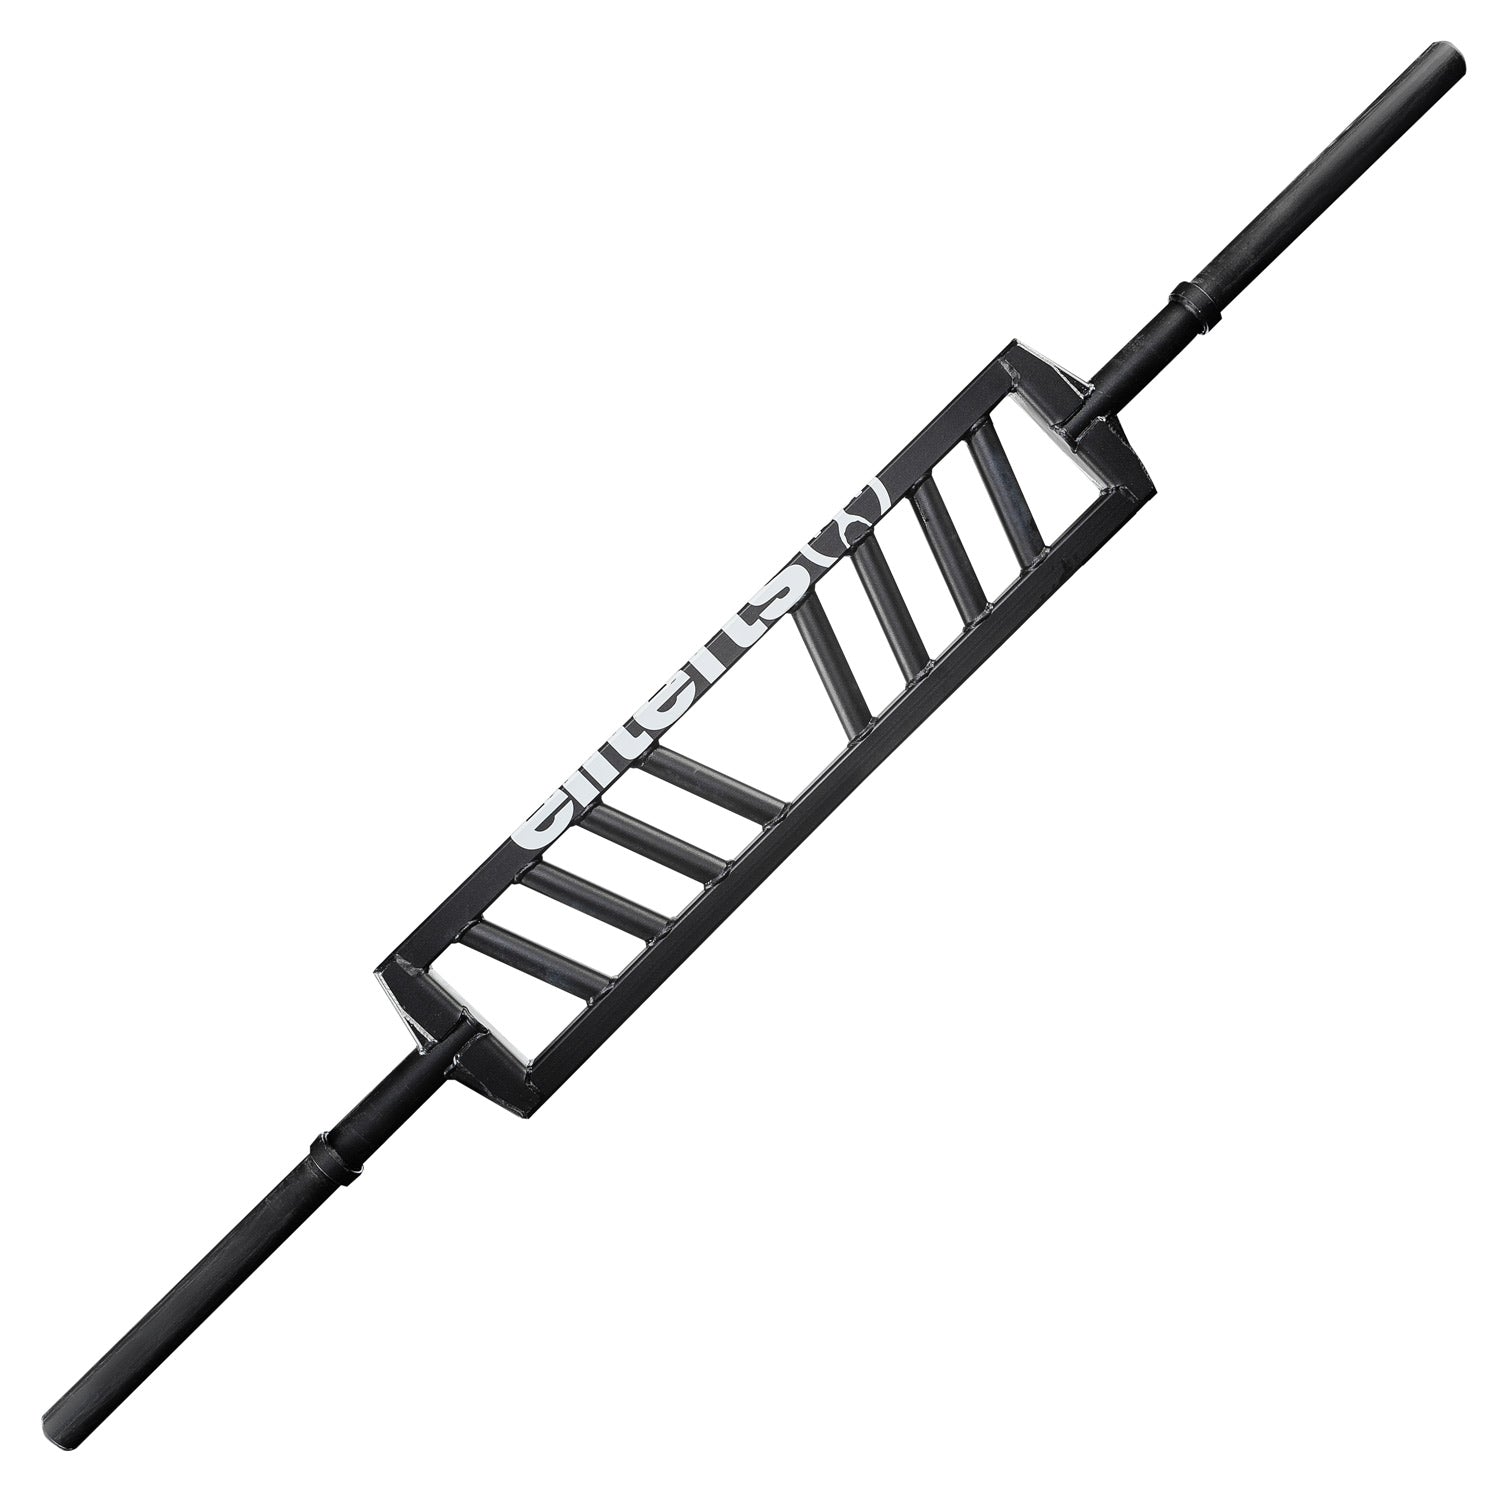
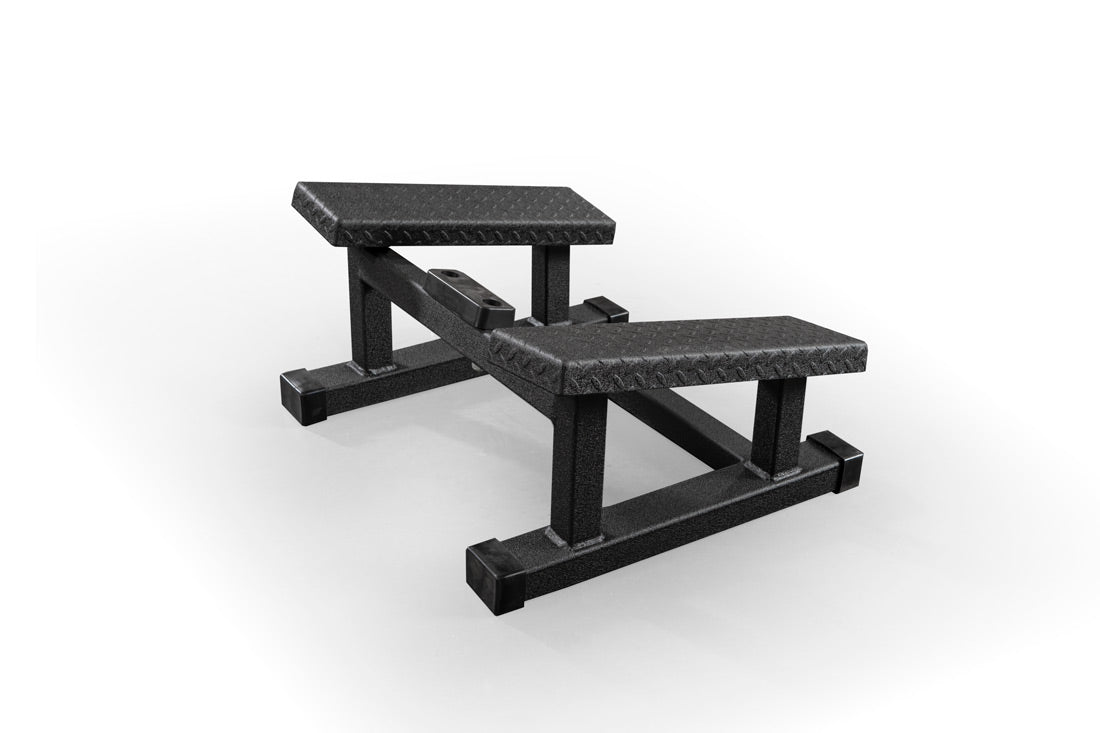
elitefts Squat Box
EliteFTS Squat Box: Perfect And Take Your Squat To The Next Level

EZ Chain Loaders Bundle
The EZ Squat-Bench Loader Straps for precise height-controlled chain positioning on squats and presses, and the EZ Deadlift Loader Straps for fast, back-friendly chain loading on pulls.


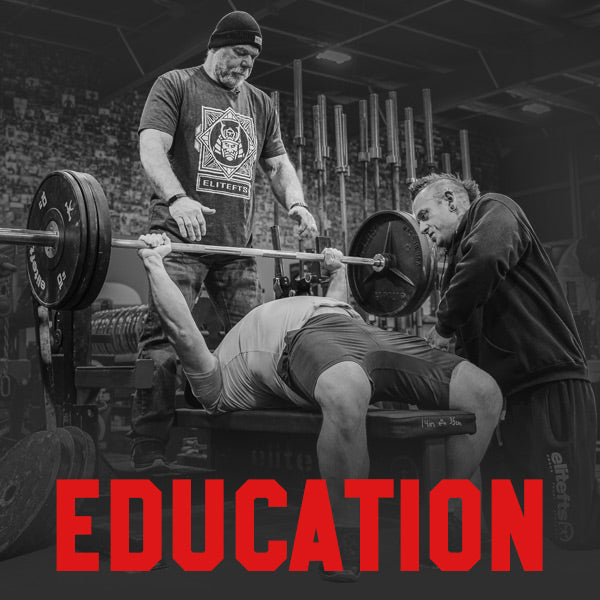
Education
Trench Built Strength & Conditioning, Workouts, Programs, Training, Coaching and more.

Join The Crew
Support us and access premium content monthly!
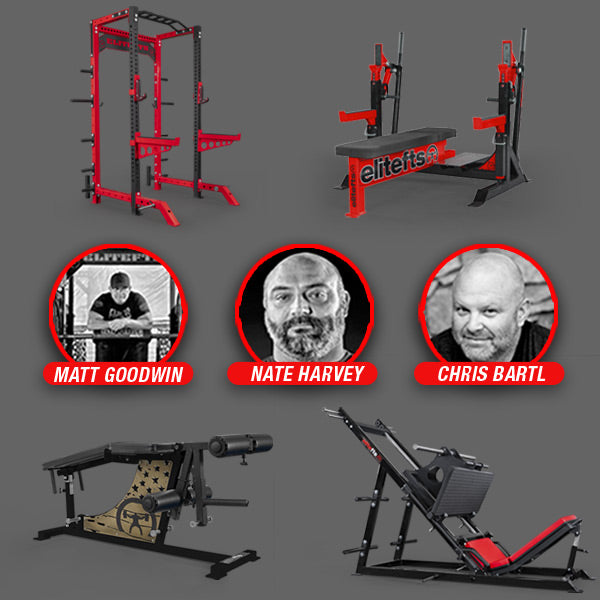
Equipment Specialists
Looking for PR-rated custom-built equipment for your home, gym, or school? We have Strength Equipment Specialists to help you out.

Our Company Story
For over 25 years, we’ve remained committed to fostering a culture of excellence, innovation, and integrity.