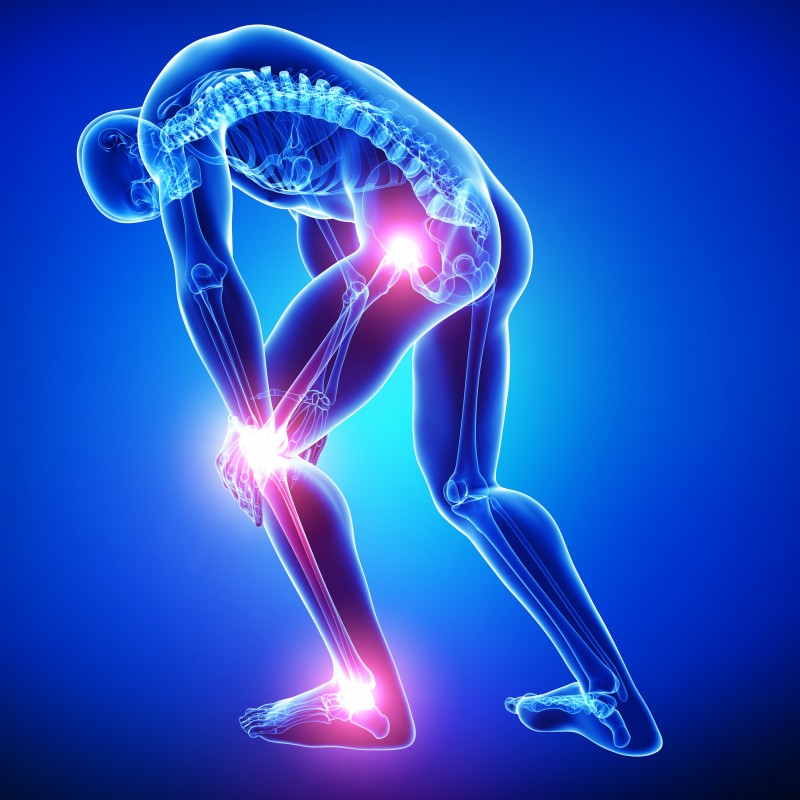
I think I get more emails and questions about knee pain while squatting than anything else. I took a tally of how many people asked about different types of injuries while I was at The Jenn Rotsinger Inaugural Women's Empowerment Weekend a few weeks ago. 55% of people asked about knee pain while squatting. 20% asked about hip pain while squatting.
The rest asked me why in the world I blow up a balloon before I deadlift, and how to turn off that dreaded low back pump that we get.
I train at a commercial gym, and as soon as someone hears I am a PT, I’d estimate 75% of the time someone asks me about knee pain with lower body workouts.
So, what I'm asked about: pain while squatting, usually knees. And on the other end of the knee, that same bone is a hip, which happens to be the other big thing I get asked about a lot.
Squat Q&A: Zercher Squats, SS Yoke Bar Breathing, and Tight Hips
It’s hard to write about injuries from a “general” perspective because there are a lot of different reasons that you can have knee pain with lower body training days. There are many different diagnoses, and while the pathology is important, most times the general trend is “some portion of the knee is taking excessive stress.” You could think about your knee pain a few different ways, and a clinician can help you diagnose why yours happens and how to address it. Stress through a region can be compressive, mechanical/torsional, or due to increased demand on local soft tissue. Most of the time, I see things resolve when we modify the environment starting from the top down.
I care about what’s happening at the tissue level, because that drives the healing process, but the mechanics of "why” are a powerful tool we can proactively control/change. While each person’s presentation is a bit different, there are a few things I see very consistently:
- Most people tend to fall into one of two patterns: a) starting at the hips and pelvis, which drive an anterior shift in the center of gravity and increase compressive forces on the knee, or b) exhibit a left/right asymmetry (that is, left side moves differently than right side in three planes of motion) that creates torsional stresses on a joint that, while it can accept some small degrees of rotation, has greater gross flexion/extension available range.
- Increased reliance on the knees and/or hips in one, possibly two, dominant planes of motion. Appreciate that we move in three planes and also require sufficient mobility or available range in three planes to permit our joints some breathing room to do their jobs. A decrease in range in one plane or in one joint can contribute to pain or pathology in order to accommodate.
- These patterns contribute to changes in local soft tissue, as well as tone of surrounding musculature.
The Patterns
We aren’t built symmetrically. No big deal. If anything, it lends a little insight as to why we start to develop pain in certain areas. Generally, what I see clinically tends to fall into two main gross presentations:
- An elevated and forward, flared left hip that has difficulty with internal rotation, adduction, and extension, coupled with a right hip that may not demonstrate as much external rotation and abduction. If you have the shifted squat, this may be you. When a hip or pelvis is forward, the hamstrings and glutes are lengthened, and hip flexors and quads are shortened. Abs are also lengthened. When a muscle is long, it can’t generate its designed tension to stabilize a joint.
- Bilaterally anteriorly tipped pelvis, overdevelopment in the lats, erectors, quads, increased tone throughout your low back and neck. Difficulty adducting or internally rotating (or extending without accessing lumbar extension) both hips. With powerlifting, this is the pattern I see most frequently. Most times, there’s an underlying left/right asymmetry at the root of this, and your body has layered on a way to “not cheat” by cheating more.
Here’s what this looks like with regards to knee pain and squatting:
In the first pattern, where there is an apparent left side/right side asymmetry, I tend to see more torsional stresses applied to the knee. The hips are rotated or shifted, changing the orientation and available motion of the hip joint, the other end of which is the knee. If available range is asymmetrical, your movement will likely be asymmetrical. Remember, the knee is a hinge joint, and while it can accept small degrees of lateral and rotational movement, there’s not a whole lot of range available.
Other times, I’ll see one knee translate forward more than the other. We need some translation, and the translation in and of itself may not be the issue, but small changes (likely not visible to the eye) make a big difference here. When the knee translates forward, we need proper co-activation of both our quads and hamstrings to stabilize the joint. Many times, what I’ll find is the hamstring (which is long and weak in an anteriorly tipped pelvis or hemi-pelvis) cannot act to oppose the quad, which can continue the increased “top dominance,” if you want to think of it that way, increasing compressive forces on the knee. Secondary to that, continued overuse of the quad can increase its tone in a (potentially, depending on the pattern) already shortened position. One example of this could be a short, tight muscle (quads), that feed into our IT band, on our lateral knee, and has a direct connection to the knee cap and quad tendon (which can be compressed), has become overused and further patterned into overuse.
In the second pattern, with both hemi-pelvises anteriorly tilted and flared out, the range of motion at the hip becomes limited partially by structure. In this position, there’s less hip flexion available. The hip is already in a position of relative flexion. If a joint as a total range of motion and standing posture eats up some of that available range, there’s less remaining to access for functional movement. It is also worth noting that in this position, the structure of the hip itself limits the degree of hip flexion remaining due to both capsular build and joint congruency. As mentioned above, an anteriorly tilted pelvis will often coexist with shortened muscular structures such as quads, which then can generate excessive compressive forces on the knee when not kept in check with proper glute and hamstring function. Being in this much anterior tilt, on one or both sides, makes it really tough for your body to use the hip the way it should be. You’ve got to move from somewhere, likely from your knee or a structure that directly crosses it.
There are some really effective ways to address this.
In both the patterns above, the pelvis is a little out of position. My favorite way to address this is by using one of the breathing drills that have become really popular. It occurred to me that a lot of people are doing these drills without ever really understanding what they’re doing. These exercises and their variations are actually designed to “pull” a pelvis back into position via generating tension on certain muscles and where those muscles attach on the pelvis. If you’ve heard of muscle energy, this is a much more targeted, and also more “global” approach than that, but utilizes some similar concepts revolving around tri-planar motion and stabilizing the acetabulum (hip socket) and femur.
RELATED: Motor Patterning and PRI — Finding Solutions to Hip Shift and Dysfunctional Movement
What I see every day at my clinical job is the way pelvis position influences muscle activation and firing patterns. As an athlete, this is what I care about. It's important to me that I have range of motion available to squat, but when a muscle goes from inhibited to strong with manual muscle testing within a few minutes, that carries weight to me.
Go google PRI 90/90 hip lift. You’ve probably seen a variation of the PRI 90/90 hip lift. This exercise is about what you feel and—perhaps more importantly—what you don’t. Here’s what you should be feeling:
- Hamstrings engaged to achieve the pelvic tilt position. Not quads. Not low back. Not abs. The hamstrings attach right at the bottom of your pelvis; that’s good leverage for pulling an anteriorly tilted pelvis “back” in the saggital plane. That’s the goal with the hamstring, particularly left, in this exercise. Using your heels as a reference center and really feeling them is a good cue to help with this.
- Low back relaxed. Completely shut off, or as much as it can be. If you cannot get your back to shut off and round, or you are bracing while you are “pelvic tilting,” go get something small to put under your tailbone to help find a supported position and put a few pillows underneath your upper back to encourage some flexion.
- Breathing. Point blank, the breathing, from what I see day to day working with patients, is what makes or breaks these. Don’t skimp it. In through your nose, gently, with your diaphragm. Feel your ribs expand. As you breathe out, think full (but not forced), exhale. If you have questions about the role of breathing dynamics in these, please reach out to a clinician. We want to answer your questions. I’ll be the first to admit the breathing seems a little goofy but I would not continue coming back to it if I didn’t think this is one of the more powerful tools we have in our sport right now.
I love this line of thought. PRI gave me my squat back, pain free, and has helped me keep lifting heavier than my conscience tells me I should. But I will also be the first to tell you that a 90-90 hip lift is not enough with what we do and the demand we place on our bodies. It is a tremendous tool, but needs supplementing.
Here are a few of my recommendations, more specific to those of you experiencing knee pain while you squat. Remember, a lot of these are designed big picture to decrease overall mechanical stress on the knee while allowing a decrease in demand on soft tissue. In all these, the emphasis should be placed on keeping neutral spine/pelvis. Not flexed forward, not extended. For most of you, “neutral” will probably feel like flexion.
1. Start at the core/trunk. This is your knee’s true anchor. I think we preach this a lot in our community. Core, core core. Weak lift? Must be a weak core. And that’s partially true, but missing the boat in some ways too. Think about position of the core while you’re training it, especially if you’ve just done the 90-90 hip lift exercise for pelvis position. For most of us, we love to extend. Remember, long muscles don’t have as much potential to generate force, and in extension, “core” is lengthened. Keep spine neutral. This will be hard, and it should be. Start in one plane of motion: think anti-extension, body hallowing, and gradually progress to anti-rotation exercises. I love the quadruped and half or tall kneeling positions. I’ve been on a kick with the following lately:
- Tall kneeling lat pulldowns
- Quadruped moto rows (my friend Evan turned me on to these. They're phenomenal)
- Half kneeling pallof presses (banded) or chops/lifts
2. Train glutes/hips. Again, something we’ve all been told, so we need to be specific. If you’re actually attempting to train glutes, make sure you feel glutes. Alycia Israel wrote a fantastic article with video demo of the role of the pelvic tilt when training glutes, and she hit the nail on the head. Check it out. A few of my favorites for glute retraining:
- Reverse/backwards lunges, paused, or split squat (not rear-foot elevated). Keep your pelvic tilt here. I like these because they mimic a squat a bit more, while encouraging neutral spine. Most times I see someone in a Bulgarian or rear foot elevated split squat, they can’t maintain the position without extending in their lumbar spine.
- Kettlebell swings. The properly executed hip hinge with hip extension and core engaged is a powerful tool. Doing these correctly should take some intentionality and concentration. Keep your ribs down and think about your trunk as a pillar as you do these, emphasizing glutes for hip (not lumbar) extension for your lockout.
- Single leg eccentric work. Mark Watts has an awesome video produced on a progression for single leg RDL’s. Keeping motor control throughout this movement is invaluable. Marilia Coutinho has hit the nail on the head when she says, “stability is the mother of strength."
3. Ankle mobility. As much as I love to talk about the hips, lets acknowledge the fact that our feet are what’s in contact with the ground and where we’re planted. Our ankles and feet have different mobility demands partially dependent on your squat stance, but for the purposes of this article, think dorsiflexion since that tends to get the biggest bang for the buck. There are a lot of things that can tribute to decreased ankle mobility, including joint placement and soft tissue tightness. Even if you are pelvis “neutral,” in some individuals, limited range at the ankle can cause anterior shift. If you’re someone that has had repetitive ankle sprains, this may be you. There’s been a body of evidence discussing the role of ankle sprains in anterior translation of the talus in the ankle that has nothing to do with your pelvis.
A few ways to work on ankle mobility:
- Calf raises with light weight, full eccentric, and thinking about “seating” the ankle bone back or pulling it back. You can do these on a leg press fairly easily.
- Banded ankle mobilizations
When it comes down to addressing your knee pain when you squat, remember that ultimately, it’s probably stemming from too much force going through a part of the knee for one reason or another, be it mechanical, compressive, or increased tension through contractile soft tissue. 90% of the time, I tend to start at the pelvis, because how a hip moves will determine part of the demand put on the knee. There’s an obvious place for soft tissue work within this, but if you cannot get to a healthcare professional, this is a decent place to start.


2 Comments