


Movement Rehab Guidelines
I get numerous emails regarding how to stat the rehabbing process after injuring yourself. I wanted to give some basic guidelines as to how to overview the process and then we will dive more into detail with actual patient interventions and case studies.
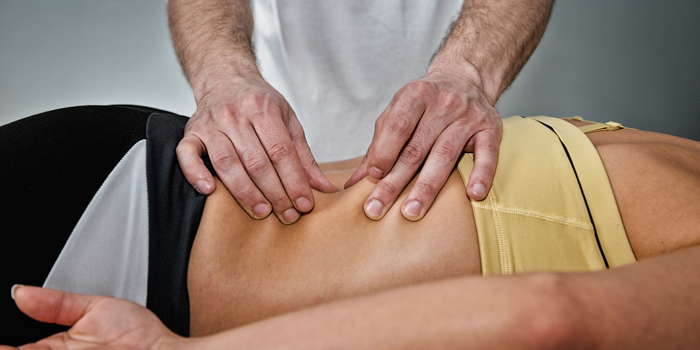
The actute phase (1 day up to 14 days) has surpassed. The swelling, immobilization, pain (to some degree) has subsided and you now how have some resemblance of control. The first thing we need to do is establish ROM. If have zero ROM actively you must start with passive ROM mobility exercises. However, regardless of the mode (active or passive) the principles of movement rehab remain the same.
- Find the area in which your ROM is restricted. Make sure to note witch plane of movement it is in. Move up to the limits of your ROM not beyond them. This will be your starting point. Make sure to work multiple planes of motion in order to fully mobilize the joint. Your injury was most likely due to a lack of multi-planer movement capabilities.
- Movement should start at a very high frequency. I’m talking hourly. It does not matter how small of the ROM is it needs to be used and used often. Once the difficulty increases via movement progressions or intensity the frequency will decrease to hourly, multiple times per day, etc
- Start slow and controlled with your movements. This should be positive input in every way possible. Your body understands stress so if you create a stressful movement your body will recognize that. Once you begin to work in multiple planes of motion begin to increase the speed of the movement. The ROM of motion must stay pain free!
Loading Rehab Guidelines
- We need to begin loading the tissues as soon as ROM parameters have been established. The best way to begin loading tissues is through ISOMETRIC contractions. These isometric contractions are directly in line with your ROM parameters. The end ranges of your ROM is where you will start your isometric contractions. That means their will be a starting isometric contraction in the shortened ROM and one in the lengthened ROM.
- As you increase your ROM your isometric contractions will follow. These are max voluntary contractions. Meaning as hard as you can pain free. Use the same principle we used for establishing where to start for increasing ROM. Where there is pain back off and start from there. This should be very close to your ROM limits. Once you are able to place a max voluntary contraction at the end ranges (Shortened and lengthen positions) and everywhere in between. At this point we want to progress our type of muscular contraction.
- Next, progress to slow eccentric only movements starting from the end lengthened range to the end shortened ROM. Start with a low intensity, higher frequency then periodize with an increase in intensity and base the frequency off of recovery capabilities. There should be no delayed continued soreness, swelling, redness, pain etc. Immediate soreness or fatigue after loading exercises is to be expected but should not prolong. If it does decrease your intensity and adjust your frequency to make sure you fully recover before next session.
- Lastly move to concentric only and full concentric/eccentric contractions after that. The same progressions from above should be applied.
1. Movement progressions will be the easiest and most often used progressions to increase intensity if increasing load is not an option. Increase load when you can (when it calls for it, not in the ISOMETRIC PHASE). You will feel like you will be able to add weight quickly and that is true bc the tissues accept load faster but that does not mean neurologically and stability wise your body is ready for that. Strength is one thing, strength through full ROM is another.
LASTLY
1. DONT OVER COMPLICATE THINGS! If you keep to the above principles and progress correctly (slower than you think) you will not re-injure yourself.