As strength and conditioning coaches, it is our responsibility to have and know the proper progressions and regressions for all exercises that we plan on coaching. We will also need a system of how to implement and teach our exercises. When coaching a large group, we need to pick the variations that most lifters can pick up on pretty easily and variations that can get our athletes a lot of solid reps. With anything in the weight room, we want quality reps.
A lot of coaches shy away from the overhead press because it’s “dangerous.” But my question to the coaches that say that: “Aren’t most exercises potentially dangerous?” Also, overhead pressing is a fundamental movement pattern, in my opinion.
WATCH: The Strength Coach Development Center — Squat Progression
Seriously every exercise, for the most part, has the potential to be dangerous — hence why you and I have jobs is to ensure that our young athletes are receiving the proper training and coaching that they need in order to succeed in and out of the weight room.
When overhead pressing with young athletes, you need to follow a proper progression. Most young athletes can overhead press as long as you strengthen the shoulder girdles along with performing your progression. The biggest thing when teaching a beginner how to overhead press is teaching proper form from the beginning. You will start to see some cues can carry over to all lifts. Even in the overhead press, we can begin to teach our athletes how to engage their lats and set their air (bracing).
Starting from the Ground Up
I always like to do my overhead pressing progression from the ground up. It’s safer, as it takes joints out of the equation and lowers the center of mass. This makes your job as a coach much easier in teaching proper technique and form and beginning to introduce the cues you will use for overhead press.
A lot of young athletes use excessive lumbar extension (going to a half-kneeling position, your athlete will learn how to move their hips and shoulders with unwanted motion through the pelvis and low back), have poor core stability, don’t have great scapular stability, or are kyphotic secondary to poor posture from sitting all day on their phones or playing video games. The half-kneeling position will do wonders for all of these issues, especially the stability issue. I can’t recommend utilizing the half-kneeling position enough because it gives almost instant feedback to your athletes and enables them to self-correct.
You can even add half-kneeling breathing into your program to teach athletes how to brace/stabilize and control their breathing.
Remember, don’t over-coach your kids. Use smallest effective dose with your coaching cues. As with everything, give them goals to reach: push-up position plank for one minute, 25 push-ups, dumbbell bench 50 pounds for 10 reps, etc. Don’t rush to put a bar in their hand. They have to earn the right to put a bar in their hands.
And when in doubt, if it looks like shit, it is shit. Either you coach it or you allow it.
Sample Overhead Press Progression
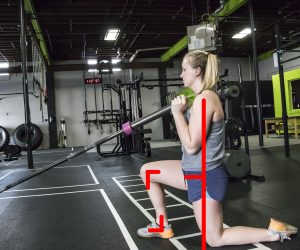
1. Half-Kneeling Landmine
Key Points:
- Faulty compensations are hard to come by. What this means is simply that the body has a hard time cheating. It almost puts the athlete in a position where they have no choice but to do the movement correctly.
- It decreases unwanted motion through the pelvis and low back
- It helps us create a stable trunk.
- The pelvis must be tucked. This is a great position to teach usage of the glutes, which will carry over to every movement.
- Keep a fixed position at hip width, which is typically narrower than shoulder width. What this does is increase the demand for the trunk to do its job. It forces the athlete to stabilize.
- This fixed position also causes more work to go into the shoulder complex.
- This helps to develop diagonal and unilateral stabilization.
- There should be a nice straight line on the down leg, from the ear to the shoulder to the hip to the knee.
- On the up leg, we are looking for 90 degrees in the hip and in the knee. The athlete should not feel a stretch in this leg.
- The upper back must stay tight.
- Coach the athlete to push through the bar. Do not let the ribs flare as the athlete pushes up.
- Don’t let the bar pull the athlete into a side bend as they bring the bar down.
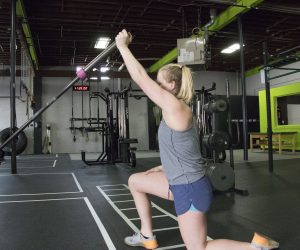
Now, as the athlete gets more comfortable with the movement and builds strength, the next step in this progression is to teach the athlete to lean into the press. This puts the bar in a true overhead position where all joints are aligned. Make sure to reach through the shoulder blade at the top (allowing full movement of scapula) and keeping the pelvis/butt tucked. This variation is not in the video.
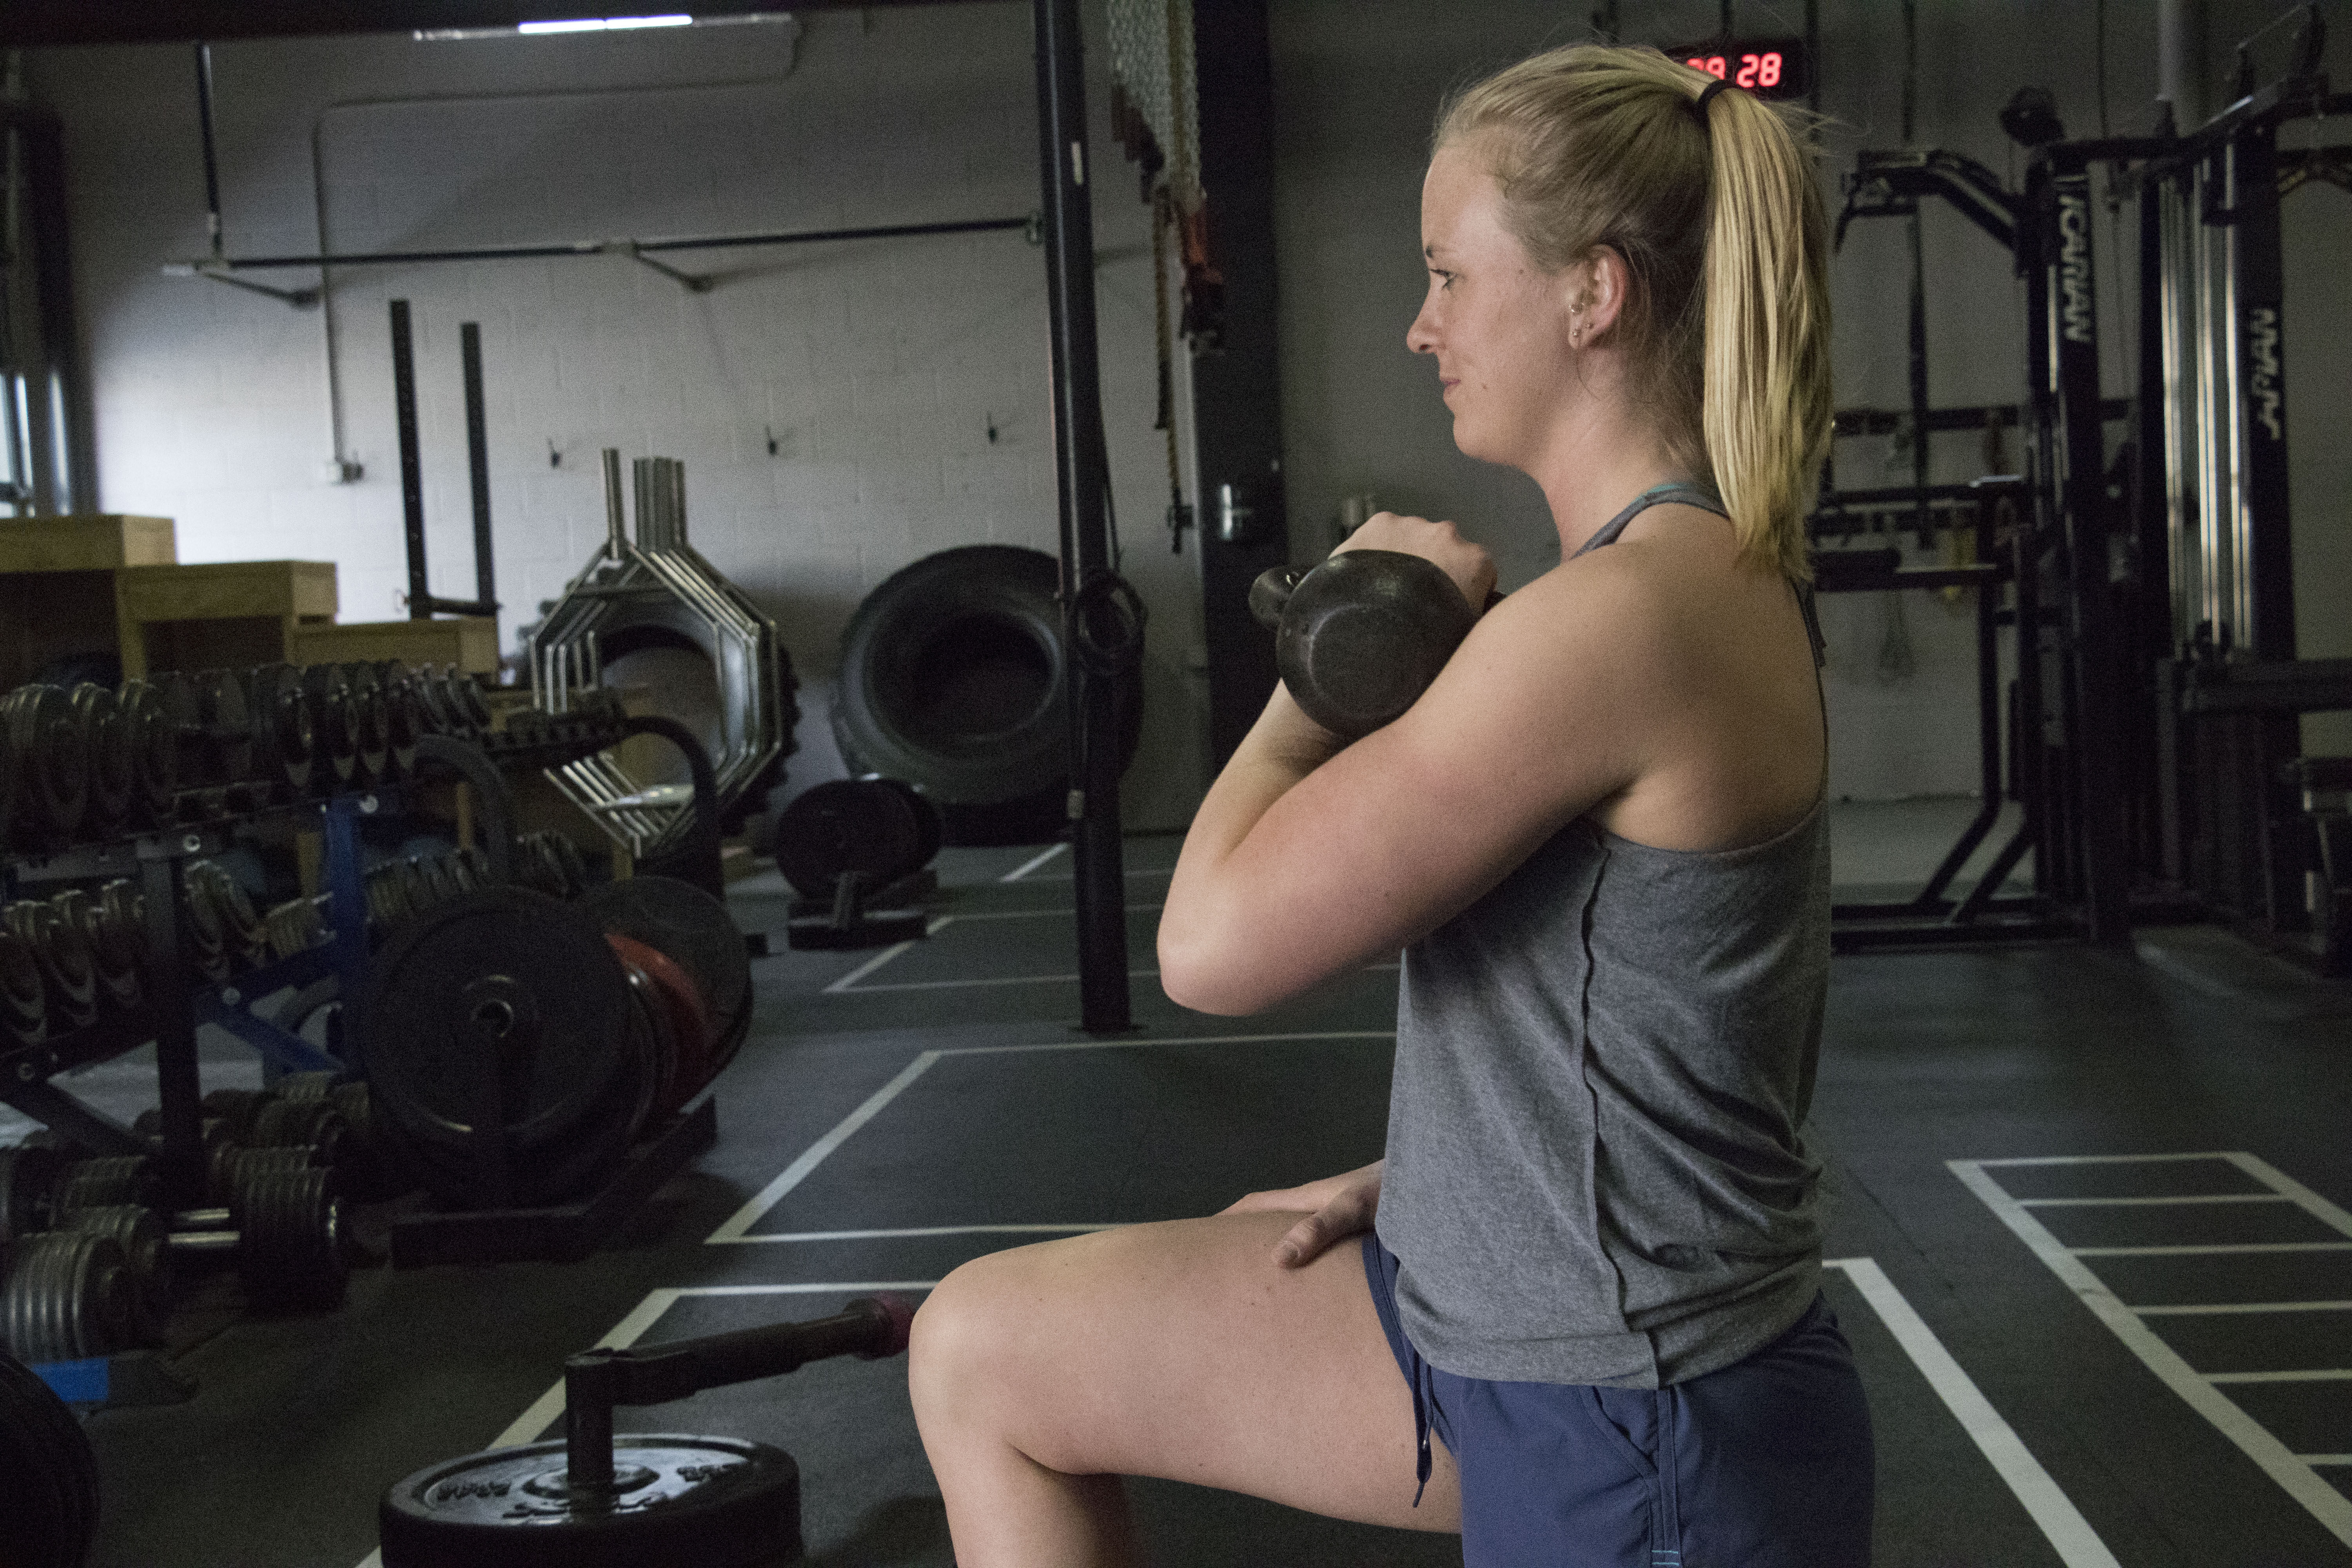
2. Half-Kneeling Kettlebell
Key Points:
- The kettlebell is a great transition in your overhead press progression.
- It keeps a neutral grip—which we used in the landmine press—and allows for an easier pressing motion.
- It requires stability, mobility, and a solid base of strength.
- It requires a great deal of stability, as the athlete will need to resist lateral flexion and extension throughout the movement.
- It requires full range of motion. If they do not have this full range of motion, the athlete will have to compensate typically through lumbar extension.
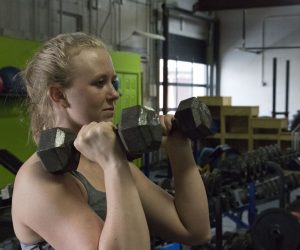
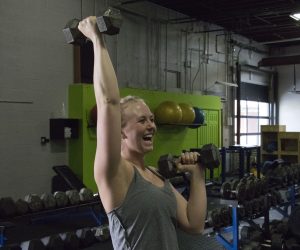
3. Standing Neutral Grip — Alternating
Key Points:
- The reason I prefer alternating is that it will limit the athlete’s chances of wanting to cheat by pressing two.
- It’s a nice progression between the half-kneeling kettlebell and standing barbell.
- By the time you get to this part of the progression the athlete should have a solid strength and stability base.
- You may use kettlebells or dumbbells for this movement.
- If you use kettlebells you can use a heavy one in a rack position and use a lighter one for pressing to increase difficulty.
- Keep the theme of the neutral grip.
- Continue to coach glute activation and core stability throughout this movement.
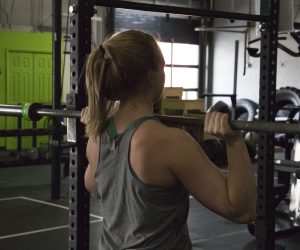
4. Barbell Overhead Press
- While this is considered an upper body movement, just like the bench press it is a full body movement.
- It requires contraction of the glutes, abs, and quads as you press.
- Remember, we want to teach the athletes to create tension when they lift.
- Teach the athletes to be violent with the press, almost like they are trying to punch the ceiling in the face. That means the wrists should be locked in under the bar and in alignment with the elbows (like when throwing a punch).
- Feet are about hip width.
- Legs are locked out.
- I personally use a half thumb grip (just outside the shoulders), but it’s whatever is comfortable for the athlete. If the bar path looks off just have them change their grip.
- Keep the upper back nice and tight.
- Focus on stability through the core.
- Glutes are engaged.
- Heels are screwed into the ground.
- As the bar passes the eyes, you can teach the athletes to punch their heads through. This will keep a straight bar path.
- Lower under control.
WATCH: The Strength Coach Development Center — Bench Progression