


I've been a collegiate strength coach for more than 17 years, and I've been training for 28 years—it's safe to say I've been around a few racks. These racks have varied between no-name companies that looked like someone made it in their garage (barely) to some of the best racks money can buy. Of these racks, I believe some are better for the collegiate weight rooms based on ease of use and the accessories that come with them. Some racks are better suited for the personal training gym or even your private garage gym.
Arguably, there are a couple of factors that come into play when considering buying a rack for personal use.
Space
What I believe comes first here is how much space you have. It doesn't matter how much a rack costs if it doesn't fit efficiently into the space that you have set aside for training. If you are like most individuals, you are probably limited in space and using your garage for a training area. That being the case, you will want something that takes up a smaller footprint but will allow you to get done what is necessary for your training program.
RECENT: Athletes and Wearing Belts
Cost
The second factor you'll want to look at is cost. Money is always going to be a factor in a bigger purchase. Remember, a power rack is one of the most important (if not the most important) pieces of gym equipment you will purchase in constructing your home gym. Even if you have an unlimited budget, you will still have to refer to space being a factor. If you don't have an unlimited budget, then selection is key.Attachments
Another factor to consider is the options that come with the purchase of your rack. Does it have a pull-up bar? Are their attachments you can purchase to allow you to do more things with the rack (i.e., dip attachment, safety catches, mono attach, etc.)? The more options you have in building your rack, the more versatile they become. With that said, what is most important is your ability to do your main movements with the rack. It's nice to have options.5/3/1 Squat Stand
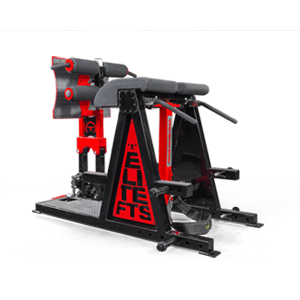
Now, I've ran through all of these factors myself. My budget wasn't big. I do not have a ton of space in my garage for training because I utilize my garage for more than just a gym. Again, for 28 years, I've been working out of many gyms, with many different racks and gym equipment. The rack I purchased was the5/3/1 Squat Stand made by elitefts. Now before you think that this is just a plug for the company that I've been associated with for 13 years, you're wrong. I'm not going to just buy something and use it for my training without it being worth the purchase. I take my training seriously, and I need a rack that will stand up to the weights that I use. I've not only been around equipment, but I've also been around the highest levels of powerlifting. My best lifts to date are 1047 squat, 815 bench, and 820 deadlift with a 2667 total in the 275 class and 2579 total in the 242 class, multi-ply. So, having a rack that can take a pounding is important to me.
I bought the
5/3/1 Squat Stand with all this in mind. First, it takes up a small footprint while still allowing me to perform the movements that I want. It comes with two pull-up bars, one on each side. The front side gives you the ability to do neutral grip pull-ups at multiple positions. They are all thick bars, which gives the added effect of working your grip as well. It's a light rack when not loaded with the bar, so it's easy to move, but you can also lock it to the ground for more stability. If you know exactly where you want to place your rack, then I would recommend locking it to the ground no matter what. You can also purchase attachments to go along with the rack, such as mono hooks. If you make that purchase, then I would have the rack locked down.
5/3/1 Squat Stand Modifications
Now, I have made a video of my 5/3/1 Squat Stand and some modifications that I made to it to make it even more versatile, and these are things you can do at home yourself. I also took pictures so that you can see and examine what was done. I will also be making some more modifications in the future.
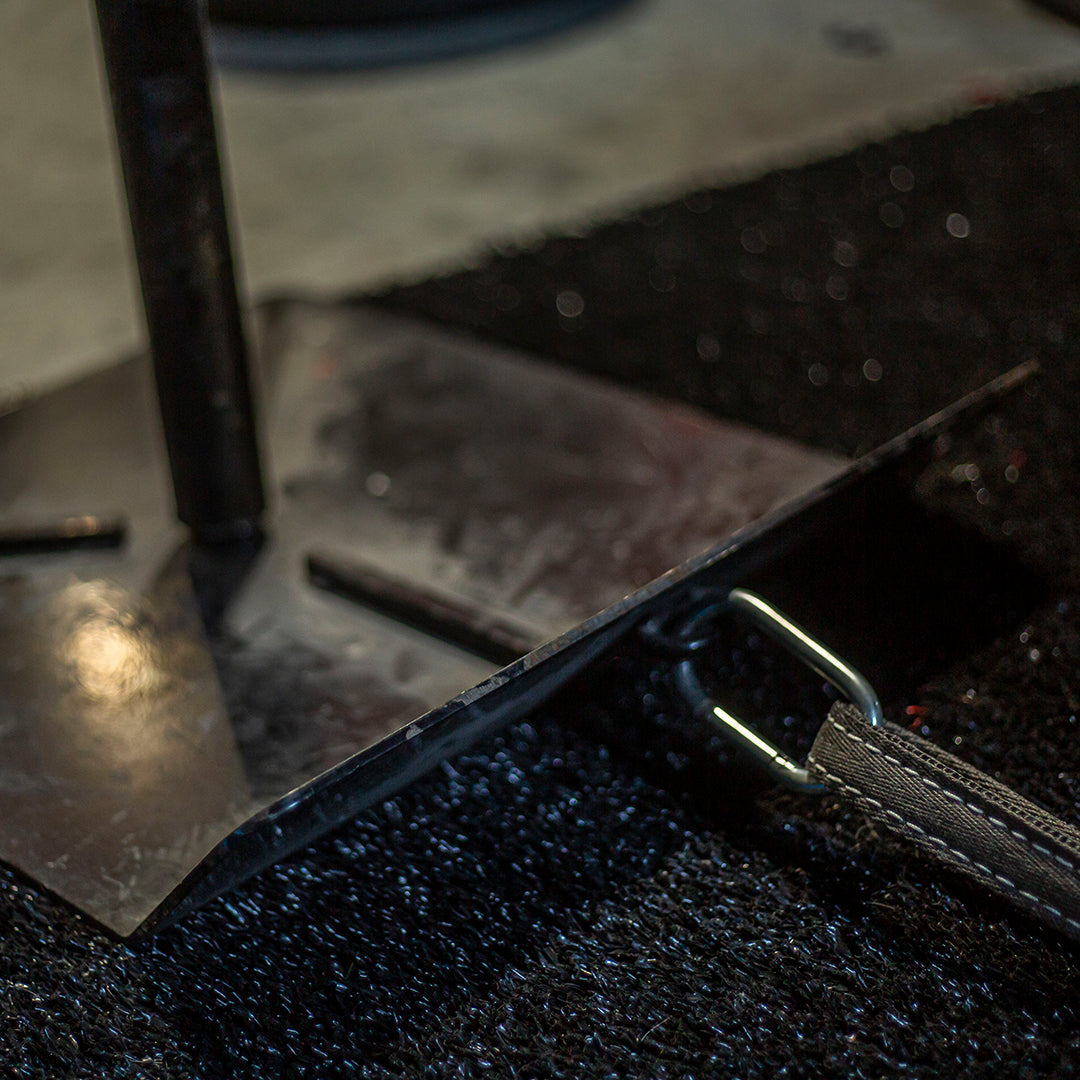
Extra L Brackets

The first thing I did was add two extra L brackets to the backside of the rack. I made and welded these on myself. Even though having the front brackets on the rack is adequate for securing the rack to the floor, I added the two extra so that when racking heavier weight, there is zero chance of an issue.

Pulley System
Another modification I made to the rack was I added a pulley system. This is a simple modification that you can do yourself. I went to the local Home Depot and bought two, 420-pound rated pulleys that I used self-tappers to drill and attach to the rack. What's nice is that you don't have to modify anything. The distance between the middle of the rack and the front pull-up bar allows for plenty of room for cable movements. Also, the fact that the pull-up bar is a thick bar allowed for the attachment of the pulley to proceed without issue. Along with the pulleys, I bought the cable at Home Depot as well. It came as a set, so you don't have to buy the cable clamps separately.
As for the other end of the cable system, all you need is a tube with a stopper on the end. I used steel, and this was a conditioning rope wall attachment I hacked. I cut off the top end and welded on an eyelet so that I could attach my cable. If you can get the steel pipe from any scrap yard, you can attach a bolt to one end of the tube for the weights to sit on and attach another cable at the top that you can run through a carabiner that is attached to the cable. There are many ways to make this happen. Now you have a pulley system to do pulls, triceps, etc.
Rackable Dumbbell Attachment

Lastly, I built a rackable dumbbell attachment for my 5/3/1 Squat Stand. It's a game-changer. I used some angle iron, some flat bar, and threaded rod, and poof, a rackable dumbbell attachment. The dumbbell you see in the picture is 145 pounds. I made the rack to fit my grip and the dumbbells that I have right now. It secures to the rack with ¾ threaded rod, a washer, and nut. Simple but amazing.
Now, I know that welding things on a rack isn't for everyone. Probably not for most of you. There are many ways to do exactly what I did without welding. Ironworking is in my blood and my family. I have more modifications that I'm going to make, and they are things that you can do as well. I will be making videos of them to show you what you can do as well.
I can hear it now. Why make these modifications when I can just get a rack with them already? Again, we are talking about money and space. These modifications are NOT necessary. I just wanted to show you what you can do with this rack to make it more versatile. For the money, you cannot beat the 5/3/1 Squat Stand. It is what I use, and in the future, it is what we will be purchasing for a personal gym.