


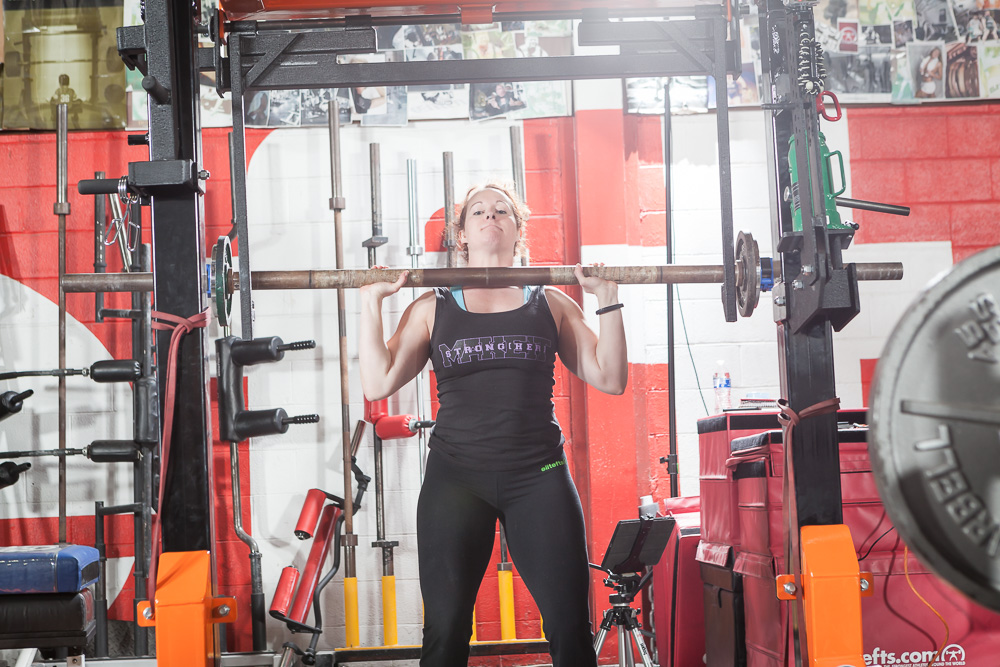
Regardless if you’re a Crossfitter, strongman, or Olympic lifter, the press is a cornerstone of your training. The concept itself is very simple: press the weight over your head. The proper execution of said concept is anything but easy. I want to take a look at the press from an osteokinematic, biomechanical, and maximal performance viewpoint, in an effort to marry the three into the safest and strongest pressing position possible. This first part will cover everything from your feet to your shoulders.
The stability of every platform starts with its base, so that’s where we’ll begin. We want a base of support that is wide enough to offer sufficient stability while not being so wide that we lose the ability to generate maximum power from hips for any power variation of the press. A general rule of thumb is that the wider your feet get past your hips, the greater the decrease in force production through the hips1. I have found the happy medium between base of support and power production for most people lies with the feet directly underneath their hips or just slightly wider than their hips.
RECENT: Programming Economy — 5 Exercise Categories
We can’t sufficiently discuss the position of the feet without addressing the toe angle. This angle of the foot itself serves two main purposes. First, it positions the entire leg for maximum recruitment of the lateral rotators of the hip and the gluteus maximus. Recruitment of these muscles is important not just for producing force in the power variation of the press, but also for helping stabilize the pelvis during these dynamic movements1. A stable pelvis during these power movements will decrease the risk of lumbopelvic injuries and increase force transmission from the legs and hips to the bar2.
The second main job of the toe angle, in conjunction with a wide enough base, is to allow the vertical dip and drive of the torso. This movement is a combination of lateral rotation of the thighs, abduction of the thighs, flexion and extension of the knees, and slight flexion and extension of the hips. All of these movements increase the overall amount of active musculature involved across the hip, which produces a more stable pelvis and generates greater force production. Lateral rotation and abduction of the thighs is what creates room for the pelvis to drop vertically. Without this, athletes will be inclined to hinge forward at the waist, which will create horizontal displacement of the bar in the drive. This displacement creates an external moment that makes the execution more difficult than it has to be.
Moving up from the pelvis, we get to the area that creates stability in both the thoracolumbar and pelvic regions: the "core." Our posterior back muscles are actively engaged when we are vertical and under load by supporting our torso to keep it upright. The other anterolateral (AL) muscles of the core must also be braced to share the weight of the external applied load and to help stabilize the pelvis. These AL muscles have anterior, lateral, and posterior attachments to the pelvis, the ribcage, and around to the fascia of the lower back2. Without the active engagement of these muscles, the pelvis is more susceptible to movement. And because of the relationship the pelvis has with the lower back, any movement here will create some sort of flexion or extension in the lumbar spine2. Any flexion or extension here under load is a can of injury soup with your face on the cover.
Everything we do from now is in an effort to create a giant helipad that the barbell lands on, rests on, and takes off from. Doing so requires several talking points that must be flushed out. We will need to discuss hand placement, bar placement, scaption, elbow direction with forearm angle, and upper back engagement. To start, the general rule of thumb for hand placement is somewhere between the tip of the shoulder and approximately six inches wider than the tip of the shoulder. Anything wider than that generally creates instability, which is no bueno. As far as traditional versus false grip, it’s really a matter of preference. Yes, pressing overhead with a thumbless grip can be unsafe, but so can leaving the toilet seat up in the middle of the night. Understand you can drop a barbell on your head, or have your wife or girlfriend get stuck in a toilet at 3 AM, but both are risks that are up to the individual to take.
Now that we have a place for our hands on the bar, we need to have a place for the bar on our shoulders. As we rotate our elbows under the bar, the torque created around our shoulder creates natural tension of the musculature. This tension usually creates a shelf with the shoulder muscles that the bar can rest on. Generally, the best place on this shelf for the bar is as far back toward our neck as we can tolerate.
MORE: Overhead Pressing for a Bigger and Safer Bench Press
Scaption is defined as approximately the 30 to 45-degree angle of our upper arm from the frontal plane (see picture below for clarification)2. This position creates the least amount of mechanical stress in the shoulder joint and allows for the greatest amount of muscular engagement from the shoulders and upper back1. This muscular engagement with decreased joint stress creates stable shoulders to press with.
Elbow and forearm direction should be pointed in line with the theoretical point over our heads where the weight will end at the lockout of the press. This ensures a natural path during the press from its starting point to its lockout centered over our heads. Finding this position requires some shoulder mobility by demanding us to rotate our arms under and around the bar. Since both scaption and elbow direction can be affected by hand placement, you should try adjusting this if you find yourself having trouble attaining either of the positions described. If you’re still unable to attain these positions then your issue is one of shoulder mobility and requires mobilization techniques to increase the range of motion of the shoulders.
The upper back is responsible for keeping the shoulder blades retracted and elevated. By keeping your upper back engaged you make the press easier by decreasing the distance traveled by the bar and by providing functional stability for the shoulders to operate through, both of which are necessary for efficient and successful presses at higher relative loads.
Understand that in applying these concepts there will be variation from person to person at every position we’ve discussed because no two people are built exactly alike. Variation does not mean incorrect; it just means that two athletes executing the same concept will not look exactly alike. Remember, building this perfect platform for the press is a complex process that involves the entire body. Understanding how to achieve maximal pressing performance from the application of safe biomechanical principles is the key to your overhead pressing longevity. Now go forth, apply these concepts, and press the world regardless of your sport of choice. The sky is the limit.
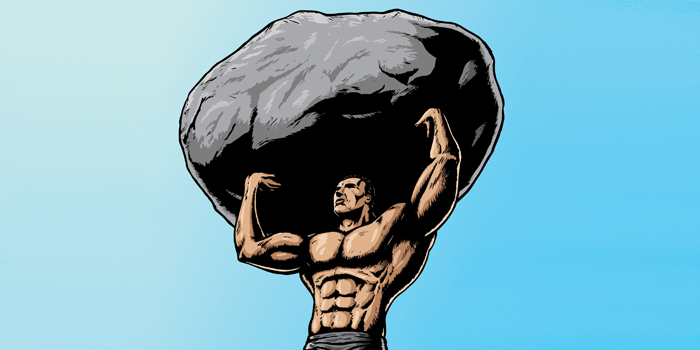
Header Image, Daniel Villeneuve © 123RF.com
References
- Neuman D. A. Kinesiology of the hip: A focus on muscular actions. Journal of Orthopaedic and Sports Therapy. 2010; 40(2): 82-94.
- Neuman D. A. Kinesiology of the Musculoskeletal System: Foundations for Rehabilitation Second Edition. St. Louis, MO: Mosby Elsevier.
