


In part one of our physical therapy series, the general thought was to address the initial cause of the hip shift, let the tissue heal, and retrain a more effective pattern. To do this for Casey, we started by looking at why his left side was getting so hammered on.
The 90-90 Hip Lift
The 90-90 hip lift comes from a school of thought called PRI, which looks at inherent asymmetries in the human body and how we tend to develop preferences based on those asymmetries. Casey (and most of us that compete) falls into a certain pattern where the first thing I know I need to do as a PT is get his body to turn off his low back; he’s so strong here that his low back muscles pull his pelvis into a position that makes it extremely difficult for key muscles like glutes and abs to function properly. This is secondary to poor positioning. The dominance of his low back has become a preference that has changed the mechanical advantage that other stabilizers need to have. If you’re interested in this, either email/ask me, or find someone in your area to reach out to. It’s a tremendous tool but far beyond the scope of this short explanation.
Part of the cause of this issue is how Casey has trained: staying upright, emphasizing a heavier arch than some. Some of the cause is just because of what we do, not natural asymmetries. Regardless, if we’re going to get his hip shift to change, the first thing I need to do is actually give other stabilizers a chance to function, and then retrain that pattern.
A few things:
- Breathing: Chris Duffin just put out an article discussing how breathing is not bracing but instead that in order to brace correctly, we need to keep muscles positioned to do their job both at the respiratory and pelvic diaphragm. In the degree of extension/tilt that Casey was in, they weren’t. That’s part of where we started before retraining a different pattern.
- What we’re actually accomplishing: There are 600 videos of people performing a 90-90 hip lift on youtube, but somehow, what we actually should be feeling and what we are trying to accomplish gets lost. This is “how” we’re changing things.
We’re taking his low back out of the equation. It completely overpowers everything and is his body’s primary point of perceived stability. But, If you take your overworked star player out of the game, you have to put someone else of sufficient capability on the field. Utilizing hamstrings here based on where they attach on the pelvis is one of goals. So, take out the back and utilize hamstrings to anchor pelvis.
With basically all of these correctives, we’re looking to carry through a similar theme. Pull up an anatomy chart and look at where these muscles attach and how they need to couple well to stabilize and not excessively pull into either anterior or posterior tilt.
A few key points from the video:
“It was frustrating. It took a month just to get everything in position.” — Casey
This was exactly what I needed him to feel and hone-in on. Identifying this is huge — partially for correctives, partially to increase his awareness of where he is in space. Take your time with it. One other cue you may want to try if you cannot attain the tilt without low back turning on is rolling your knees gently “up” towards the ceiling.
Note how relaxed Casey is in performance. He’s not working hard to find this from an “engage everything” standpoint, but working hard not to feel things he shouldn't and instead to feel what he’s intended to. It will likely be uncomfortable to stay that relaxed. Our sport and culture demands that we are “on” all the time. This forces you out of that.
Casey mentioned a balloon and how hard it was for him to breathe correctly: not using his neck, not “forcing” the air out like he’s trying to blow over a skyscraper, but actually getting a full exhale without overstraining. Think full but not forced exhale. Feel or envision your ribs dropping down and in.
I cannot emphasize this enough:
- If you are not breathing with your diaphragm, fully exhaling, feeling your ribs drop and pausing there, you are missing the boat with this.
- If your low back is engaged and you aren’t feeling it with your rectus (think crunch muscle) shut off, you’re losing the purpose.
- Feel your hamstrings engage, your back relax, and breathe.
- You’re going to want to work harder. Don’t. There’s a time and place for it and you’ll get there. I kept telling Casey to “try less hard.”
- “If this is easy, you’re not being picky enough.” This is your reset button, so make sure you’re using it appropriately.
Pro Tips from Casey
- Be extremely picky with positioning. Unfortunately, we’re not all in-tune with our bodies and it takes patience to learn or relearn positions. I was born like everyone else — with fantastic mobility. But through years of sitting, muscle imbalances, and overcompensations, I developed an anterior pelvic tilt. It was reinforced the stronger I got. So lying on the ground trying to get my low back to relax is not as simple as thinking “relax.” Play with the position. Get comfortable. Be picky.
- The goal is to find the best way to engage your hamstrings, shut your low back off, tuck your tail bone, and pull your ribs down — NOT PUSH THEM DOWN. This will take trial and error. If you have to reset, then reset. It took me a month to figure this position out, and even longer to have it translate to a squat or deadlift.
- Obliques matter.I learned my obliques are the most important part of engaging and bracing my core. “Fill your belt” is an okay cue but most people push forward into the belt when you really should focus on using your obliques to fill the belt.
- Bracing properly isn't easy. Can you jump higher off of jello or concrete? Flaring your ribs in a squat or deadlift creates a weak link — the jello. When you are in anterior pelvic tilt and you maintain that arch through a squat or deadlift, you have no choice but to flare your ribs. You give up tons of efficiency as a result. Ever get dumped forward in a squat? I’ll be willing to bet the majority of missed attempts due to that can be resolved by fixing your hips and bracing properly.
- Still on the fence about it? Stand up and try it. Exhale fully. Literally force every ounce of air out of your lungs. Now flex your abs and obliques. You should feel strong in that position. Reset. Breathe out. Get every ounce of air out. Arch hard. I mean really over arch. How tense is your core now? You should immediately feel like you "lost it" in terms of tightness.
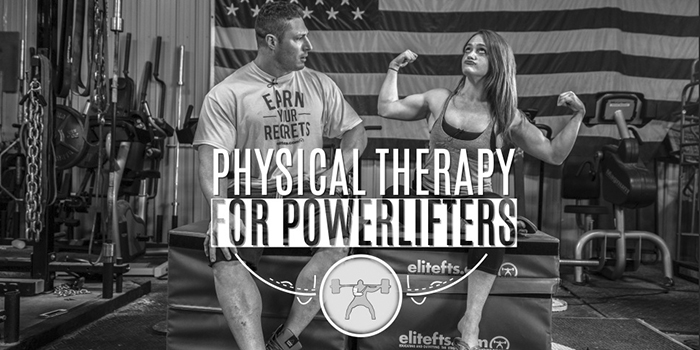
Continue watching this seven-part weekly series for exercises that helped mediate Casey's hip shift and disfunction.

Thanks for the concise instruction!
Kate- if you refer to part 1- I had an anterior pelvic tilt and i squatted into my right side. So Dani was focused on getting me back INTO my left hip. We did that through breathing, bracing, and anchoring which is laid out in the subsequent parts of the series. You can reverse any of the rehab movements she used OR do them for both sides where you may realize a deficiency you hadn't noticed before and catch something before it becomes an issue.