

Sitting cross-legged next to my classmates on the dusty gymnasium floor, I remember my elementary gym teacher Mrs. Trotter presenting the jump rope to our class for the first time. In her first lesson, she laid the jump rope (the alternating two-toned plastic kind) on the floor in a straight line. She simply stepped over the line with each leg. Across a span of six weeks, each lesson linked with the previous lesson, and on week six, our entire class was finally permitted to hold a jump rope handle in each hand, pump our wrists, and jump high enough with both feet to clear the traveling rope. To a class of twenty-five, her lessons were not fancy or exciting and instantly slashed everyone’s high expectations of jump roping on day one.
Despite the mundane, she slowly built a foundation by teaching us developmentally appropriate skills that would allow an entire class to learn how to jump rope effortlessly.
Mrs. Trotter had the whole year to meet the concepts, principles, and strategies of movement standards for our third-grade class. Although, I bet she still felt pressed for time.
How would her jump rope lesson plan be modified in the by-the-minute decline of physical education each school year per student (Ginicola & Johnson 2020)? Would she be able to extend the concept of jumping rope over six weeks?
How would she alter the lesson to meet the needs of the autistic child, considering that 79–83 percent of the autistic population does not display the appropriate motor skills for their age group (Green et al. 2009; Hilton et al. 2012)?
What repercussions exist for the child who doesn’t grasp the concept in accelerated form before the class moves on to another milestone?
12-Week I Can Jump Rope Program
In the first of its series,
I Can Jump Rope! replaces a child’s demoralizing “I can’t” with an accomplished “I can.” Relying on the same teaching methods outlined in
The Power of a Note, let’s consider the whole child with autism who wasn’t given the appropriate time or instruction to learn how to jump rope in gym class.
In honor of Autism Acceptance Month, here are four weeks of the 12-Week I Can Jump Rope Program found in
I Can Jump Rope!
The progression is a template to layer skill acquisition, motor development, social experiences, and positive association toward jumping rope. The additional eight weeks can be found here.
Teaching points you’ll find helpful throughout are:
- Neural and motor tasks (with load) equip the child with progressive rope-jumping proficiency.
- Methods Observe, Communicate, Schedule, Progress, and Motivate are layered in every lesson.
- Play mimics and replicates desired tasks to increase coordination, rhythm, timing, strength, and endurance.
- The trainer models expectations.
- Sensory cues shape body awareness and skill proficiency.
- Through system feedback, deliberate practice uses regression, stabilization, and progression to extend lesson goals.
- Minimal equipment is required.
- The child’s confidence boosts from “I can’t” to “I can!”
Note: Feel free to shift weeks around and extend or shorten the duration of a weekly lesson. You may find it helpful to revisit previous lessons before continuing. Remember, your pace is contingent on the needs of the child. Make minor tweaks to cues and presentation continually.
As a reminder, use these weekly lessons as a program insert within a 30- to 60-minute training session—this isn’t a comprehensive training program by itself, although much of the work is full body. I’d recommend having a section within your training program that calls attention to “Jump Rope Work.” Therefore, a shift in the training day takes place where we emphasize specific work to get better at jumping rope. You could also fit these weekly lessons to temporarily replace the warm-up, accessory section, or cooldown. If you need help designing a comprehensive training program, I recommend reading
The Power of a Note.


Week 1: Rope Step Overs
Equipment
Setup
You’ll need a jump rope and chalk for Rope Stepovers. Lay the jump rope on the ground in a straight line. At the left-most end of the rope, trace two feet standing roughly shoulder width apart—the toes should be a couple of inches below the rope. Step the right foot laterally yet over the rope in a Y position—the heels should be a couple of inches above the rope. Let the left foot join the right foot shoulder width apart. Again, trace both feet. Continue alternating this pattern until you reach the right-most end of the rope. Shade in the right foot of every stance. The shaded and non-shaded areas will be used to decipher the child’s lead leg as we move laterally in each direction.
How-To
At the left-most end of the rope, the child will place each foot in the designated chalk outline. Step the right foot laterally yet over the rope in a Y position into the next shaded footprint. Let the left join the right foot by stepping into the non-shaded outline.
Once the child reaches the right-most end of the rope, reverse efforts by letting the left foot lead to the starting point. Realize the child will be facing the same direction each way!
Cues
Model how to perform Rope Stepovers. The chalked feet reinforce foot placement. As the child steps to the right, use the cue “shaded” or something similar. Stepping laterally from left to right, the shaded foot represents the lead foot. When moving from right to left, use the cue “outline” or “clear” to reinforce how our left leg is now the lead foot.
Cue Modifications
Try colored chalk! Color code the right foot in blue and say “blue” when the right foot takes the lead. Color code the left foot as orange and say “orange” when the left foot takes the lead. Instead of chalk, use non-slip rubber footprints. Consider tapping the lead leg if a tactile cue is needed.
Benefits
Rope Stepovers are very easy to complete and meet expectations. Week 1 allows the child to be reacquainted with the jump rope without referring to it as a jump rope, touching it, or jumping over it. Rope Stepovers reinforce how our foot and body travel over the jump rope.
Immediately, negative association lessens as we approach the jump rope in an entirely different way and reach success without frustration or failure.
Rope Stepovers improve hip function and strengthen the hip abductors and glutes.
Progression
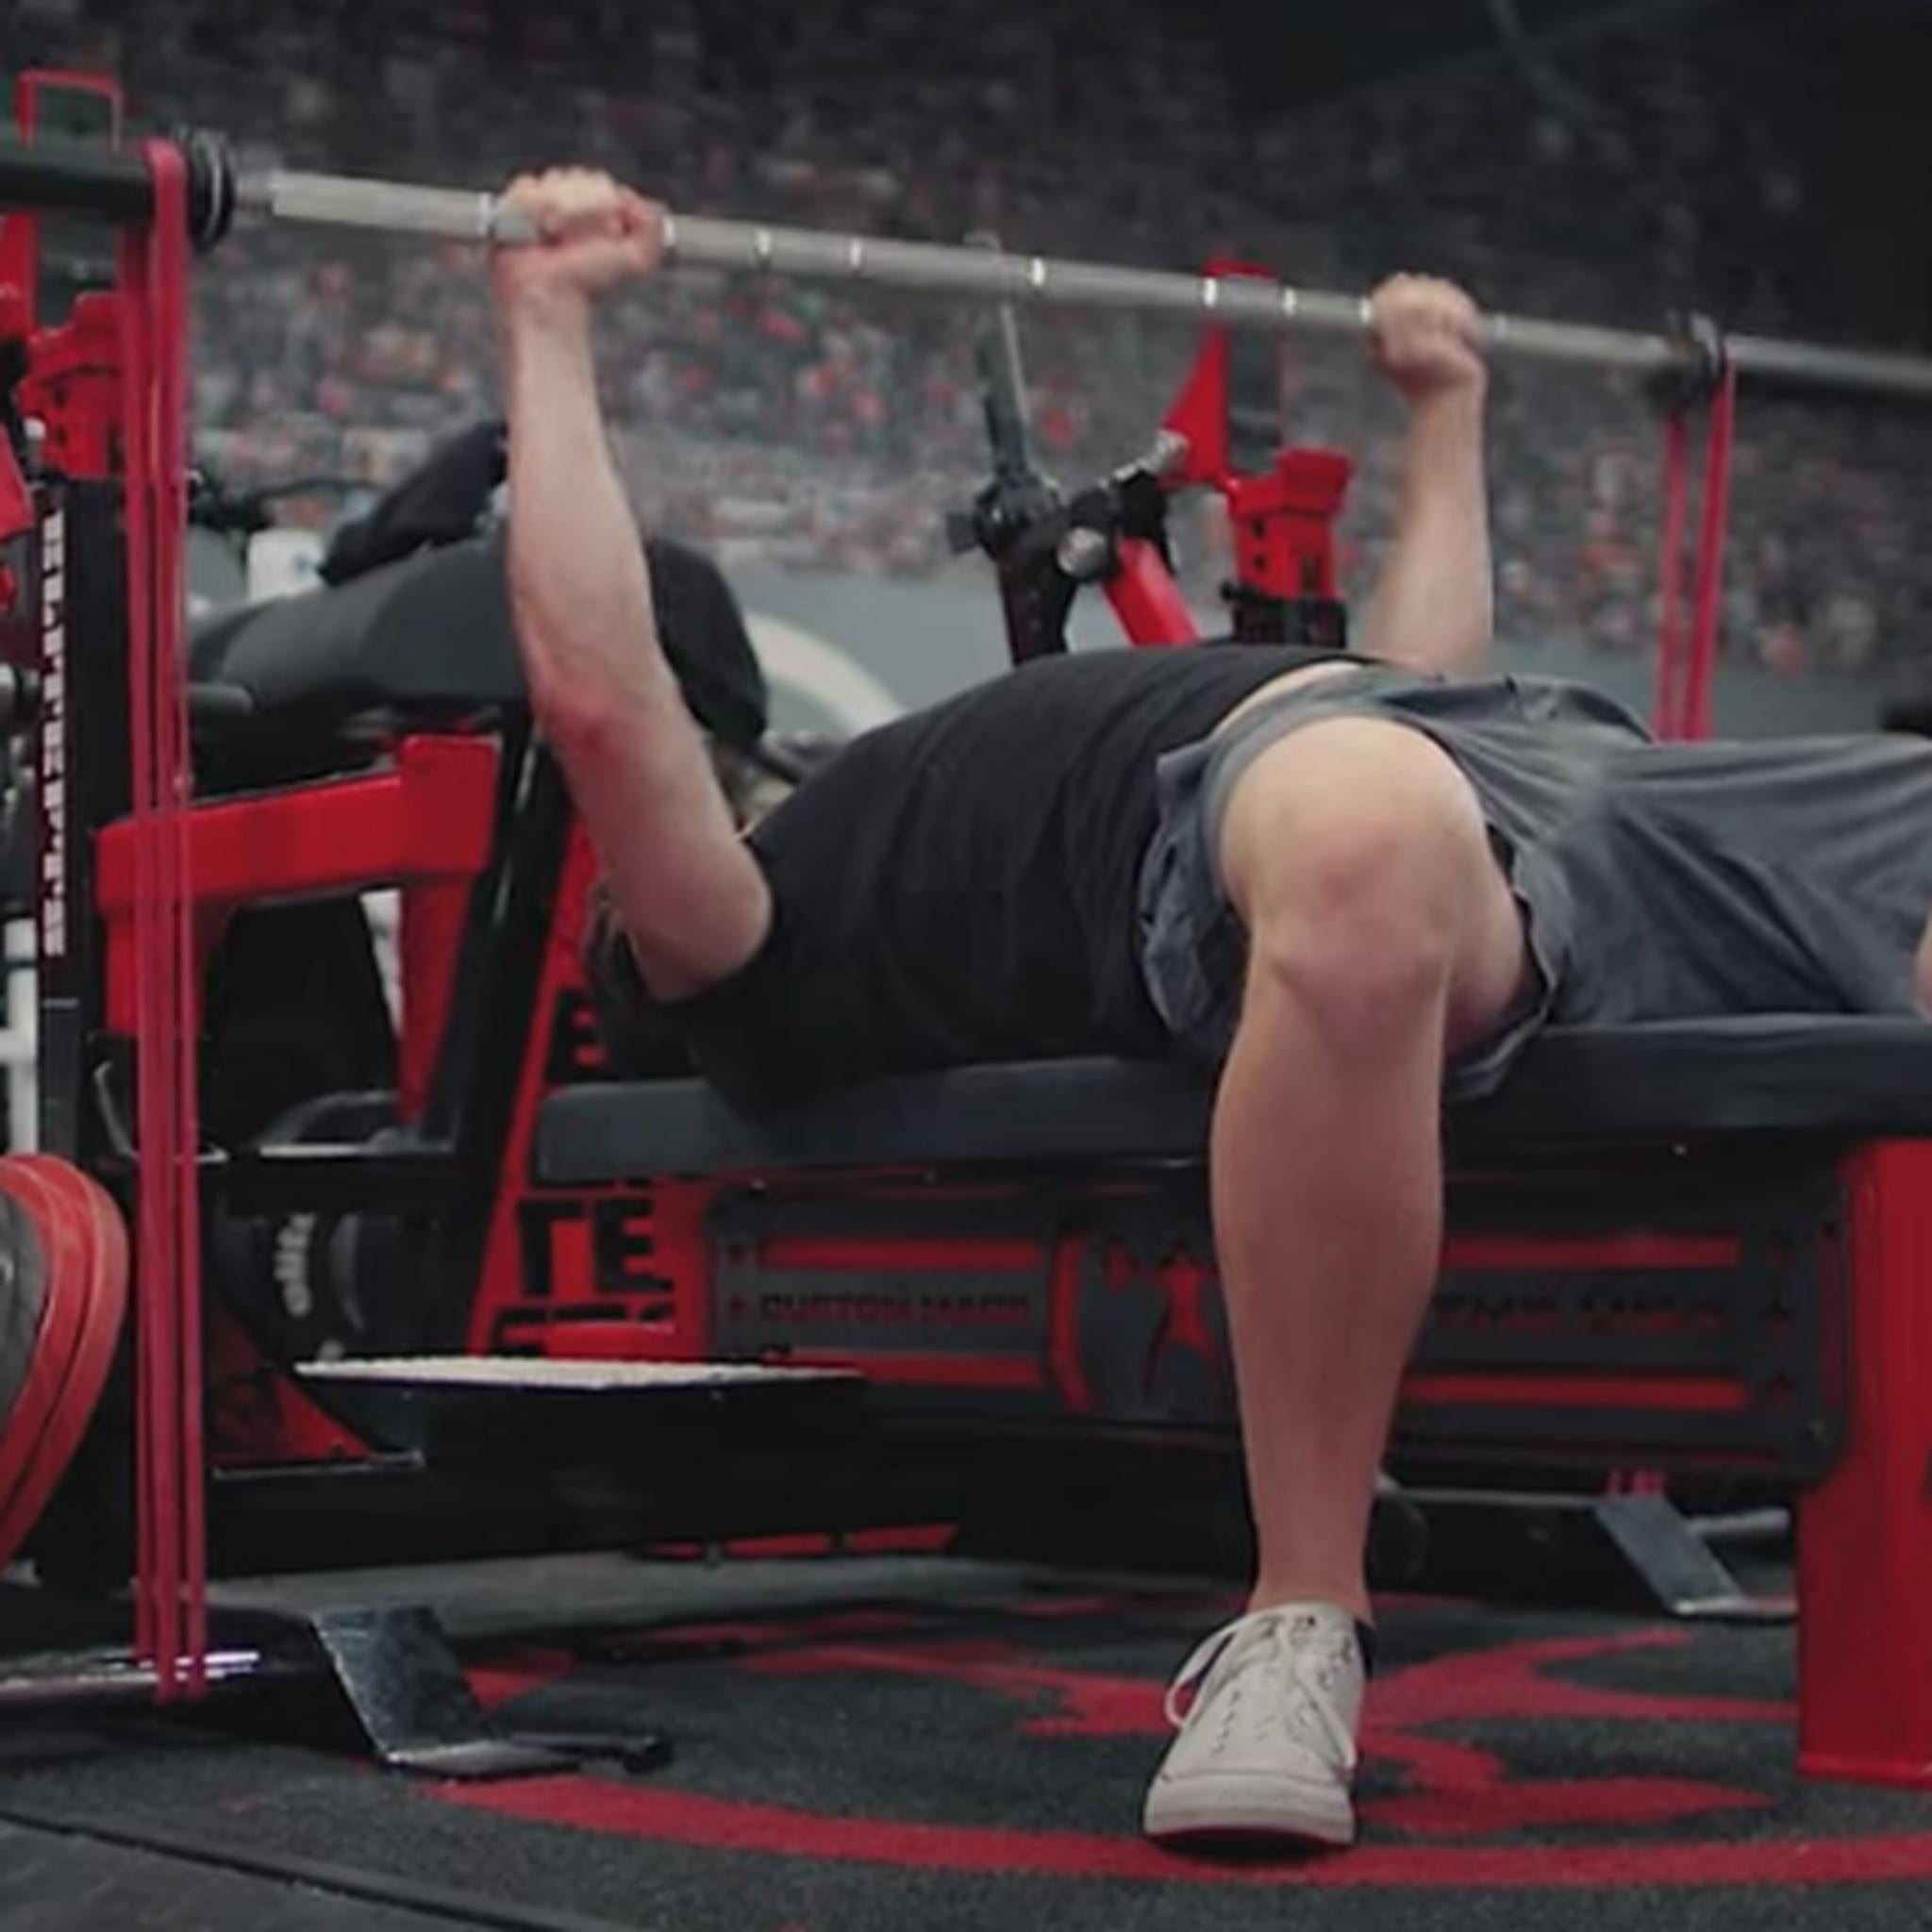
To progress Rope Stepovers, model how an arm swing can become part of the process (opposite hand up of leg stepping over rope), increase speed, elongate stride length, use high knees each step, wrap a band around ankles for added resistance, play follow-the-leader, and eliminate cues.
Sets and Reps
Down and back is one set. Make each set more challenging by utilizing the progressions listed. Each set is intended for the child to reach success. Stop short of failure or frustration. Continue activity as long as interest remains. Have fun!

Week 2: Boa Constrictor Squeeze
Equipment
Setup
Lay the jump rope on the ground in a straight line and flex the imagination muscle.
How-To
Today the jump rope turns into a boa constrictor. It’s alive, and we must be careful to stay clear of its strike—it’s unpredictable and volatile!
Holding onto one handle, demonstrate how the snake slithers across the ground by moving the gripped handle side to side so that the rest of the jump rope slides against the floor. Begin these movements slowly and small. Have the child make the snake slither too.
Let a third person take hold of the handle so you can model how to dodge (step over or jump) the jump rope responsively as the jump rope moves side to side. Have the child dodge the rope as it moves from side to side. Switch roles.
Option: If the child gets touched by the snake, aka grazed by the jump rope, make the occurrence playful by squeezing the child through a side hug. You’ll know if this is inappropriate for the child you’re working with. From my experience, kids love this aspect of the game, and its addition engages everyone involved. Encourage the child to self-hug as an alternative.
Cues
Model to the child how to make the snake slither and how to dodge the ferocious yet sneaky slither of the snake.
To make the snake slither, cue the child to move the handle-gripped arm “back and forth.” Consider guiding the child’s forearm back and forth to feel the movement. Assist the child’s grip to reinforce grip pressure and the movement pattern if needed.
To dodge the snake’s slither, cue the child to “jump” over the rope as it gets close to the shoes. As this cue is given, model how “jump” requires you to leave the ground temporarily with both feet, so the snake doesn’t have a chance to constrict.
If the snake touches the child, use the cue “squeeze” to have the child prepare for a side hug. A “squeeze” is playful and fun—it’s not intended for the child to feel like she lost. From my experience, lots of laughing and smiles will occur.
Benefits
Boa Constrictor Squeeze is another opportunity for the child to manipulate a jump rope without considering it a jump rope. In the child’s mind, this tool is versatile—it moves, has parts, and, with a bit of imagination, can become anything.
Imagination is a skill that requires practice and is key while playing Boa Constrictor Squeeze—we’re responsive to the snake because it’s unpredictable in speed and range. There’s an urgency to pay close attention, step higher, move faster, and jump because if not, a squeeze is on its way!
Switching roles is encouraged throughout. As the slitherer, the child can observe someone else move over the jump rope through a stepover or jump. In this role, the child also has the opportunity to hold onto the handle of the jump rope and practice grip: how it feels to add tension to the handle and how to maintain grip while in motion.
As the dodger, the child is aware of the body and the space surrounding the body. The child coordinates a response to avoid contact with the snake. Along with the previous activity, stepping over the jump rope is continuously reinforced while introducing the jump as a new movement pattern.
Another benefit to Boa Constrictor Squeeze is how the squeeze represents a consequence—every action has a reaction.
Progression
Practice slithering fast, slow, and at a snail’s pace. Try slithering in small and large strokes.
Sets and Reps
Switch roles (from slitherer to dodger) as long as interest remains. Spend as much time as you need on each role until the concept syncs. For example, after three minutes, switch roles. Focusing on one role may be the lesson for the day—that’s okay!

Week 3: Rope Tug of War
Equipment
- Weighted rubber jump rope or
battle rope
Setup
Choose a jump rope that, if pulled in opposite directions, won’t result in a handle flying off or the rope snapping in two. I suggest using a weighted rubber jump rope because it’s connected as one unit. Another suggestion is to use a basic climbing rope or battle rope.
Lay the rope of choice flat on the floor with at least six feet of space to the right and left of the rope ends. At the center of the rope, draw a three-foot line perpendicular to it—this is the halfway point.
How-To
Each player grabs an end of the jump rope with both hands. When signaled to begin, each player pulls the rope backward, intending to pull the other player over the chalked line. Quick backward toe-to-heel foot strikes are key here while maintaining a firm grip on the rope’s end. The player’s elbows will alternate between a locked and bent position.
Cues
Start with two hands gripping the rope. Model how to keep an athletic position while gripping the rope and moving legs backward with a slight knee bend.
To initiate the pull, listen for the verbal cue, “Ready, set, go!”
If appropriate, lightly touch the child’s back (lats, lower traps) and leg muscles (quads and hamstrings) as the child is pulling to connect movement and some of the targeted muscles.
Reinforce the need for a strong grip by lightly squeezing the child’s hands while saying “squeeze.” “Squeeze” will be a familiar term from the previous week.
Benefits
Rope Tug of War is another game that reinforces how the jump rope is a versatile tool with which we can positively interact. The child will continue associating the rope with play and success as we develop more skill, coordination, synchronicity, familiar verbiage, and strength.
Rope Tug of War provides resistance work as the child pulls against the other puller’s force, building the posterior chain (back, glutes, hamstrings, calves) and strengthening the lats and grip.
Progression
Use varying lengths of rope. A shorter rope may call upon greater force initially to pull the other player over the chalked line, shortening game-play duration. A longer rope may extend game play and require more endurance to stay in the game due to more floor space.
Use varying widths of rope. A thicker rope will be more challenging to grip than a thinner rope.
Consider holding onto the rope with one hand to increase intensity. Be sure to switch hands and play for another round to build strength unilaterally. One hand will likely be stronger than the other, and that’s okay! Use your strength-training program to build any discrepancies.
Set and Reps
Play three rounds or as long as interest remains.


Week 4: Water Portal Jump
Equipment
Setup
Lay a blue rehab pad on the ground.
I suggest using an AIREX Balance Pad. They’re a little pricey, but you’ll find more uses with this pad in your training and rehab. A blue box, a similar pad, or a blue mat will work fine; just make sure what you use is large and sturdy enough to jump onto safely. I like the AIREX Balance Pad because it provides support, comfort, some height, and a non-slip surface for these initial jumps. It’s also waterproof!
Whatever surface you choose to jump onto, you’ll want something that is around 20 x 16 x 3 inches.
How-To
Water Portal Jump plays heavily on the imagination—a muscle that also needs to be contracted often. I begin this activity through conversation by saying, “It’s pretty hot. I have an idea of how to cool off!” I pretend that a blue pad is a small square of water that opens to an underwater world. (Yes, it’s kind of out there, but kids love it.) So we must jump in with both feet to cool off and explore.
“Jumping in” requires us to use both feet to jump up onto a three-inch blue pad.
- Stand in an athletic position with feet shoulder width apart, about two inches from the blue pad.
- Slightly bend your knees and push your hips back as the arms swing behind.
- Swing your arms forward while jumping up onto the pad.
Carefully stepping off the blue pad, one foot at a time, I share everything about my exploration: what I saw, who was there, how I feel, what it felt like to jump in, etc.
Cues
Model appropriate jumping form. Have the child try. Practice a few times without the pad if necessary. Meet the child where she is today.
Note: Be mindful of how many cues you’re giving the child. Don’t overload the child by trying to fix posture, adjust the hinge pattern, and loosen the arm swing simultaneously.
Cue Modifications
If jumping with both feet is not doable, step onto the pad one leg at a time. Make some aspects of the activity possible and pleasurable.
If applicable, make the hinge a mini-lesson if this pattern is non-existent. Slowly associate it with the act of jumping when appropriate.
Benefits
Water Portal Jump gets us jumping—a pivotal component to jumping rope! Up to this point, the exercises within this program have strengthened our jumping muscles. Water Portal Jump is an inviting way for our feet to leave the ground in an explosive and synchronized unit. It’s paired with a mental (imagination) and visual (big blue pad) destination, allowing the child to associate the act of jumping with being friendly and explorative.
Progression
Increase the height of the jumping platform once the child is jumping with ease and in perfect form.
Add resistance via ankle weights or holding onto a medicine ball. Holding onto a medicine ball will be extra challenging since arm swing is eliminated from the equation.
Use the foam pad as the starting place and jump up onto a box. This swap will feel like jumping out of sand or water; therefore, the child can jump out of the underwater world and onto land.
Sets and Reps
Take turns jumping in. Each time you jump in and get out, describe what you saw. Describe how you felt and feel: if you’re wet, cool, or still hot, etc. Continue as long as interest remains.
Try using Water Portal Jump to transition between exercises planned for the day. In this manner, more jumps are performed in a training session and you’re extending the use of imagination.
I Can Jump Rope! starts from the ground up as we reshape negative jump rope associations and develop the child’s motor, behavorial, and social skills sequentially. A refreshing aim is attached to every desired skill and relies heavily on physical and cognitive load, plus the teaching strategy of modeling to provide ongoing support, feedback, and adaptation (Tompkins 2006). Through deliberate practice, the child will attain general physical preparation and the skills necessary to jump rope and participate in structured and non-structured play in various settings and social climates (Ericsson & Pool 2017).
References
- Ginicola, M., & Johnson, I. (2020, September 17). “Gym Class Is Dead—But Long Live Physical Education.” Interactive Health Technologies – Heart Rate Wellness Solutions for Schools.
https://ihtusa.com/gym-class-is-dead-but-long-live-physical-education/. - Ericsson, A., & Pool, R. (2017). Peak: secrets from the new science of expertise. First Mariner Books edition. Boston, Mariner Books/Houghton Mifflin Harcourt.
- Green, D., Charman, T., Pickles, A., Chandler, S., Loucas, T., Simonoff., E., et al. (2009). “Impairment in Movement Skills of Children with Autistic Spectrum Disorders.” Development Medicine and Child Neurology, 51(4), 311-316. https://doi.org/10.1111/j.1469-8749.2008.03242.x.
- Hilton, C. L., Zhang, Y., Whilte, M. R., Klohr, C. L., & Constantino, J. (2012). “Motor Impairment in Sibling Pairs Concordant and Discordant for Autism Spectrum Disorders.” Autism, 16(4), 430-441.
- Tompkins, Gail E. Literacy for the 21st Century: A Balanced Approach. New Jersey: Pearson Education, Inc.

Author of The Power of a Note, Sheena Leedham earned her master’s degree in education at Edinboro University with a concentration in elementary education and recreation administration. Through the Ohio State University’s Nisonger Center, she coordinates Men’s Aspirations, a social support group event for teens and young adults with autism to experience the Greater Columbus Area. As a licensed teacher, Sheena serves as an education consultant for OSU’s Autism College Experience (ACE!) and Postsecondary Access to Transition after High School (PATH) programs, where she educates college students with autism on the importance of habitual fitness and proper nutrition. Sheena is also the Senior Content Manager at elitefts.com—educating and outfitting the strongest athletes around the world.