
We’ve had the
EFS Professional 45-degree back raise in the elitefts™ weight room for about two or three years. It’s the best low back strengthener I’ve ever used. When Dave approached me about this piece of equipment, I was hesitant. I’ve used many of them before but with limited success. They were very small and would topple over when any kind of load was used. This is adequate for the average person, but who wants to be average? When the beast arrived and modifications were made, I knew this thing would be great. Here’s why:
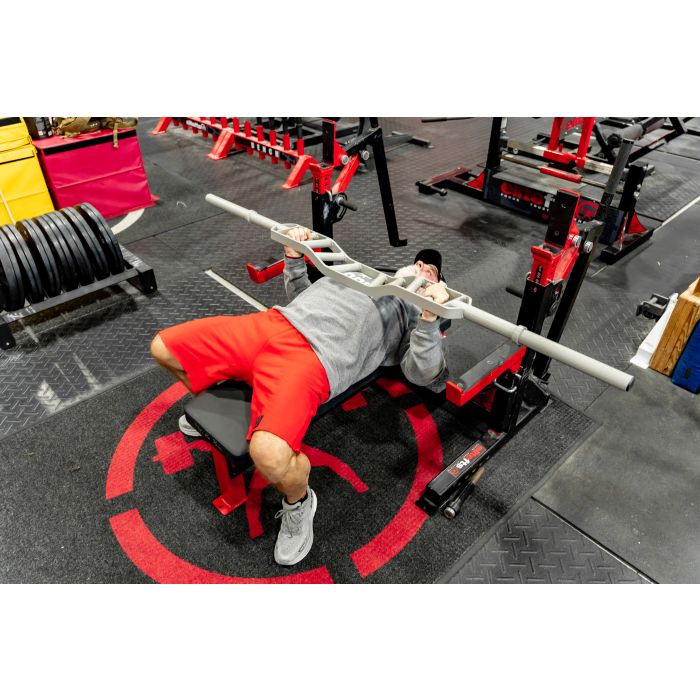
Doesn’t move or need to be bolted down. With every other 45-degree back raise I’ve used, someone had to stand on the piece while I got on it. The back end would lift up, giving you the “endo” effect for those of you familiar with freestyle bikes. The Pro model never moved, even when I used a bar on my back with 165 pounds.
Strengthens my low back. For approximately eight months, the majority of my low back training was done on the 45-degree back raise. I used a straight bar and a
cambered squat bar across my back and rarely went over 100 pounds. After this eight month period, I tested my strength using a good morning. My previous best was 500. I tripled this on my test day. The point is this—I improved my low back strength with limited loading, less chance of injury, and more frequency. I still think that the good morning is one of the best exercises for your low back and hamstrings, but the 45-degree back raise gave me another great option.
Easy for beginners. If you don’t have great low back strength or are working with younger athletes that are really lacking, this is an easy exercise to perform. You can start by putting them in the proper position with their hands down at their sides. Once they’re able to perform the exercise with a static hold at the top for several reps, they should progress to putting their hands behind their heads, prisoner style. This will add some difficulty to the exercise. Then, they can progress to holding a weight plate or
medicine ball near their chest. After that, they should take it a step further and place a load behind their head, such as a weight plate, or place a bar on their back. To make things easier, the progression should mimic the following.
· No loading, hands in front or to the side
· No loading, hands at back of head
· Loading, plate or med ball held on chest
· Loading, plate held behind head
· Loading,
cambered squat bar (additional bar weight, if needed)
· Loading, straight bar (additional bar weight, if needed)
The ability to hold the contraction at the top is crucial. You shouldn’t look like a piston.
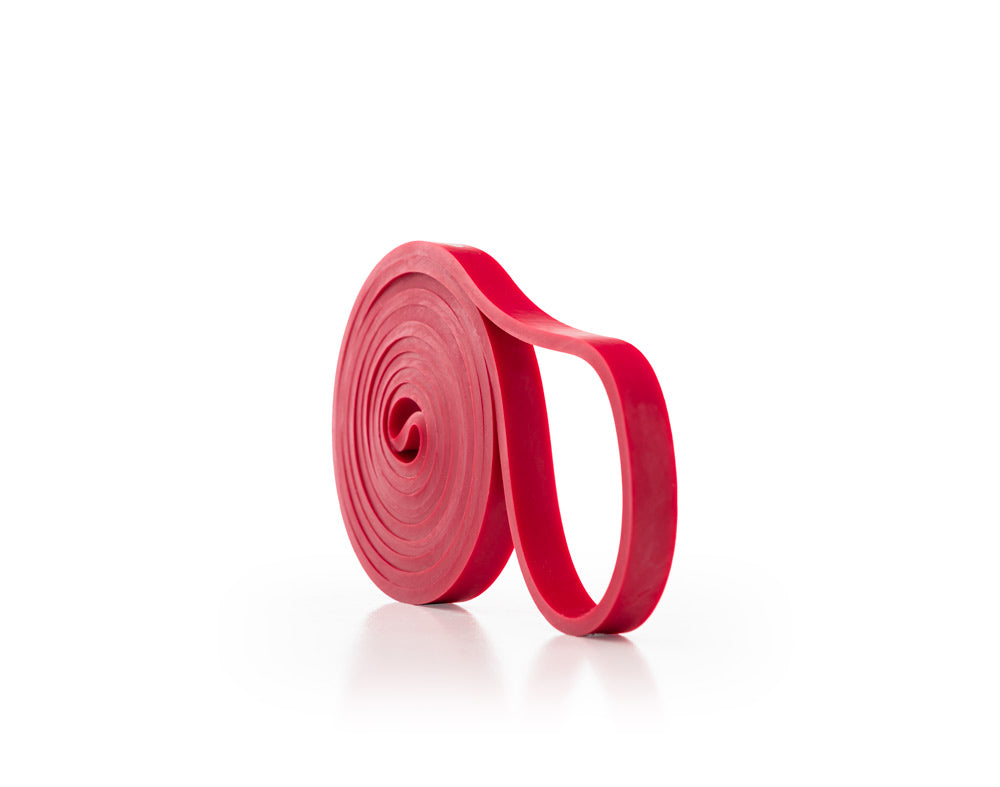
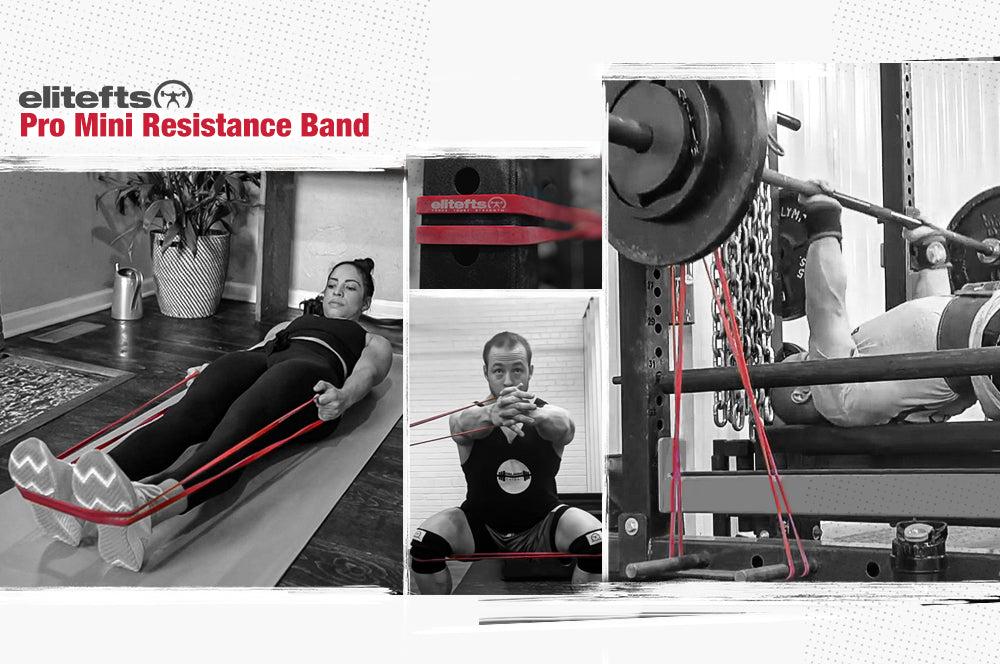
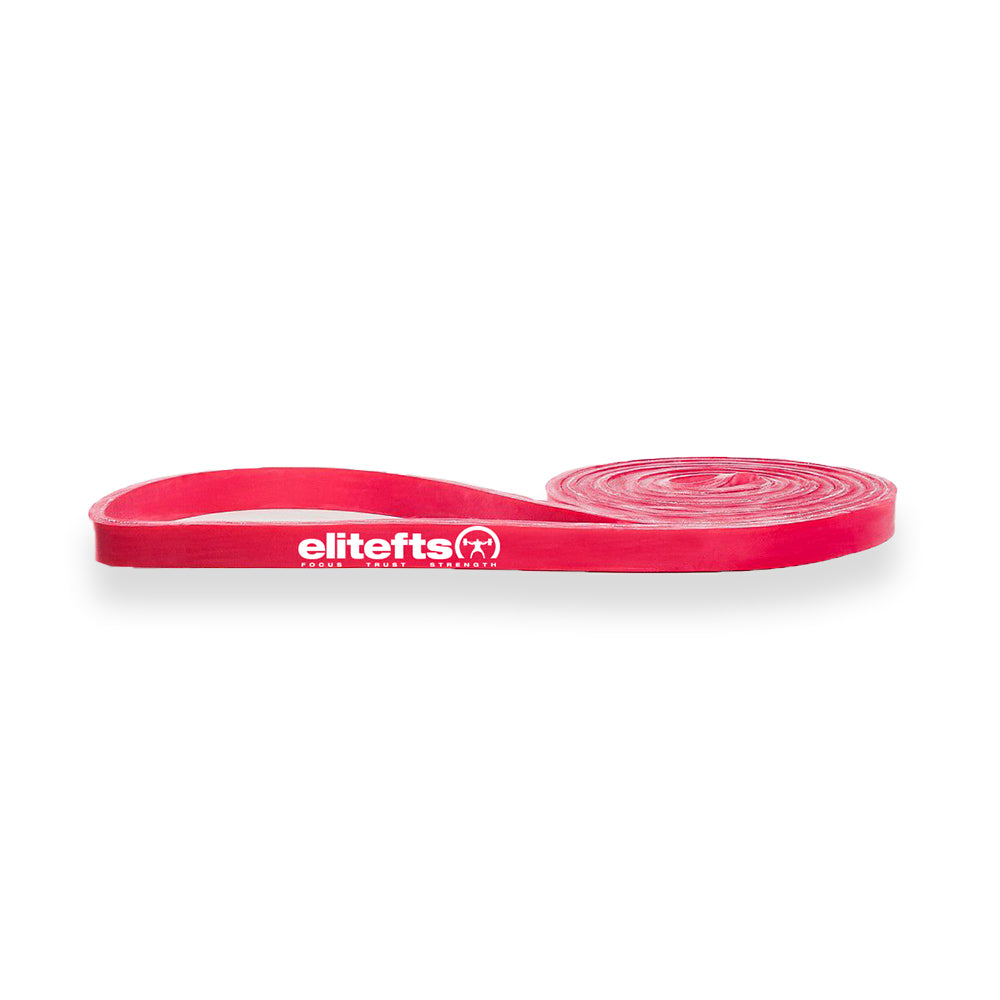
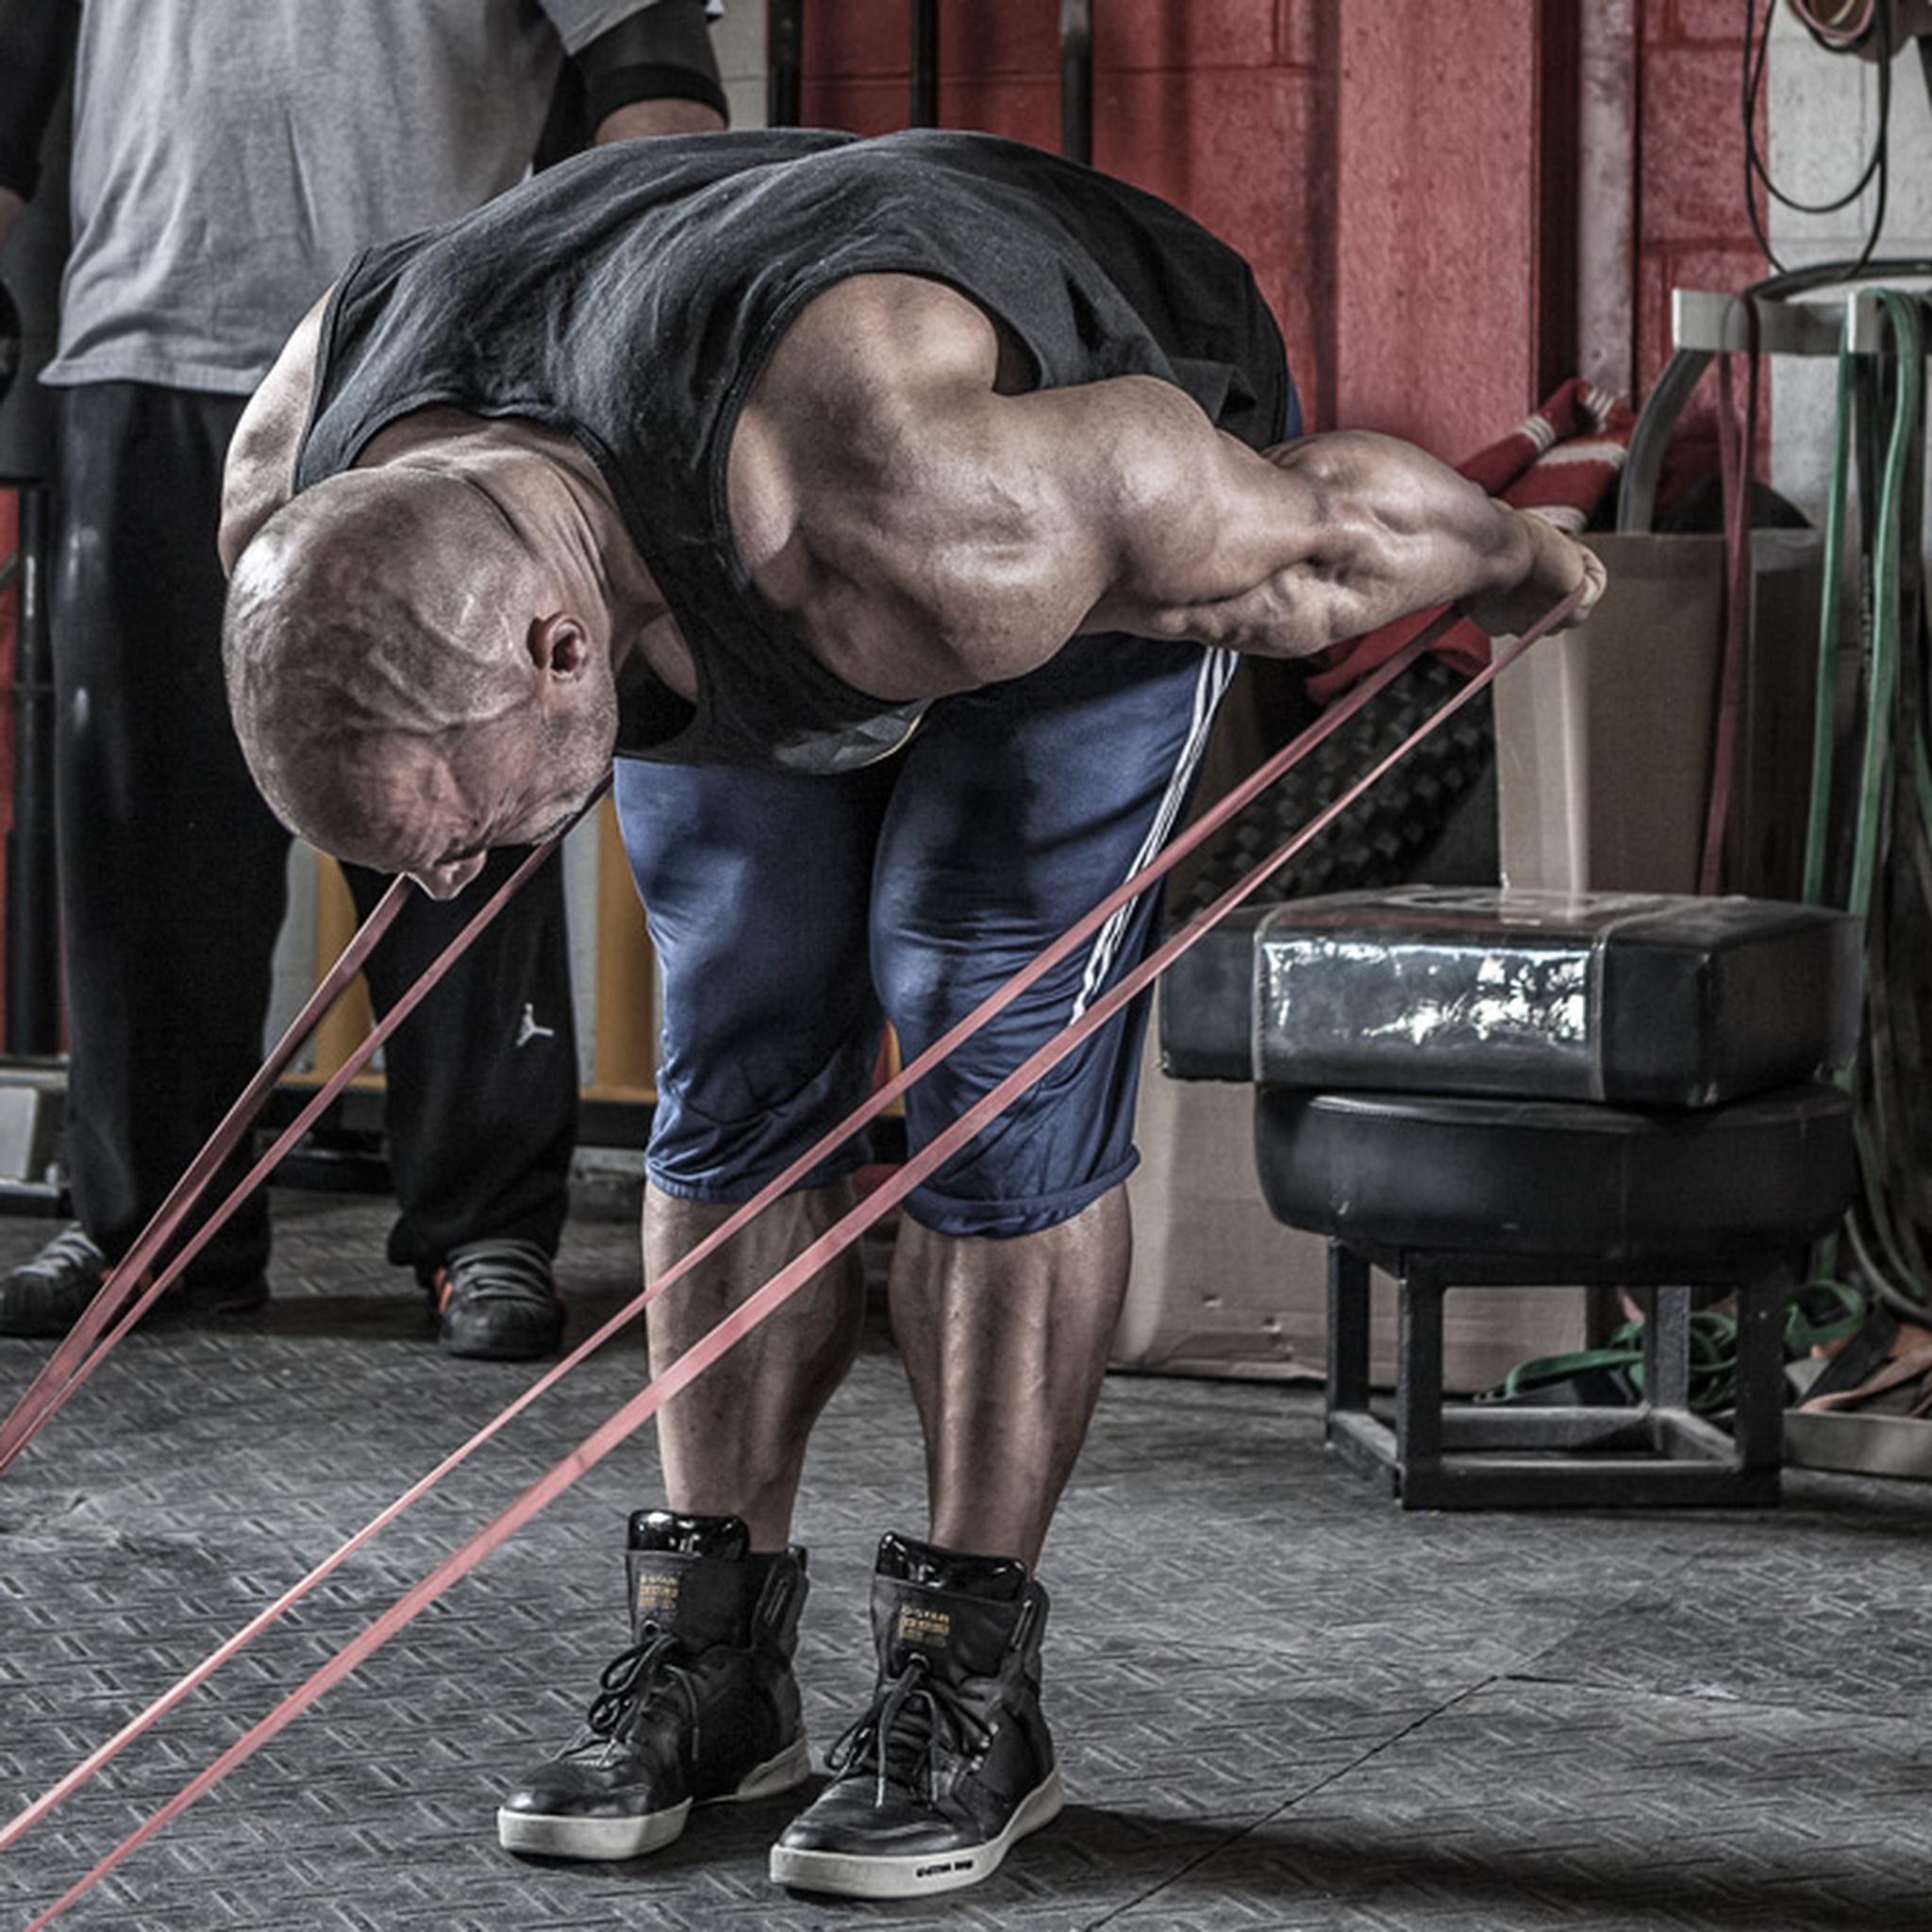
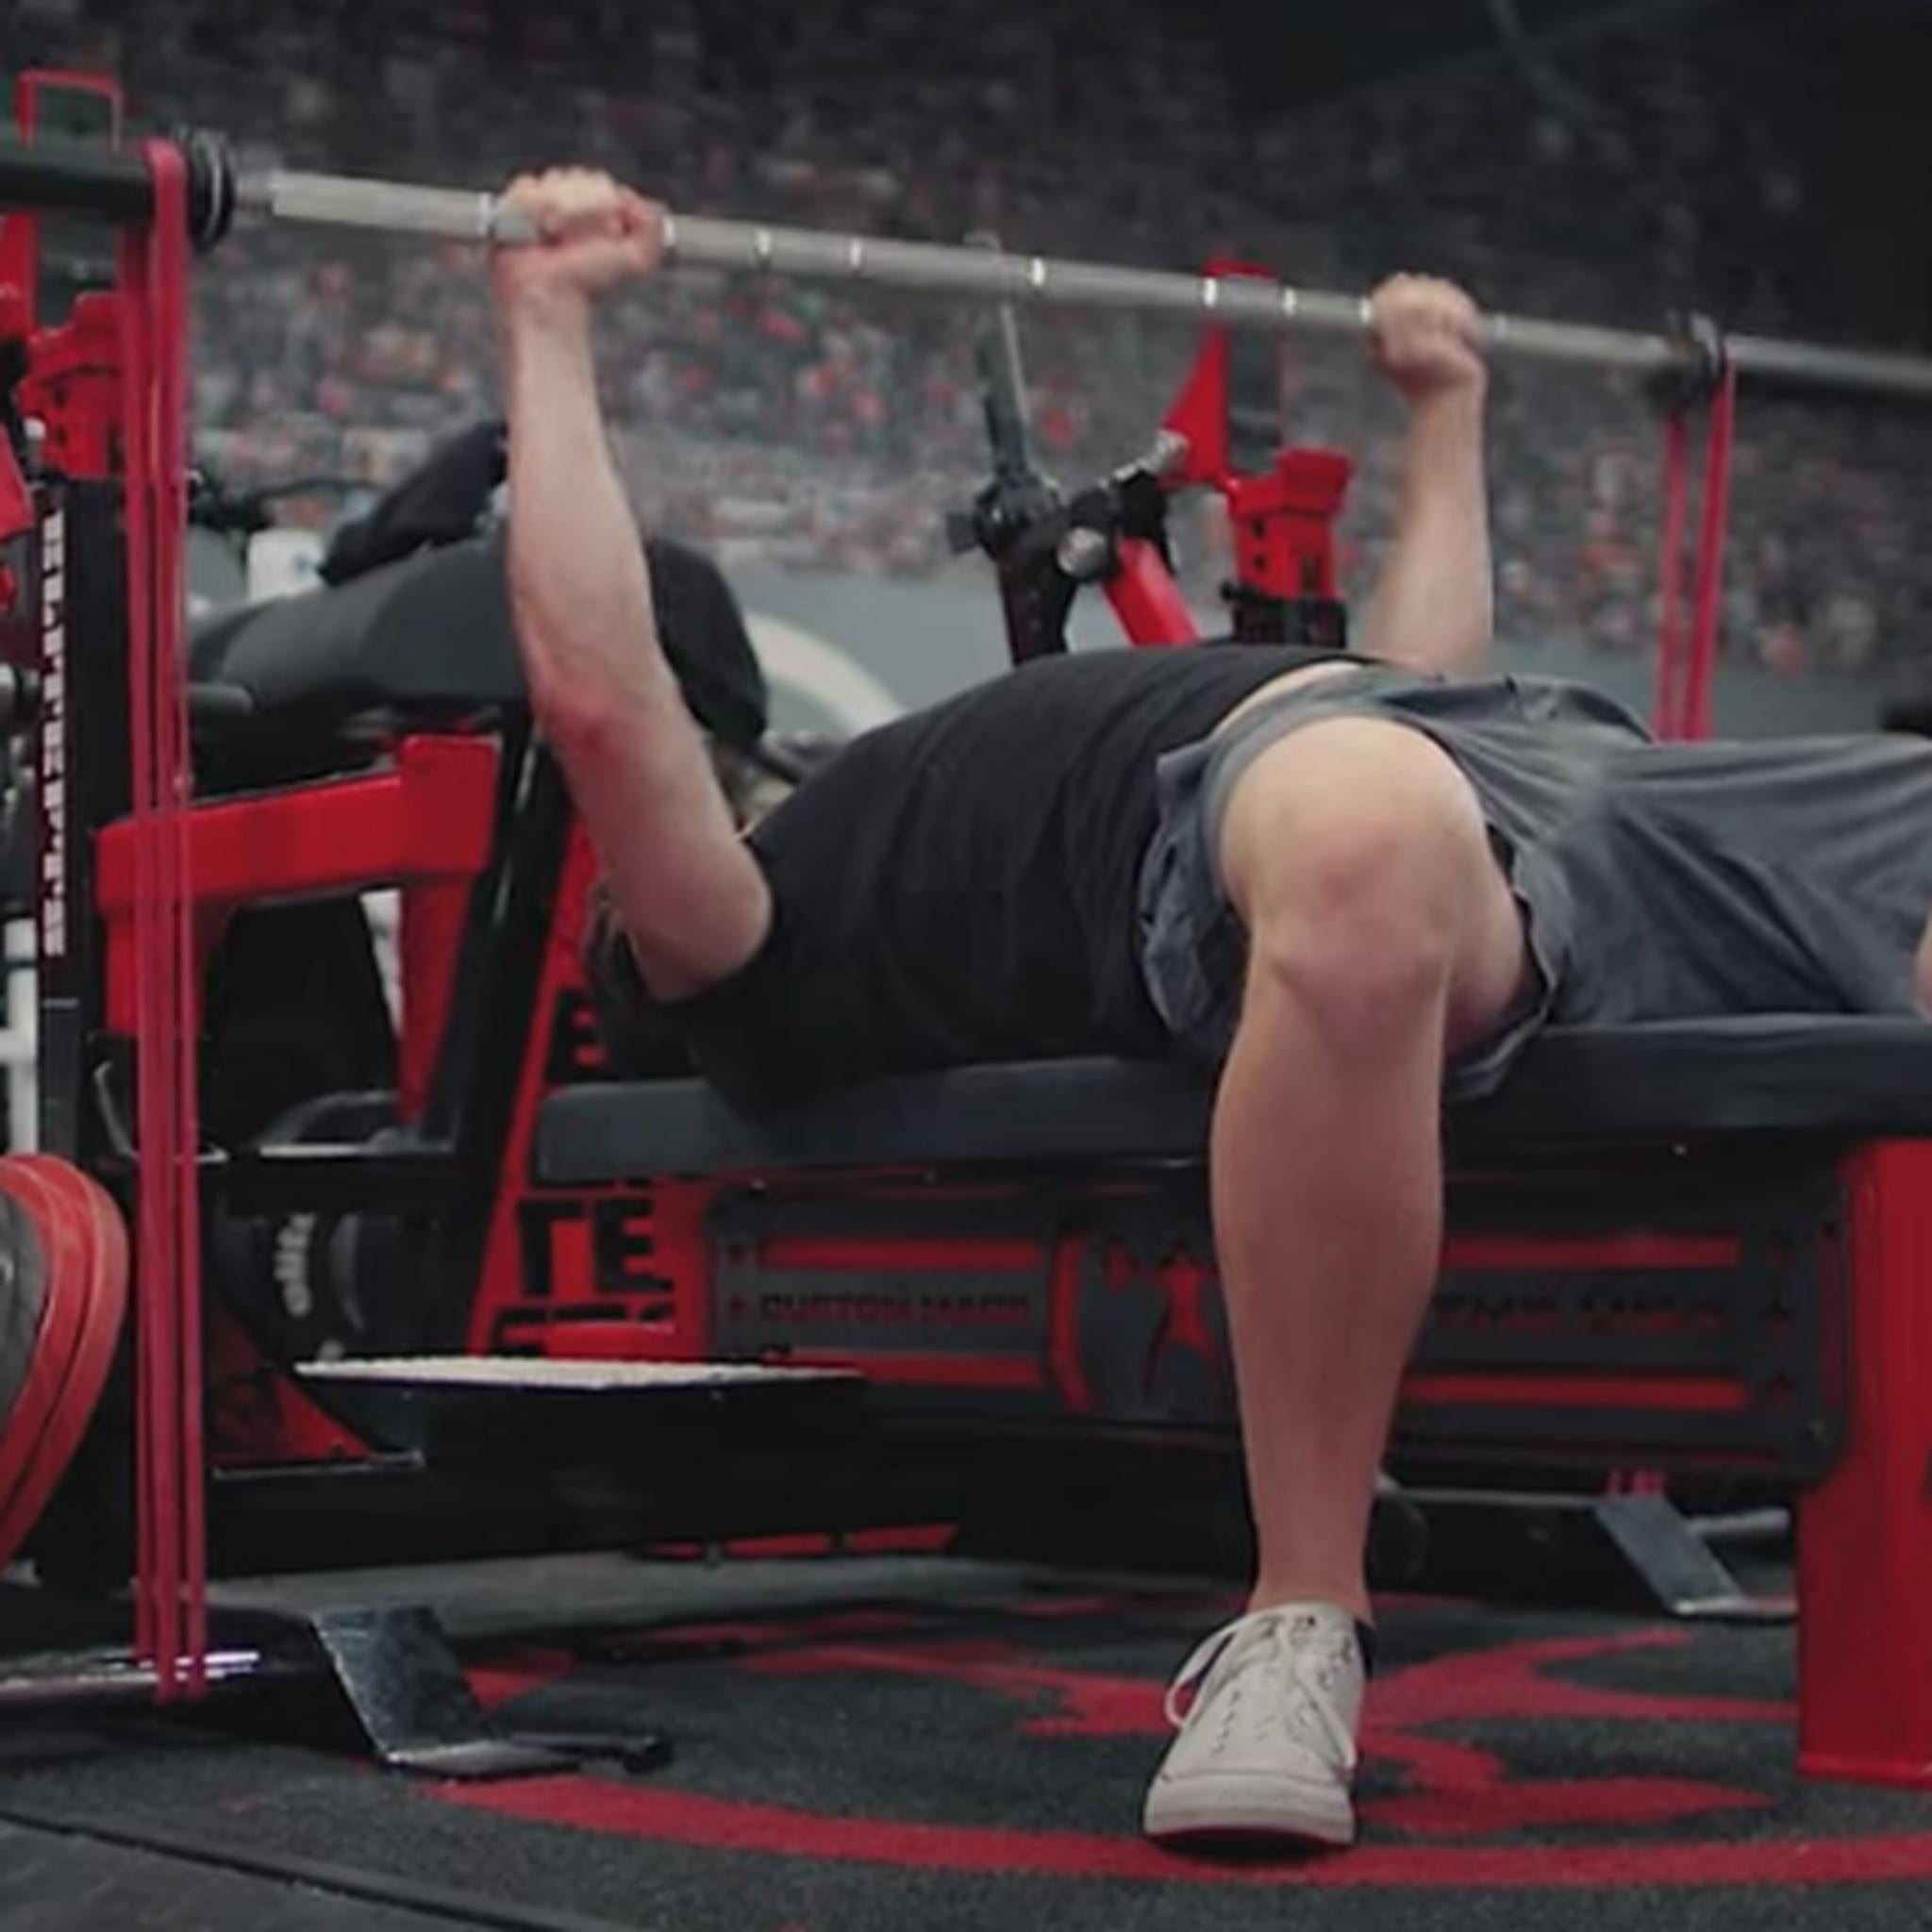
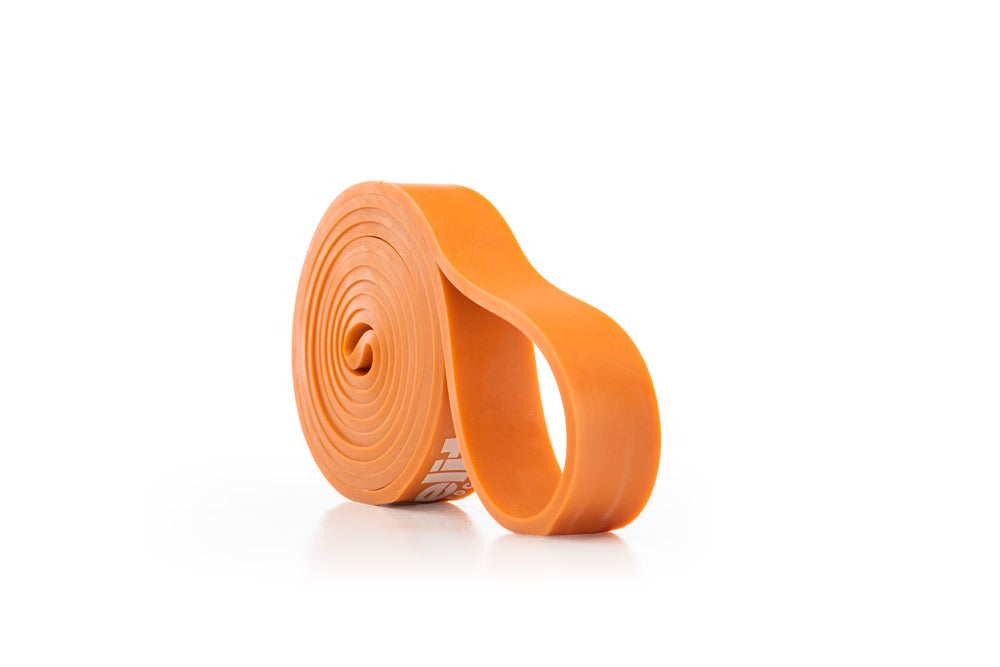
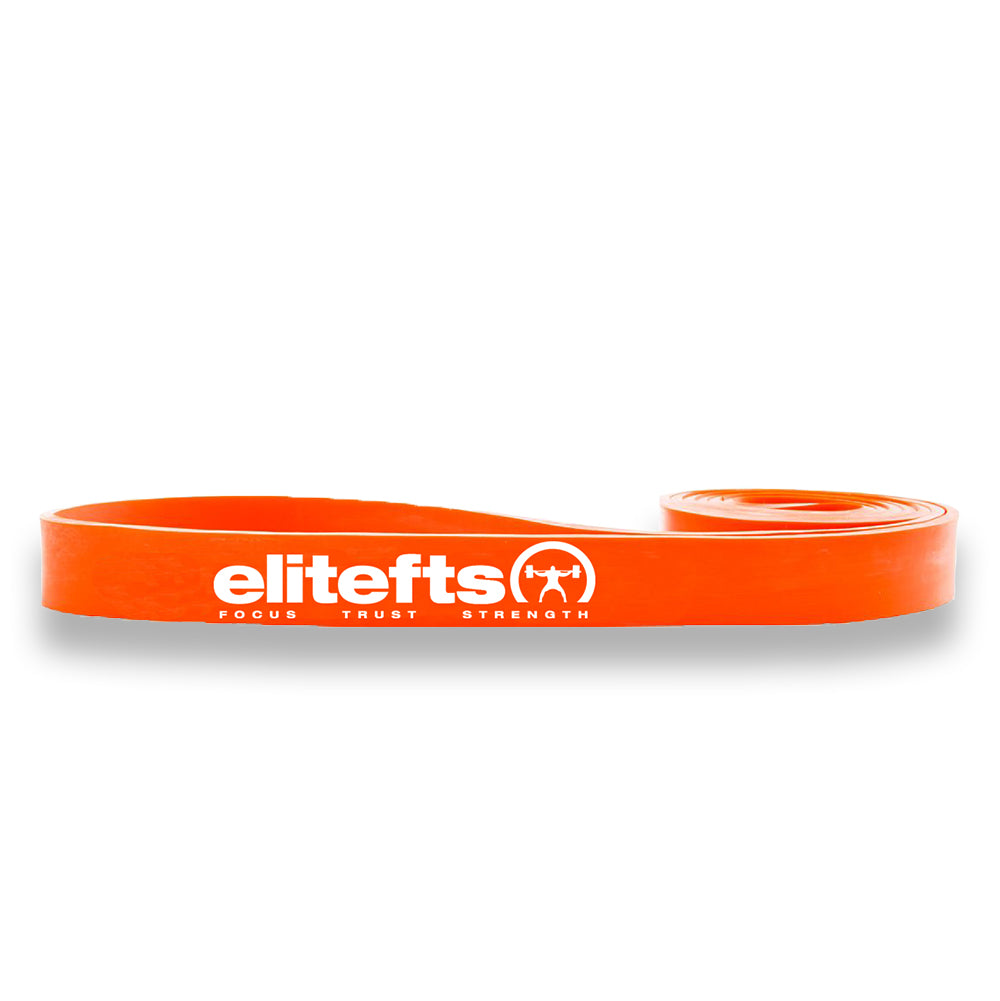
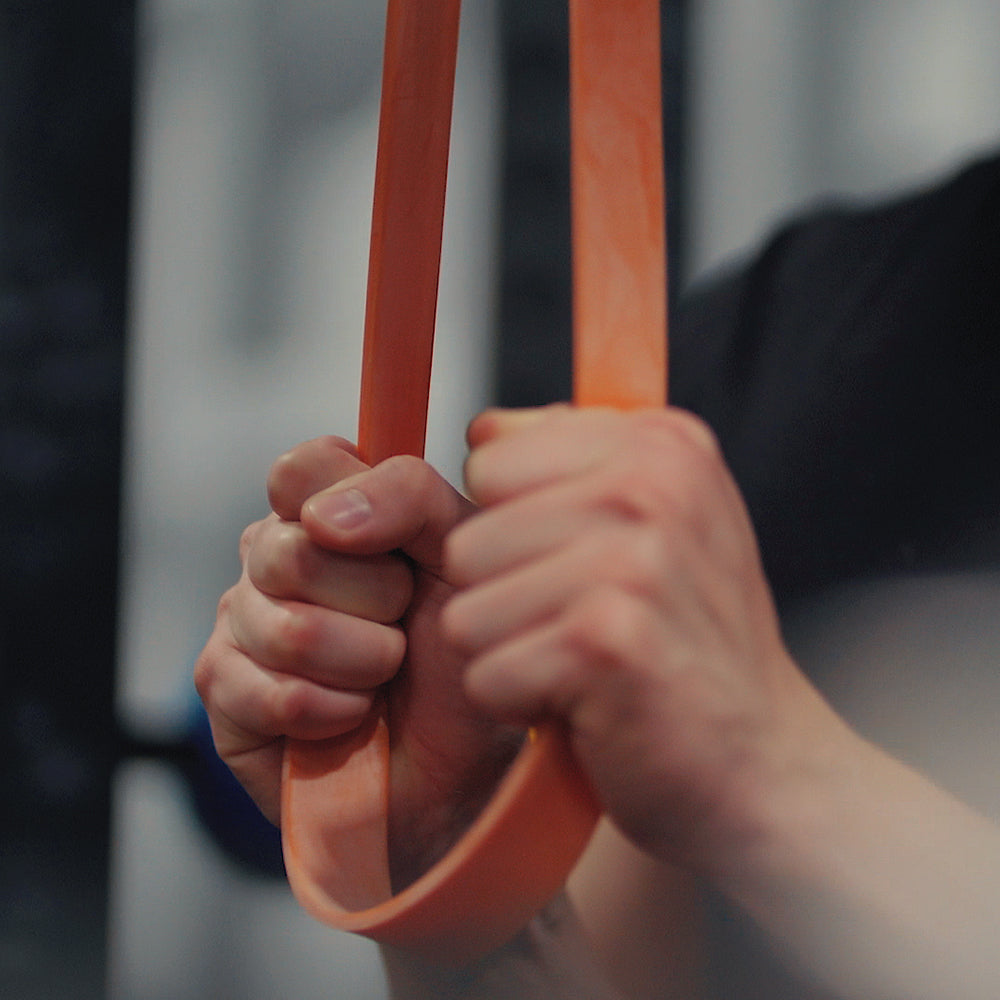
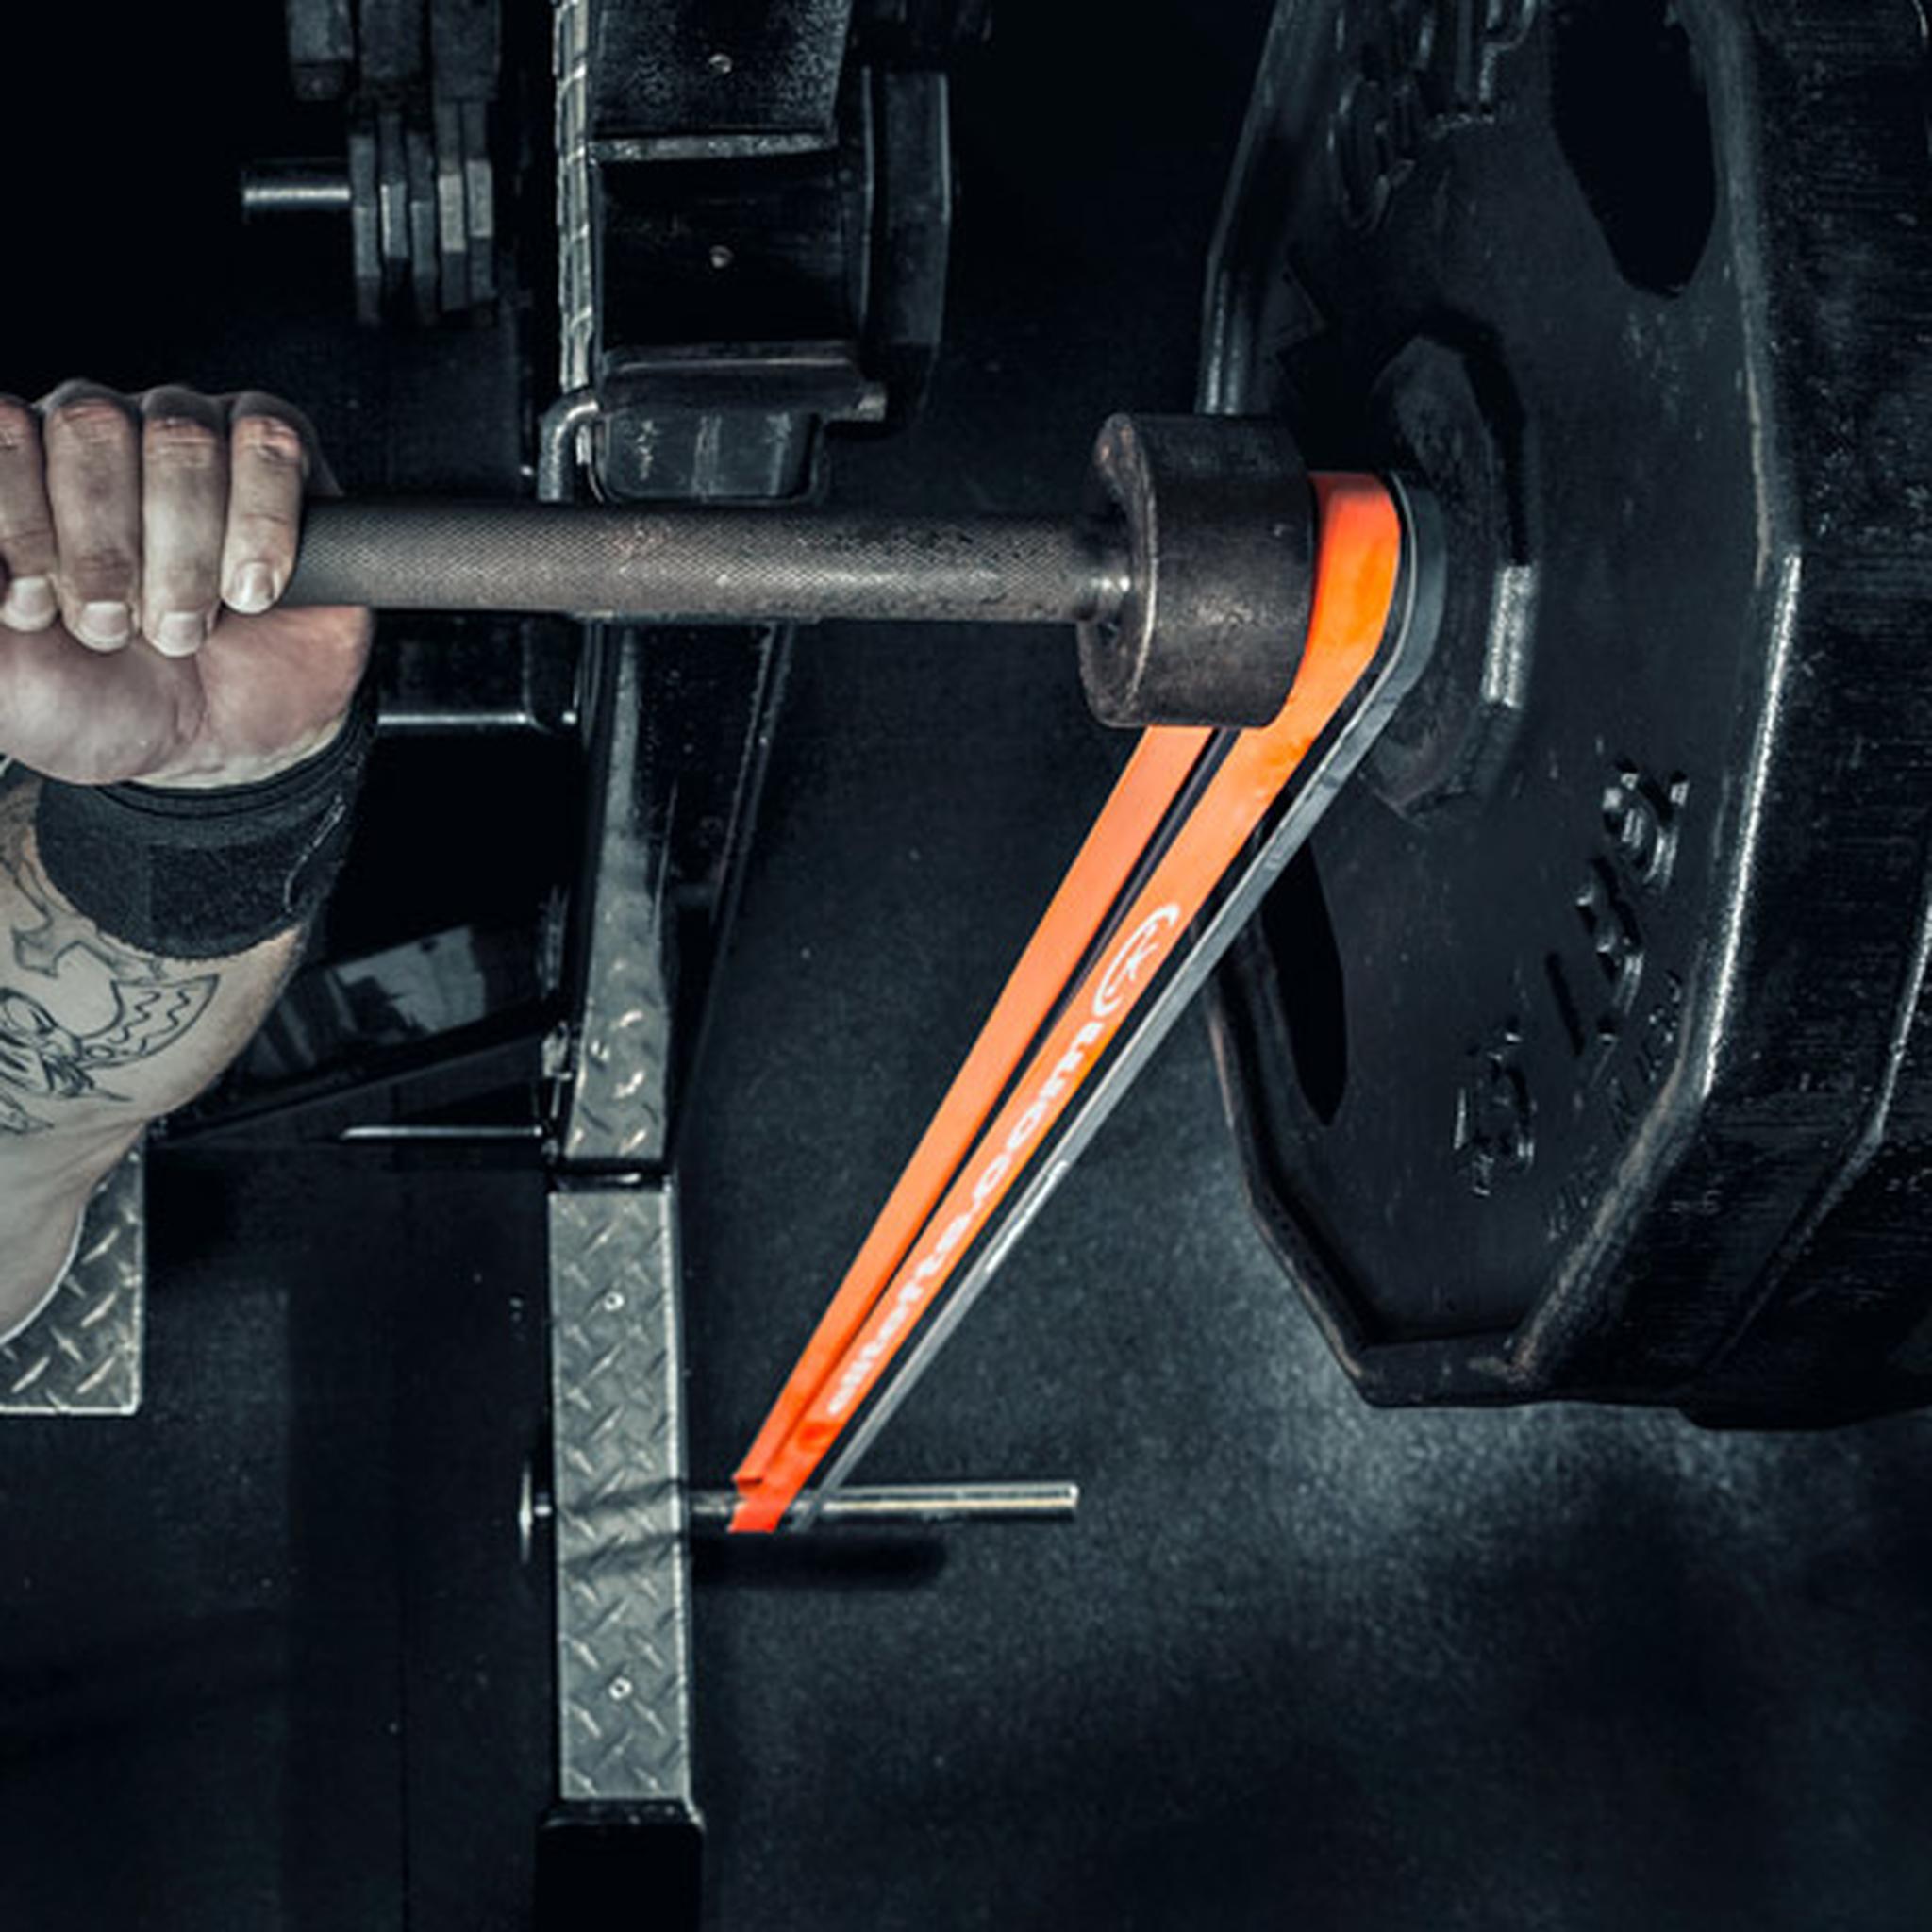
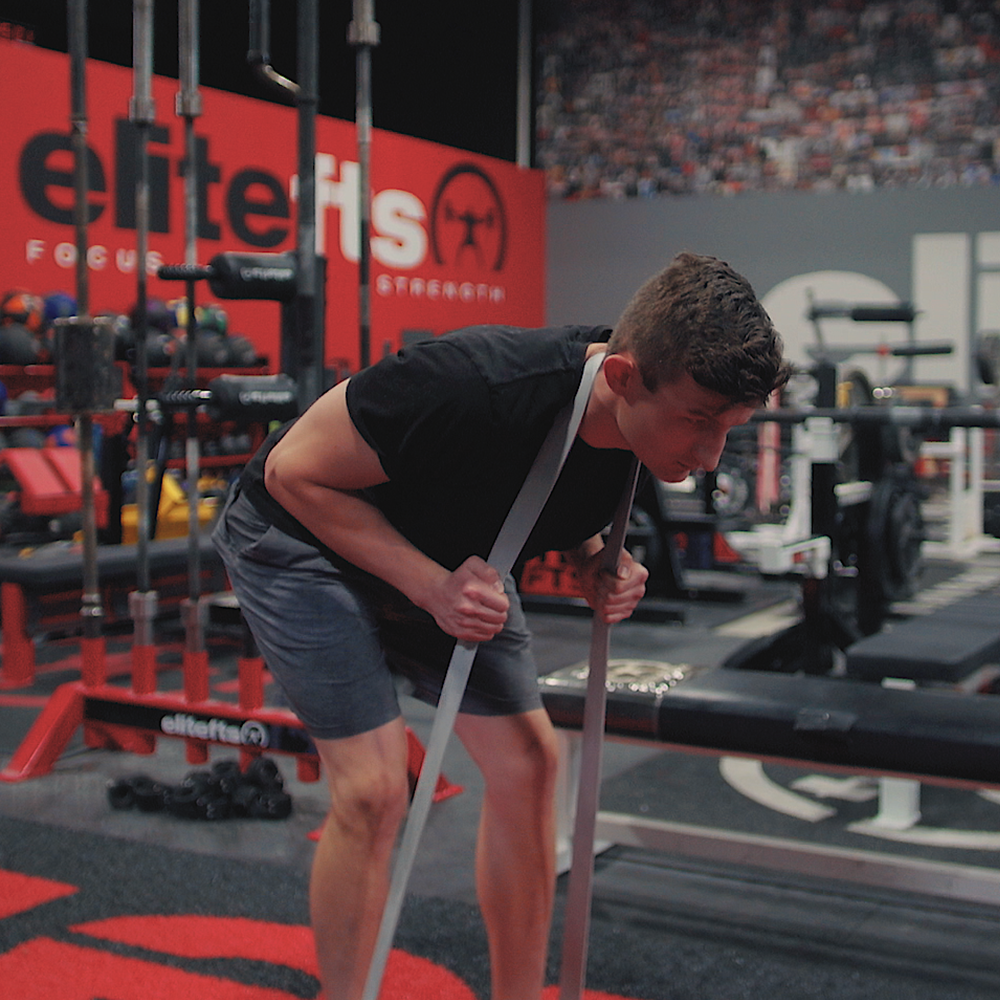
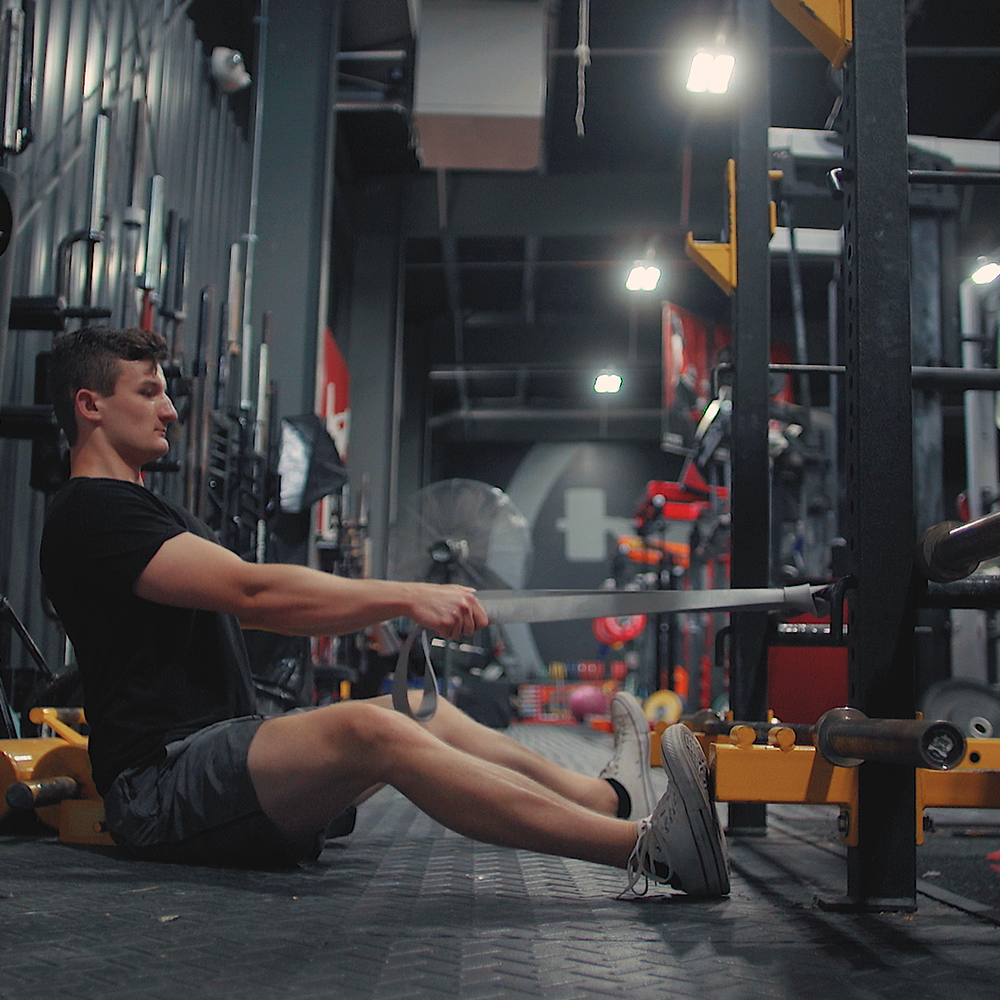
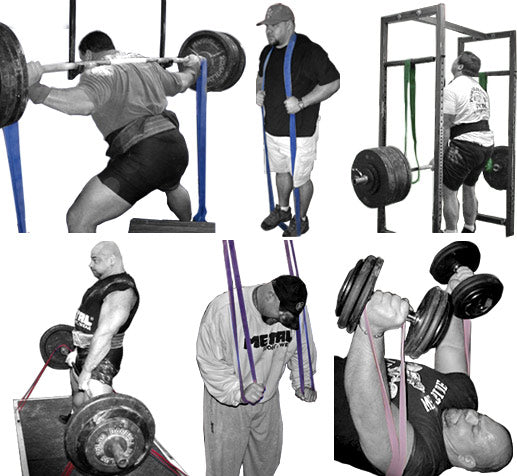
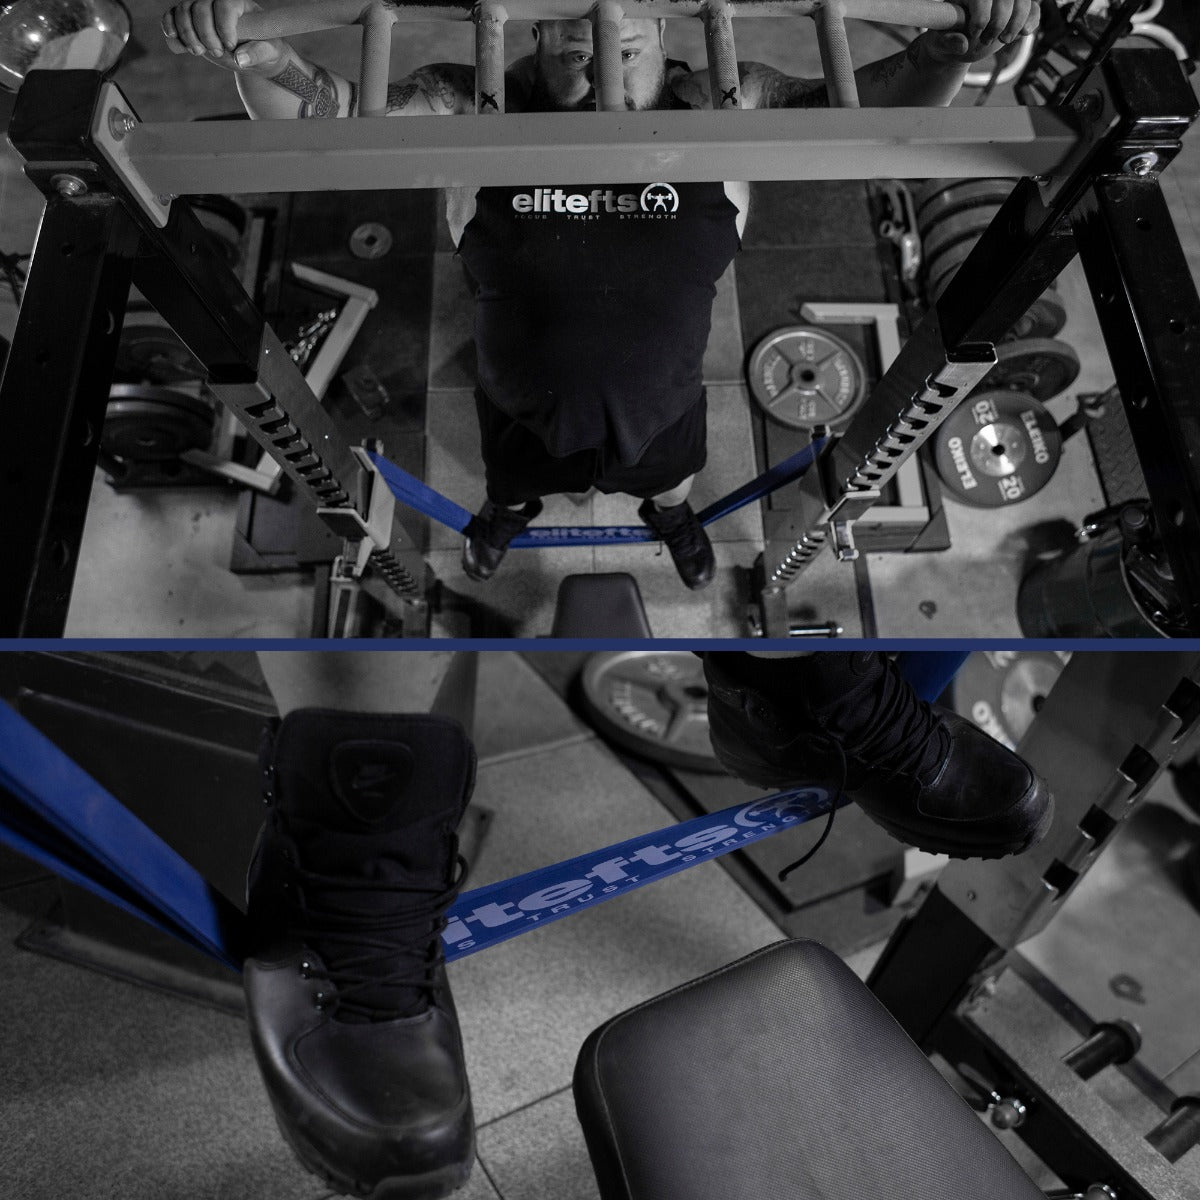
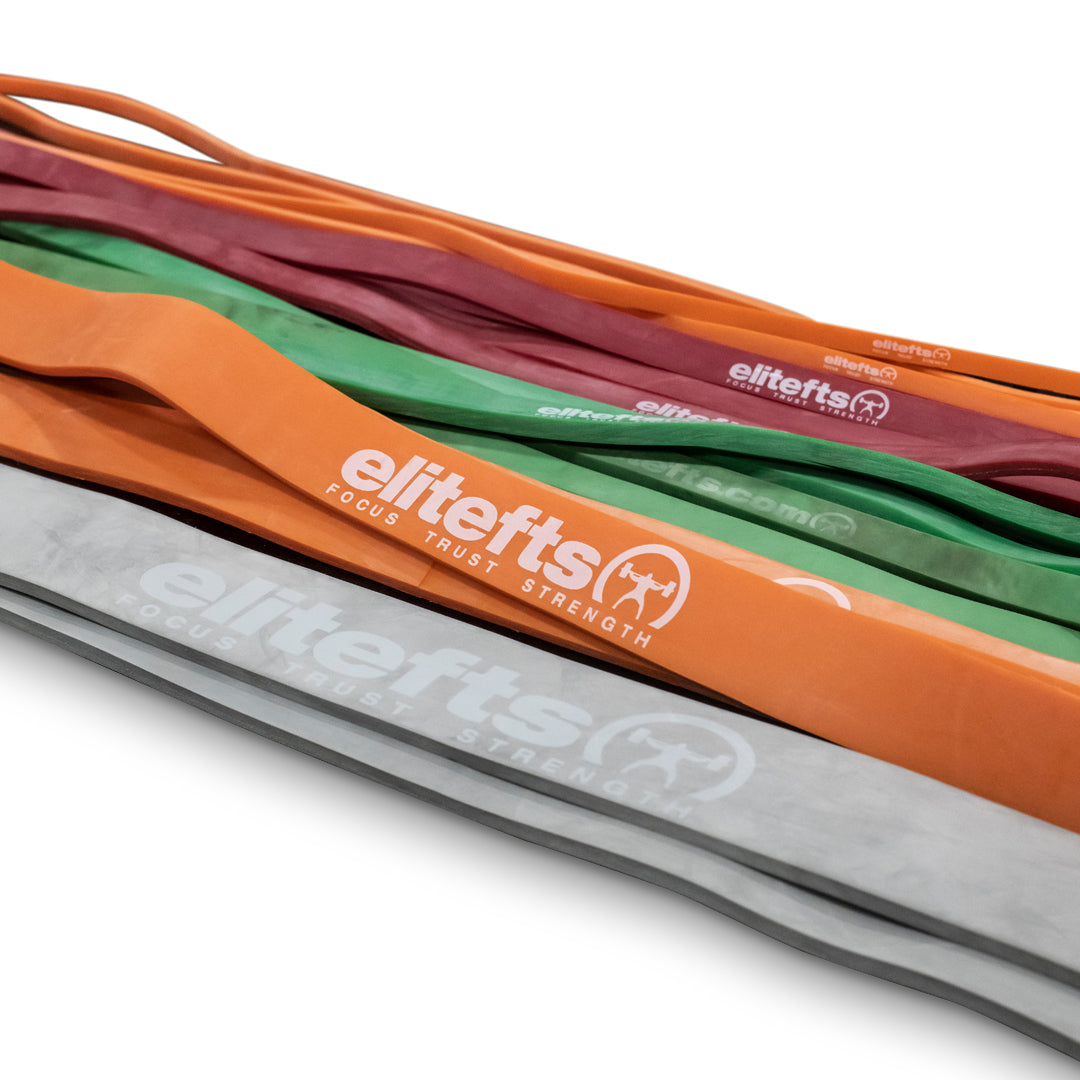
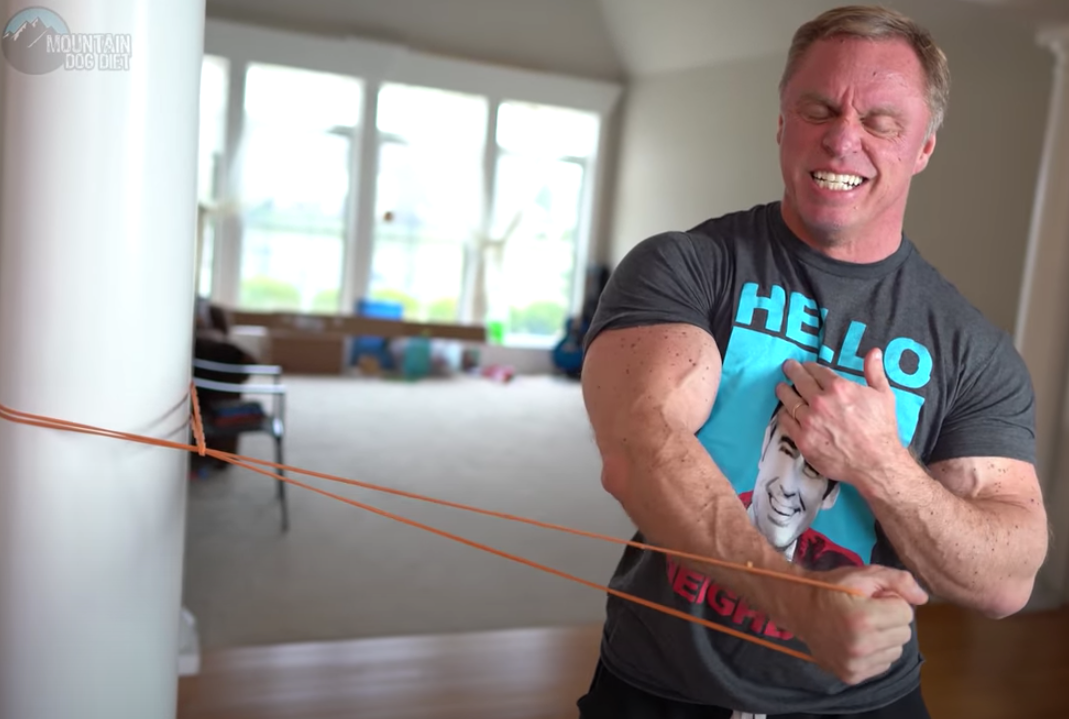
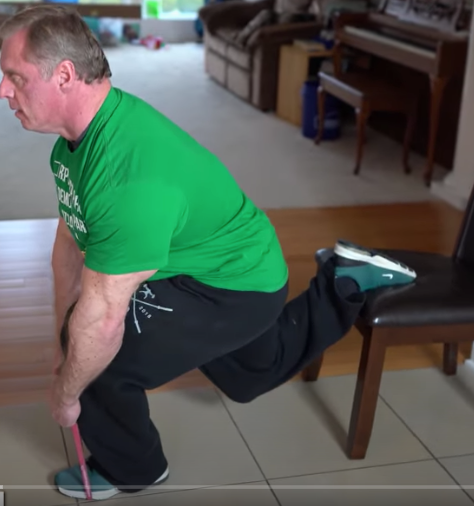
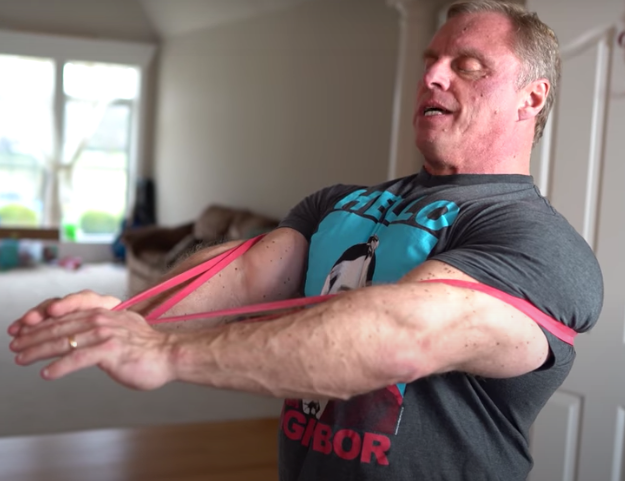
Easy to load. Unlike a standard back raise, the 45-degree back raise is easy to get in and out of with a bar on your back. You don’t need another person to help you. This requires a bit of rhythm and procedure, but it’s not like you have to learn the tango. Our 45-degree back raise also has band attachments, which are easy to use.
Comfortable. Many back raises seem to crush the groin area and make for a very uncomfortable experience. The Pro 45-degree back raise is easy on your undercarriage, thus much more appealing to use. It features a gap in the middle of the pad that allows for ease of movement.
Great for the hamstrings and glutes. I discussed this in the Exercise Index for the squat/deadlift. When doing this exercise, or any other, you have to be tuned in to what you are doing and why you are doing it. For example, for several sets I focus on using my glutes to raise myself. On other sets, I focus on my hamstrings or low back to do the work. To be honest, most of the time I just place a bar on my back and do the exercise. The point is that this is a great way to get your hamstrings, low back, and glute training done all in one exercise.
Hard to screw up and cheat. This exercise is pretty much a “no brainer.” Place yourself in the equipment, and go at it. I don’t know how many times I’ve been asked how to do a good morning, or how deep you should go, or where your stance should be, or how your lower back should be placed. The 45-degree back raise is about as simple as you can get. This is as close to a strict good morning as you can get, and it’s just about impossible to cheat.
Allows varied foot stance. The 45-degree back raise has a wide foot plate that allows for both close and wide stance work. This is a great way to add training variety to your workouts. The heel pad is adjustable with seven different settings, allowing for a huge range of possibilities. To emphasize the hamstrings, I suggest bringing the heel pad closer to the ground. For low back work or side bends, place the heel pad in the middle or at the top. Again, these are my preferences. You should set the back raise to what is most comfortable for you and what you feel works best.
Training for beginners
For beginners, using the
Professional 45-degree Back Raise in your training is easy and there are several good movements to get your training session underway. Since most beginners have a very weak low back and abs, here’s a possible combination. This should be done every training day after a dynamic warm-up but before the main lifting session.
· Back raise, three sets of 12 reps
· Med ball sit-ups, three sets of 15 reps
You will find that your low back and ab strength will increase greatly, even after doing this for only a couple of weeks.
Here’s another sequence to try. This should be done 2–3 times through before each training session.
· Back raises, six reps
· Side bends (left side), six reps
· Side bends (right side), six reps
· Sit-ups, six reps
Again, this is designed for those athletes who need a little extra work on their abs and low back. The ability to do side bends on this piece of equipment is much different than with other equipment because the wide foot plate allows for a staggered stance. This is crucial for many lifters who have longer legs or aren’t comfortable performing these with a narrow stance.
Intermediate/advanced training
Even if you are in this category, the above suggestions may not be a bad idea. The exercises are a great way to warm-up and get you prepared for lifting. The 45-degree back raise is mainly used for the second or third exercise of the day. I have gone as heavy as a triple on this, but feel that using a weight that allows you to achieve 5–12 reps is probably optimal.
I always start with my bodyweight and perform one set of at least eight reps. Then, I add some type of load, either a barbell or a band, and do usually 3–4 sets of 5–10 reps. Another great option is to do 2–3 sets of 25–30 reps. I have seen
Chuck Vogelpohl do this many times, and it’s a great way to introduce a set/rep scheme most of us never even touch.
The
Professional 45-Degree Back Raise is simply a great piece of equipment. If you want to get stronger and faster, you must strengthen your hamstrings, low back, and glutes. This piece of equipment will help you reach your goals as a lifter and as an athlete. It’s easy to use and allows all types of athletes to train on it: short, tall, weak, and strong.
Dimensions
· 18" x 36" chrome checker plate foot base: The wide base allows you to perform back raises with a wide stance, which is a great way to hit your hamstrings and glutes from a different angle.
· Multiple band peg adjustments: Features seven band holes per side for added resistance using
jump stretch bands.
· Two sets of band pegs 
· Seven heel pad adjustments
· Six quad pad adjustments (will fit short and tall athletes)
· 19" across quad pad with open center gap measuring 3”
· Pop pin adjustment with screw down lock (allows for easy adjustment and a tight fit)
· 58" x 36" foot print
· Color of pad and frame can be customized for your school or gym