

Training at a commercial gym isn’t an option for most competitive powerlifters. Most gyms are setup for the “average joe” or “weekend warrior” as the baseline of their clientele and to be honest, the gyms are only interested in collecting your monthly fee and could care less if you ever showed up to train, let alone progress with your fitness goals. Many, many people go to the gym several times a week and workout like a cork floating down the river, without any direction or guidance, and never progress. Their body composition never changes, their workouts never change, and they can’t seem to figure out why they are not making any progress. Continuing to do the same thing over and over and expecting different results just doesn’t work.
There are obviously exceptions to the rule and you maybe lucky enough to find a “specialty” gym that’s open to the public and caters to hardcore athletes and heavy lifters. A couple of these gyms that come to mind are
Monster Garage Gym in Illinois and
Orlando Barbell in Florida, which have all the equipment and hardcore environments necessary to produce high end athletes and powerlifters.
RELATED: How to Kick Ass in a One-Car Garage
A lot of highly competitive powerlifters, the ones who aren't lucky enough to be located near one of these gyms, train in small, garage-style gym settings with minimal equipment. There aren’t rows and rows of fancy machines isolating each muscle group, mirrors, ellipticals, fancy change rooms, hot tubs or swimming pools, or a myriad of distractions; just the basic equipment to get strong.
It takes a long time to put together and collect everything you need to build the perfect home gym. The best way to do this is in stages. Also keep in mind that as you’re building your Training Sanctuary, you may need to keep training at another location until you have everything you need to make yourself independent from commercial gyms.
Stage I: The Essentials
You need to be able to squat, deadlift, and bench. Stage one should consist of starting your project with a power rack, a good bar, some plates, a flat bench, and a lifting platform.You can always start off with squat stands to help you initially get started with squatting, however if you want to kill several birds with one stone I would highly recommend a
power rack.

With a power rack you can utilize many other exercises even with just one bar. Squat, floor press, bench press, pin press, pull ups, and dips are a few that you can start with. Even though you might initially pay a little more for a power rack, the versatility is endless. If you eventually add a few chains and bands to your equipment arsenal, you can add reverse band bench, dynamic bench with bands and chains, squats with bands and chains, etc. The possibilities to expand your training become endless each time you add equipment to your gym.
You need a good bar. I have bent and ruined cheap bars dropping them with not much weight. There is a reason cheap bars are $100 or less. For Stage One I would recommend purchasing a
Texas Power Bar as your first good bar.
You can use a power bar for squatting, benching, deadlifting, overhead pressing, and floor pressing — it’s bulletproof! It’s more expensive than a cheap bar but you get what you pay for and you’ll be using it twenty years from now after you and your buddies have continuously beat the crap out of it.
You’ll need a
flat bench so you can bench press. The great thing about a power rack is you can adjust the j-hooks up and down to fit your bench stroke and you can usually adjust the horizontal safety bars so if you dump your heavy bench, you aren’t crushed or trapped. Make sure you set up the safety bars so it’s near the touch point of your chest so the safeties will catch the bar, especially if you happen to be training by yourself.
You’ll need some weight plates. If you’re a strength athlete or powerlifter, I would recommend
steel plates over bumper plates. Big bumper plates look cool but when you start lifting more weight, you can’t fit enough fat rubber bumpers on the bar to make it heavy enough.
One thing that tends to get overlooked is a
lifting platform. If you set up your gym in a garage, chances are the floor is sloped for drainage and it won’t be level. It really sucks deadlifting when the bar is continuously rolling away. A good size platform for a power rack should have an 8’ x 8’ footprint and you can easily construct this out of plywood and rubber matting. A few wooden shims or wedges to level the platform and your all set.
Stage II: Accessories
Once you have the basics setup you can start thinking about getting some equipment to help you with your accessory work. What will work the best to help you get stronger on your main lifts?
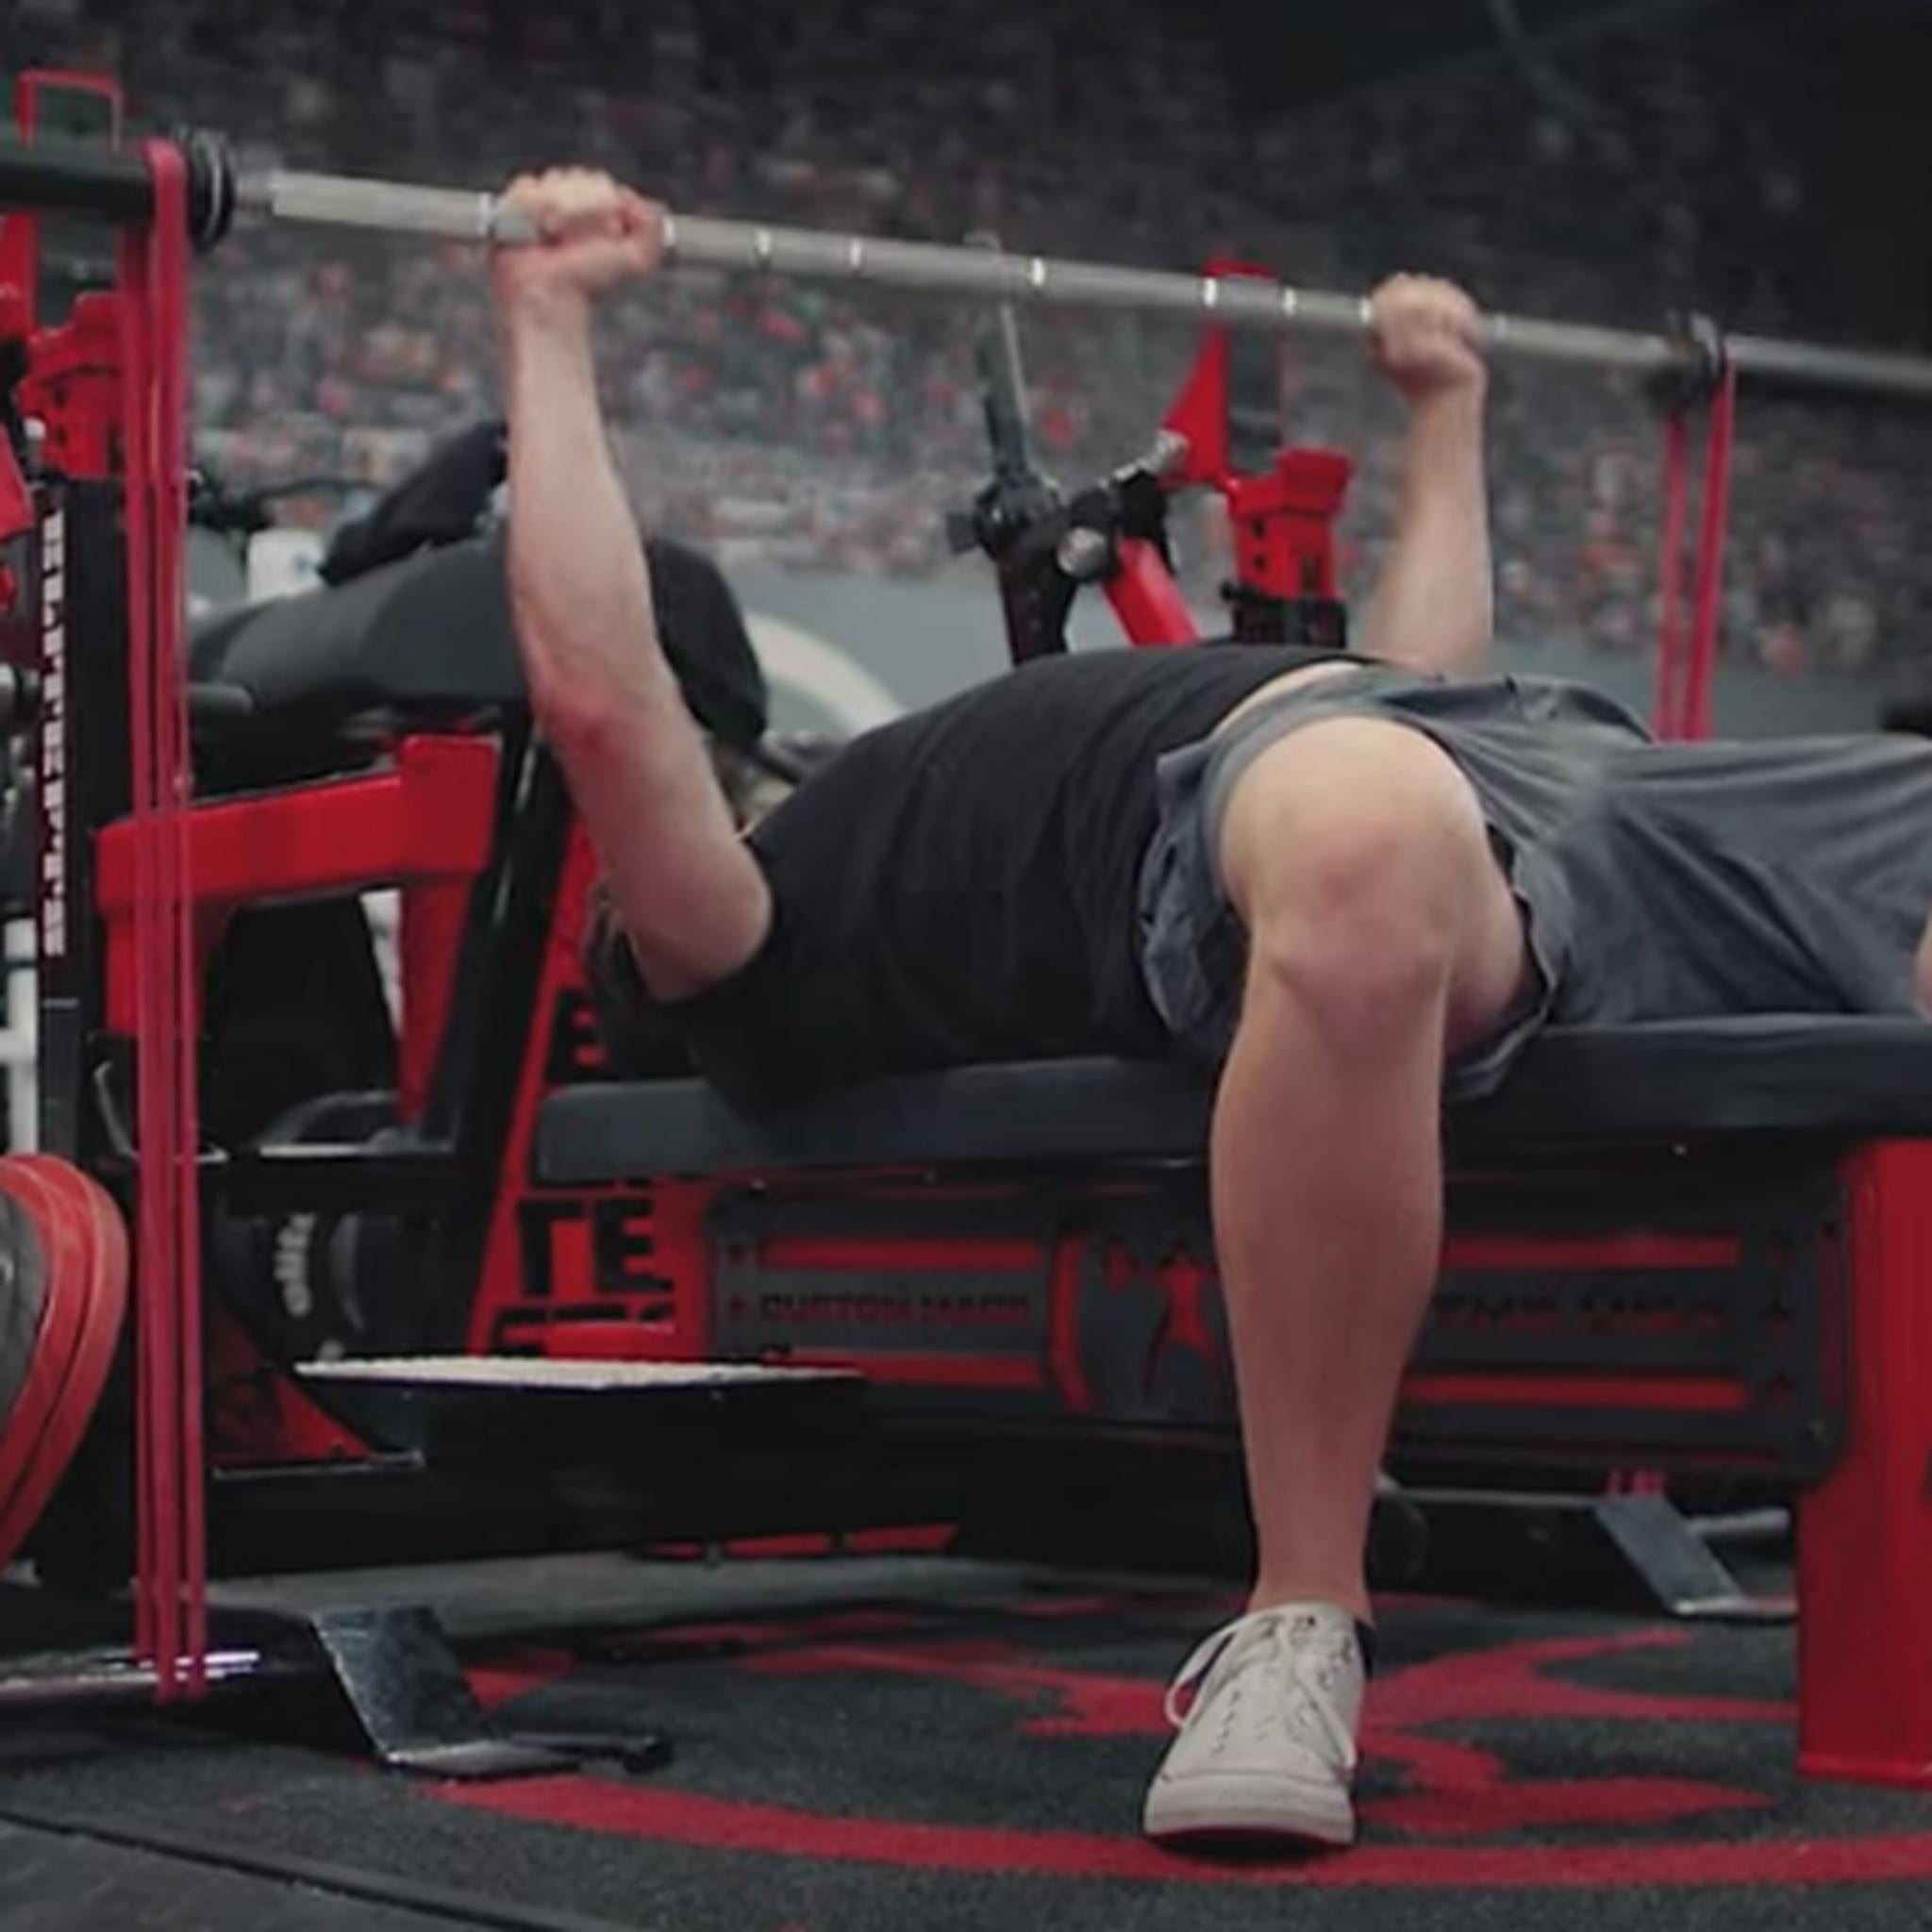
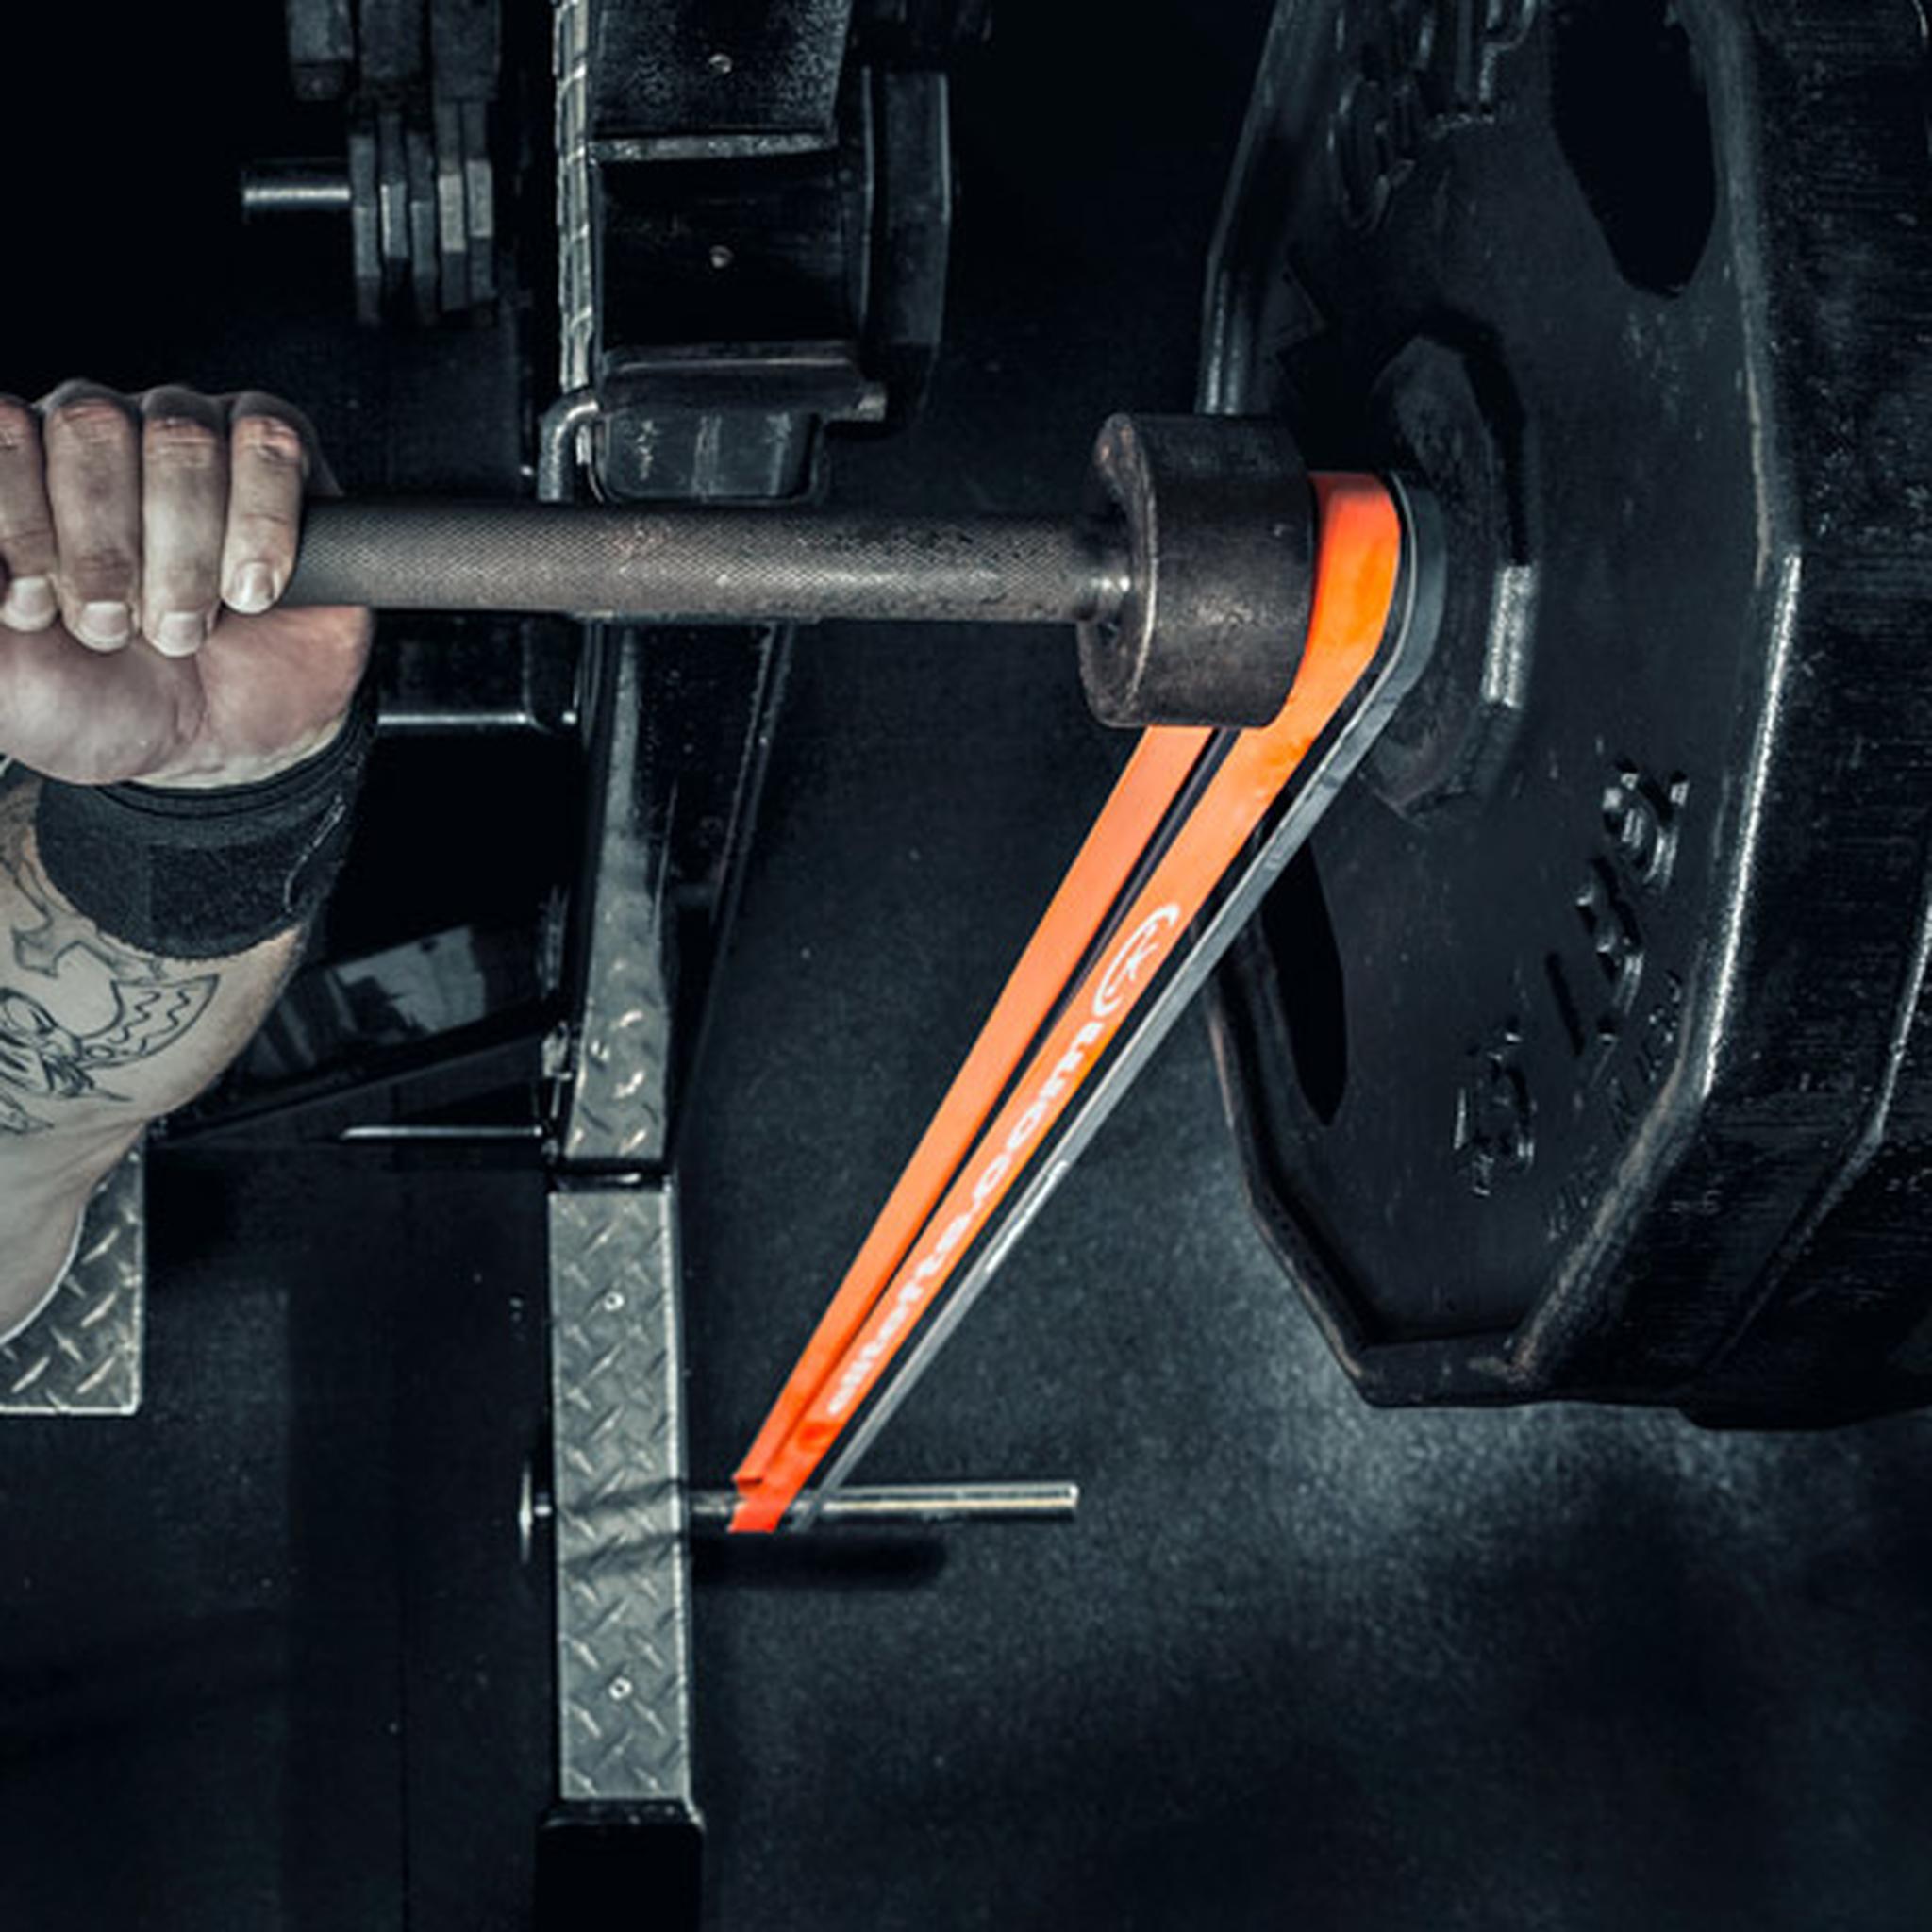
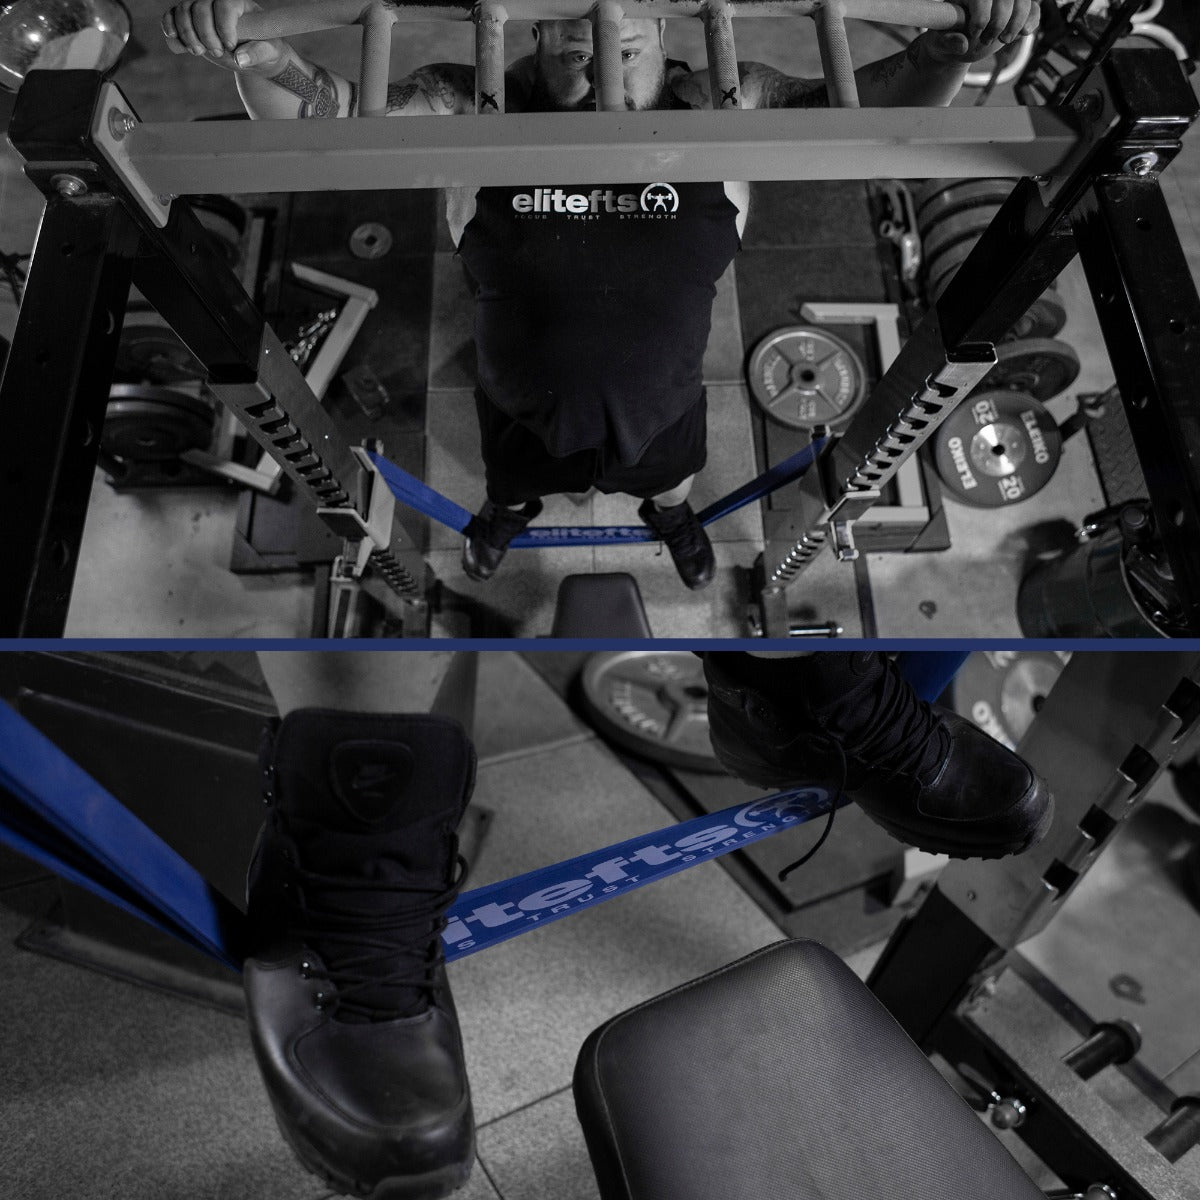
We want to usually increase the strength of our posterior chain for powerlifting and one of the best pieces of equipment to help us with that is a
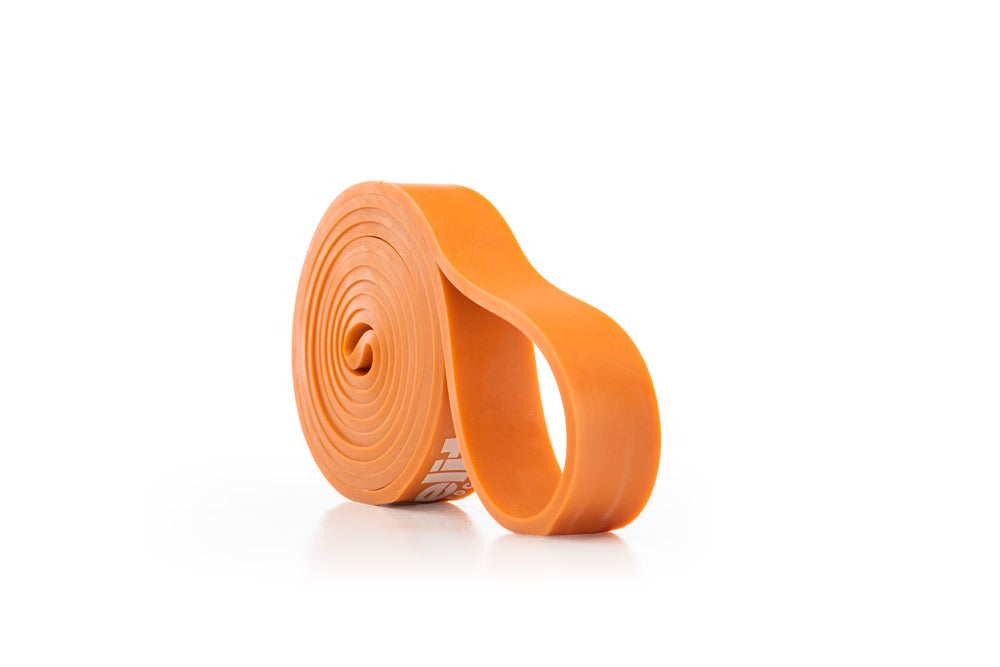
Glute Ham Raise machine. I truly believe that a GHR is one of the best pieces of equipment you can have in your gym. You can still do stiff-legged deadlifts but the GHR is king. I would also suggest getting a variety of
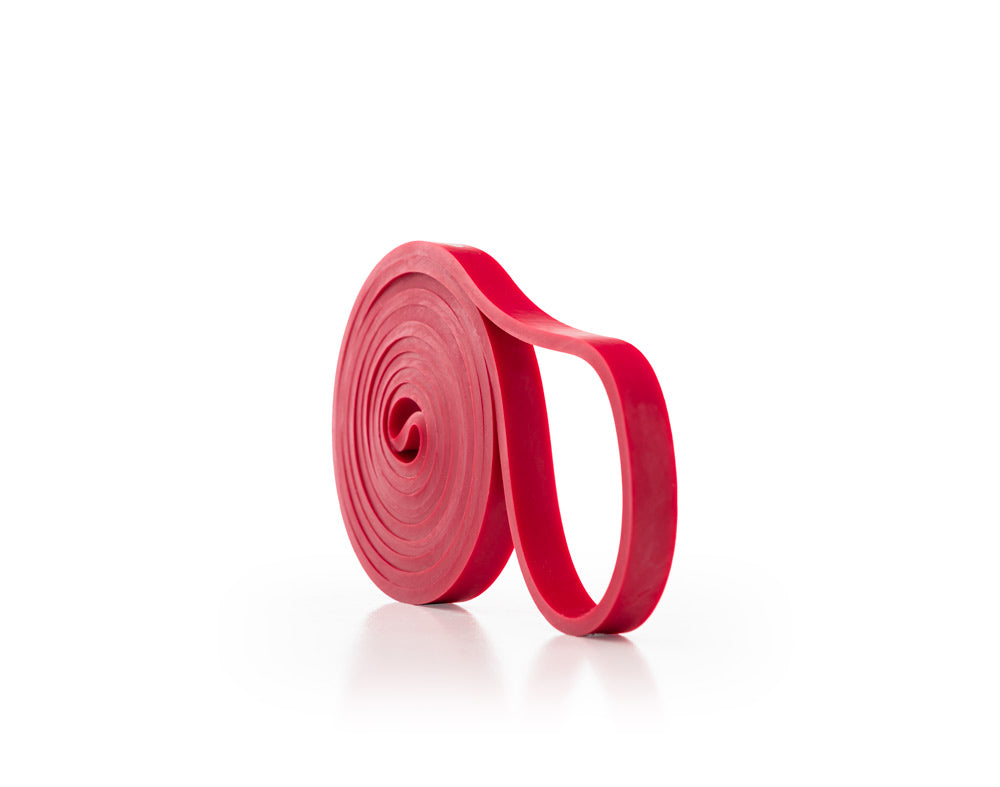
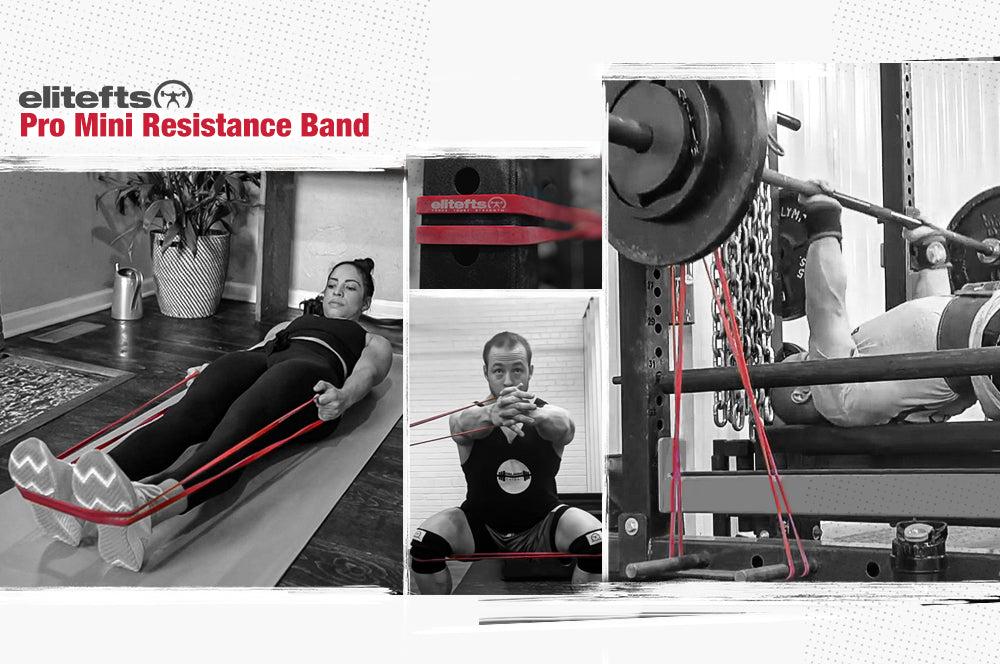
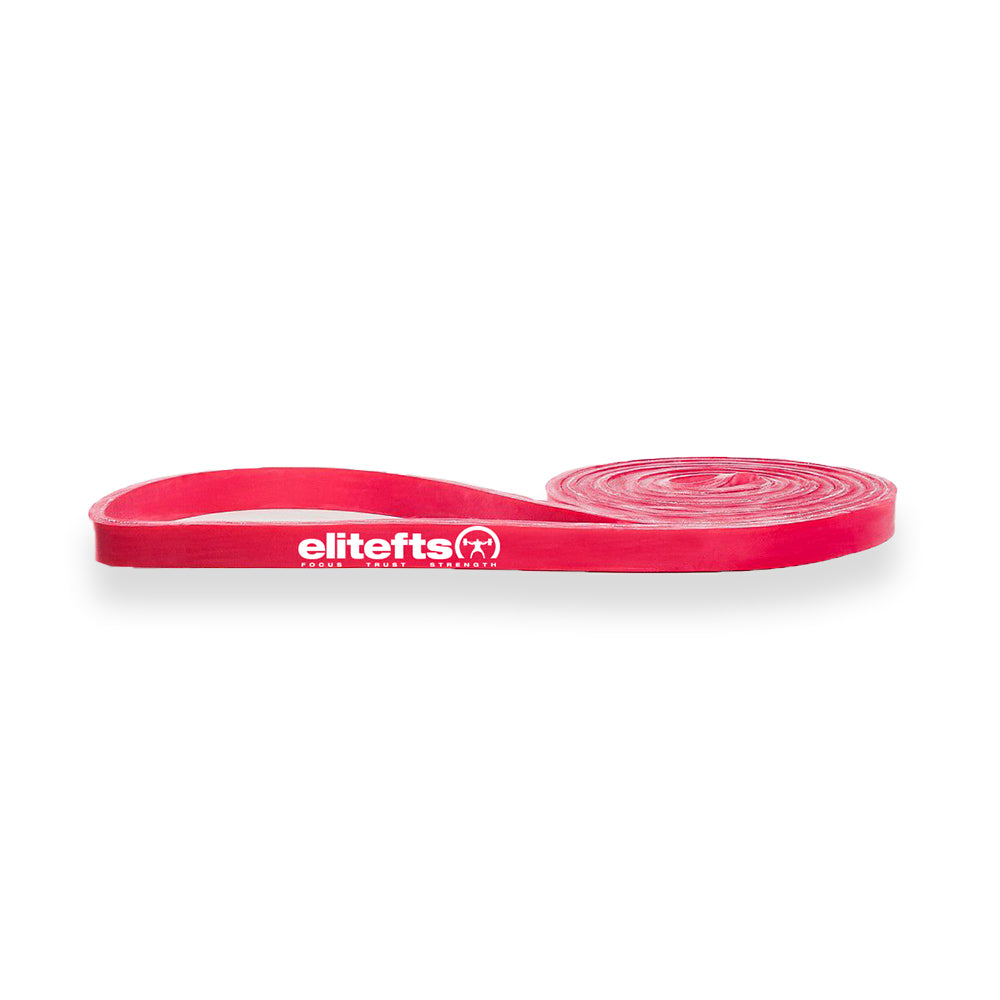
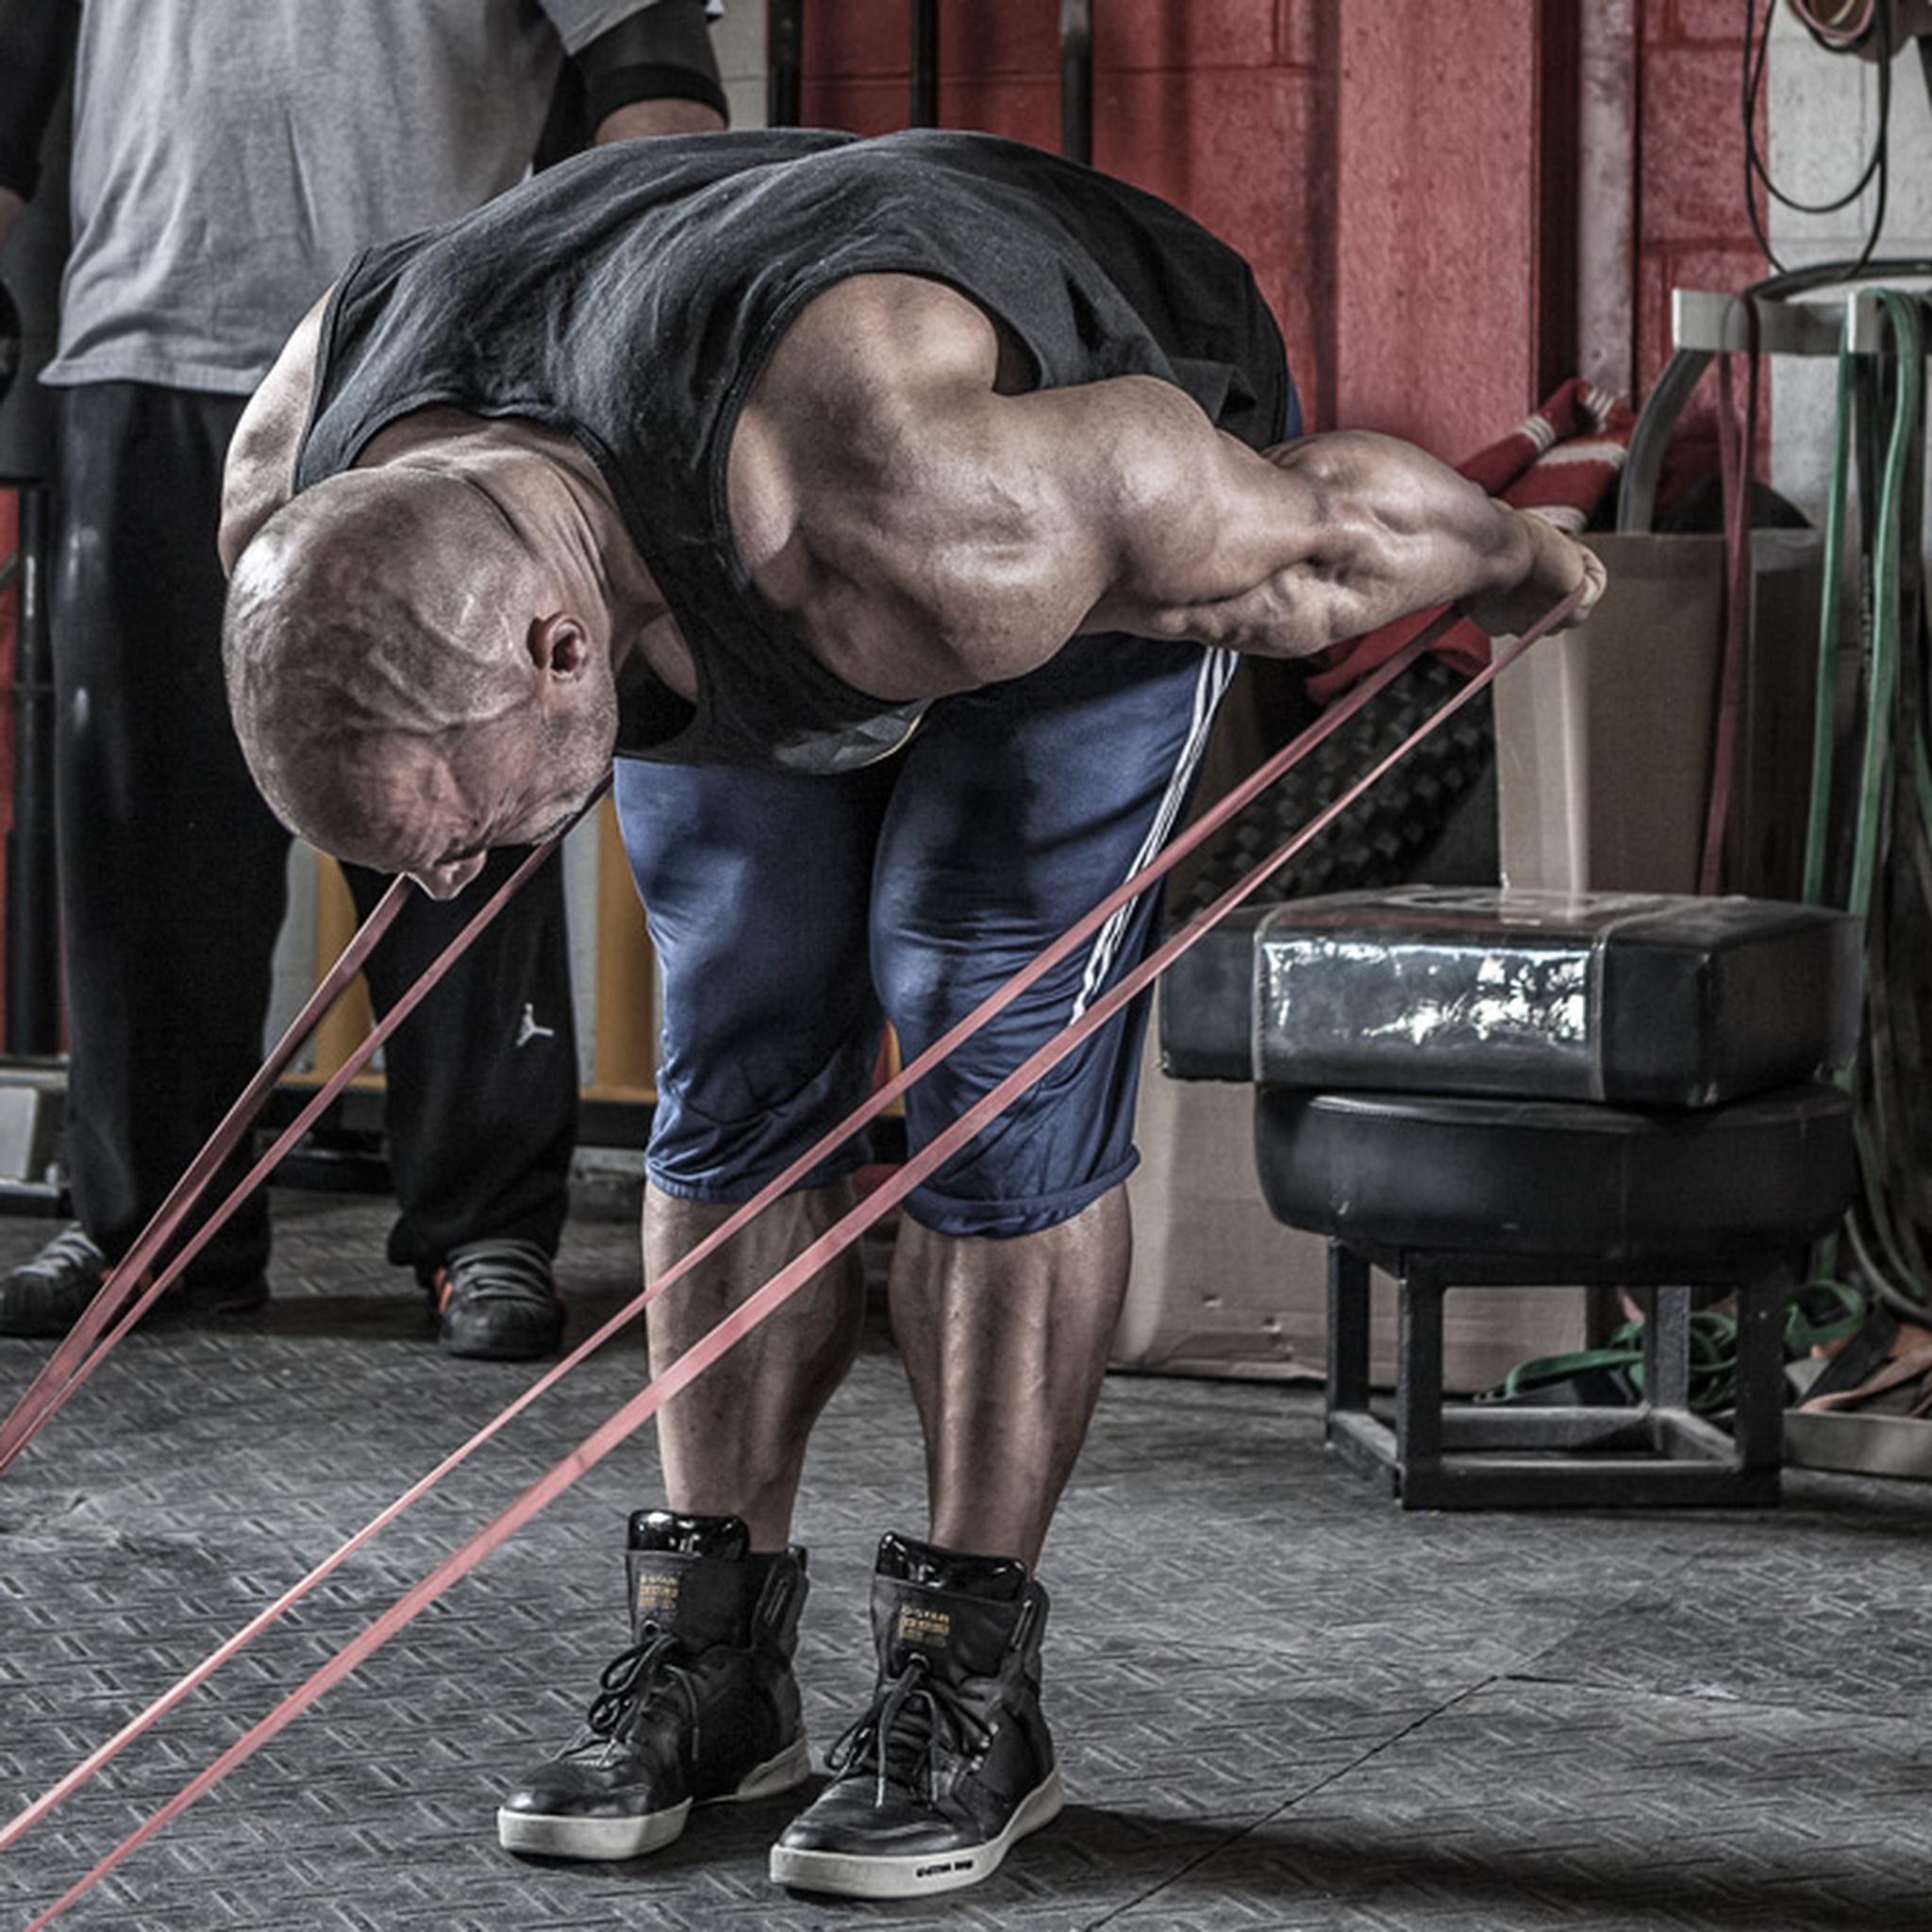
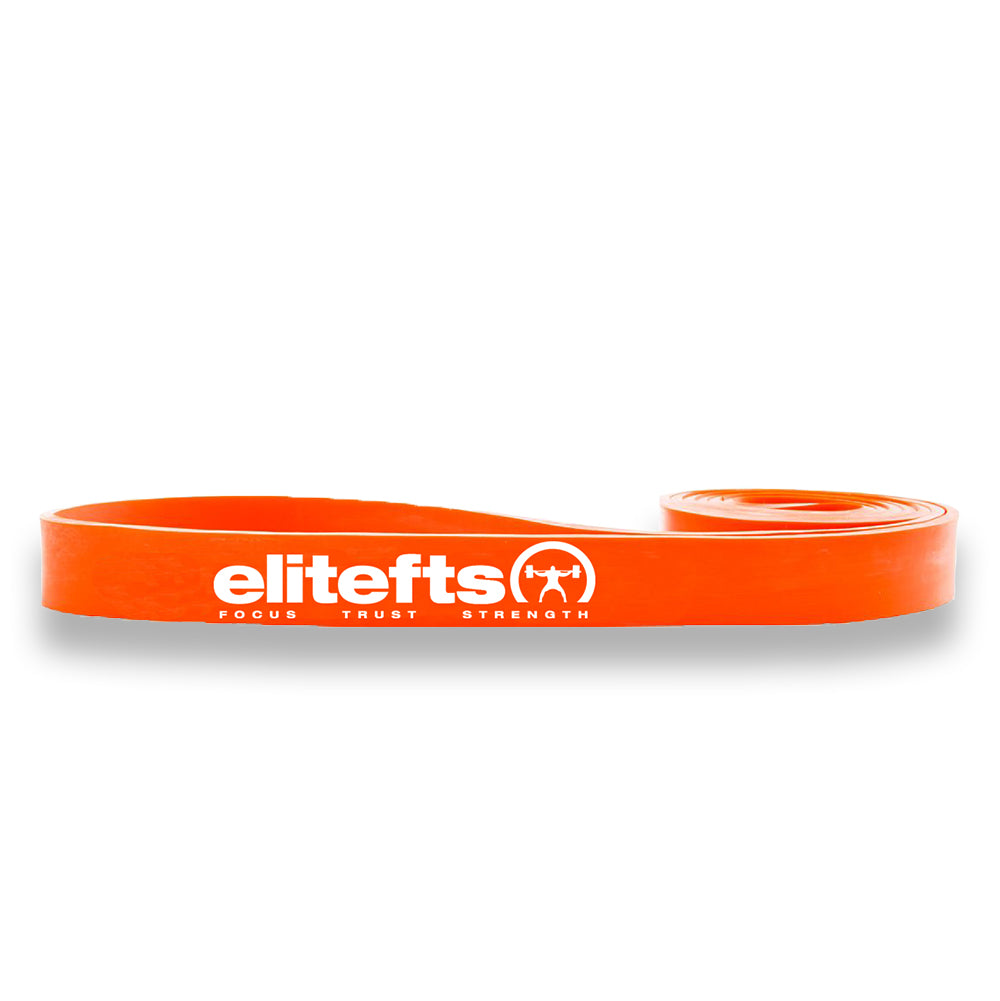
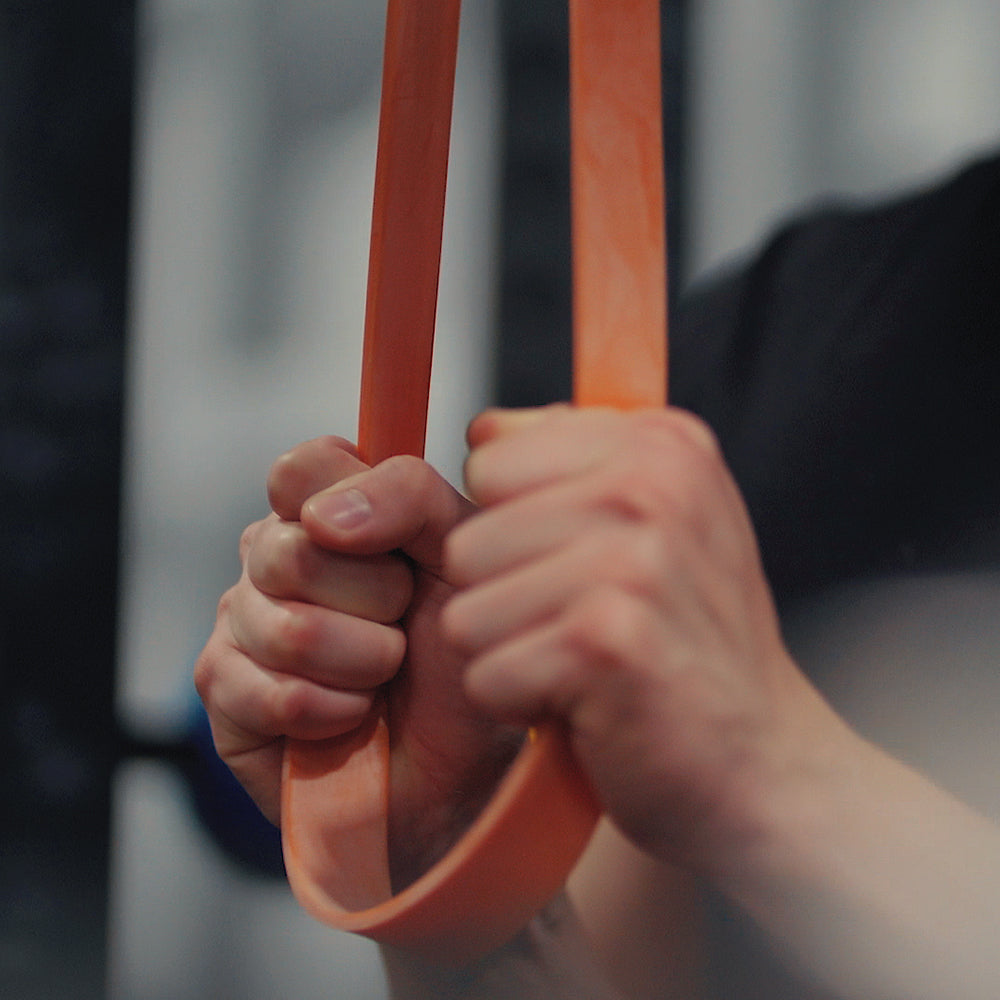
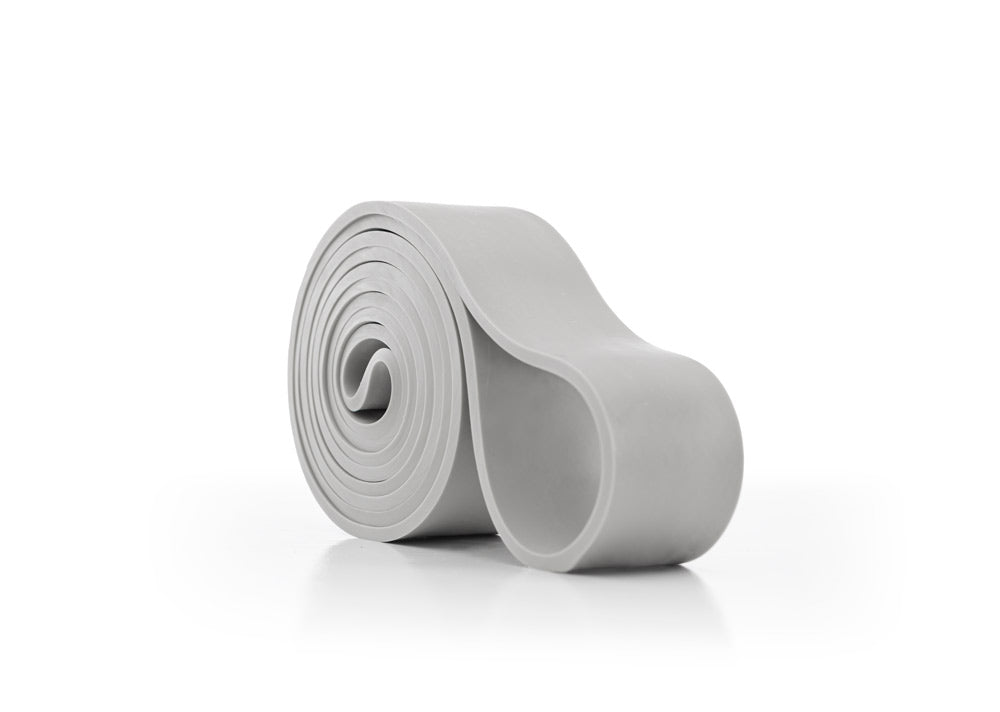
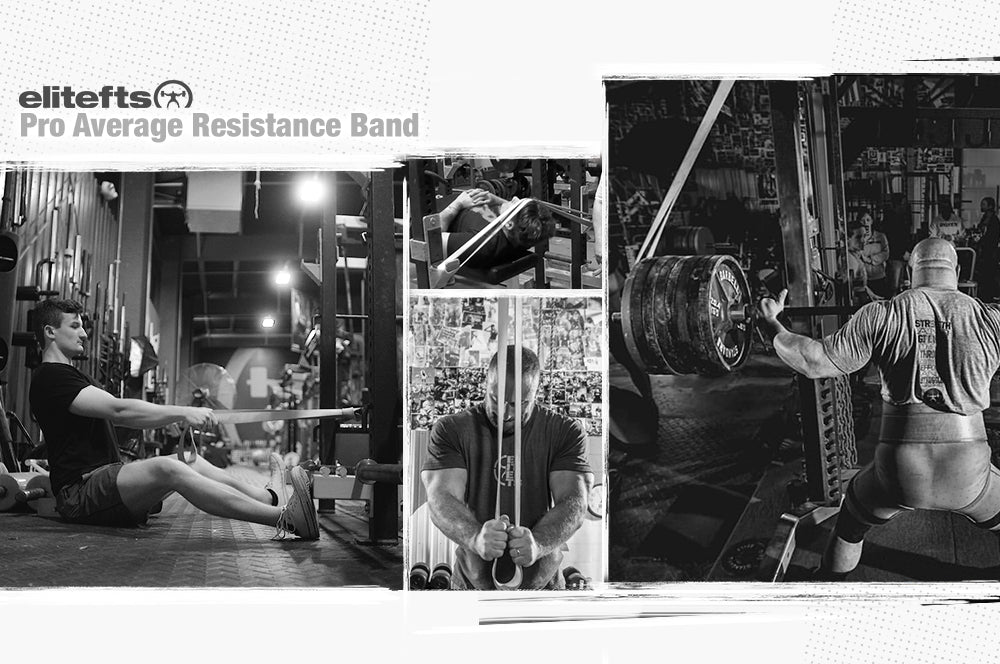
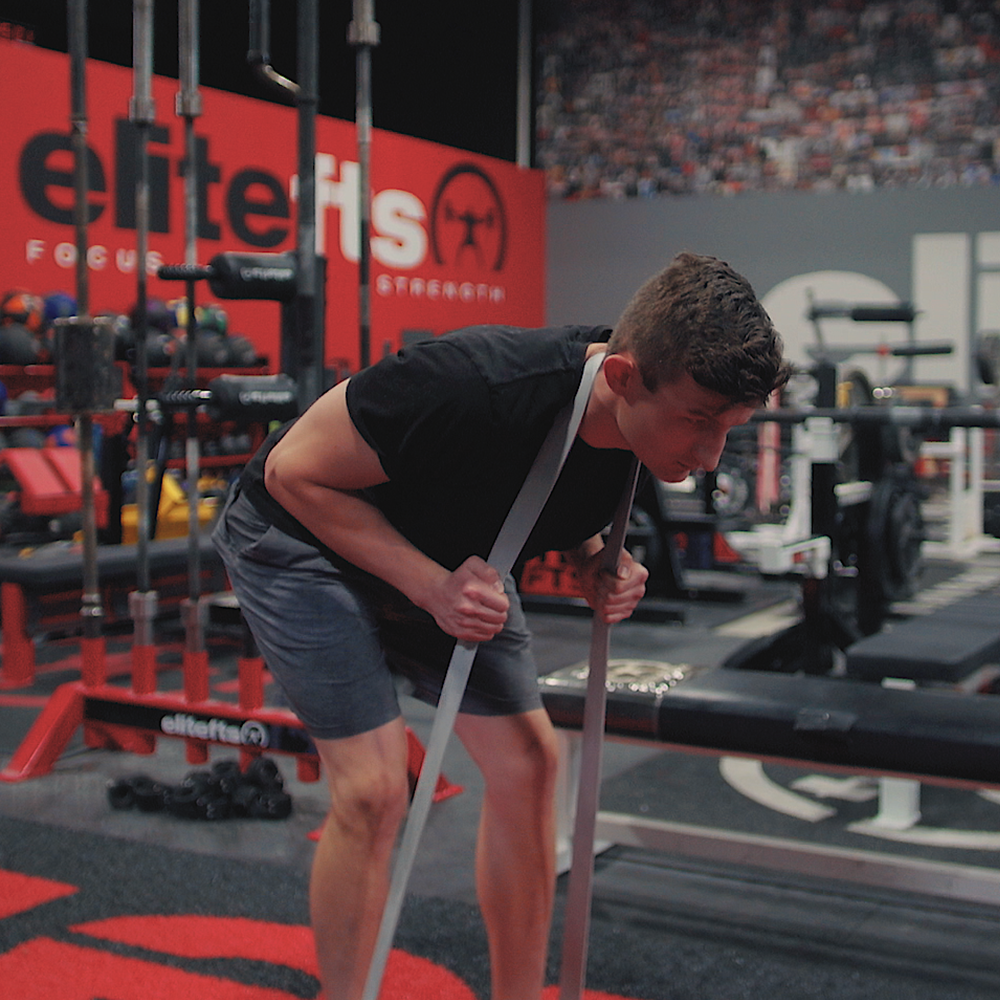
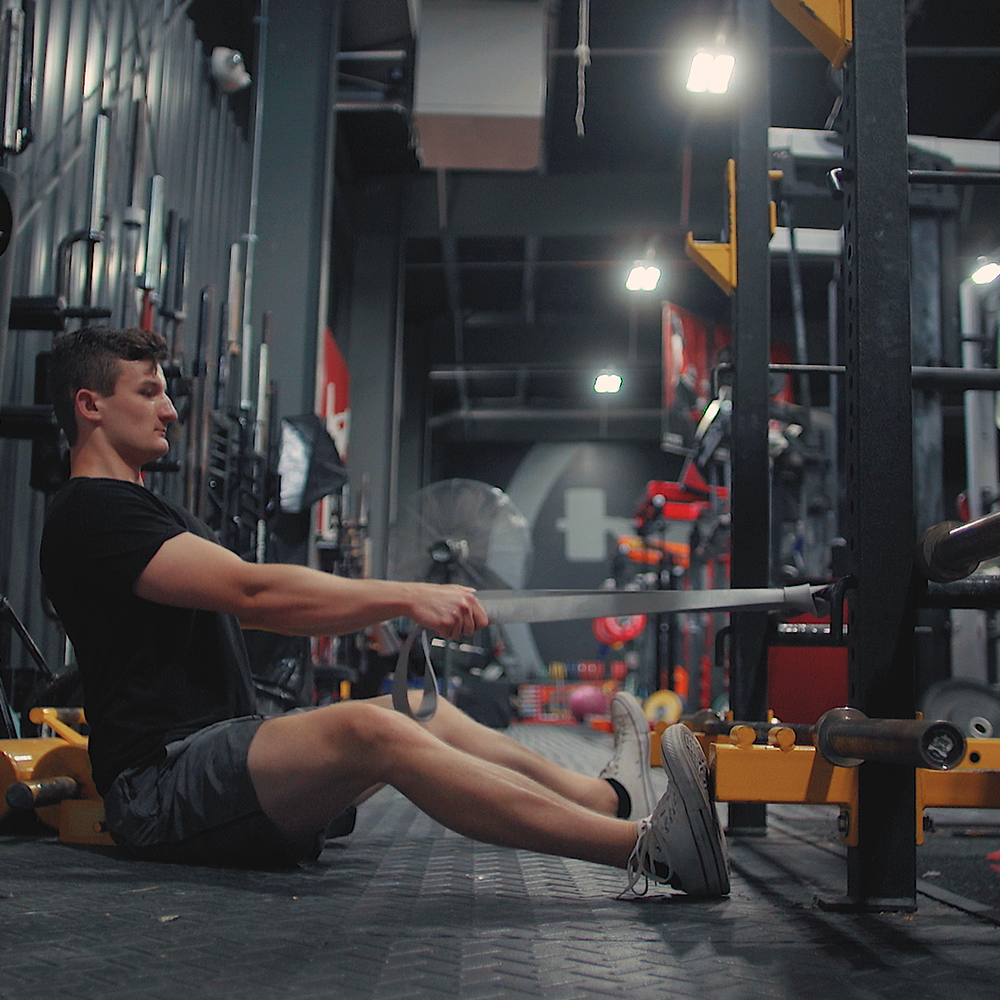
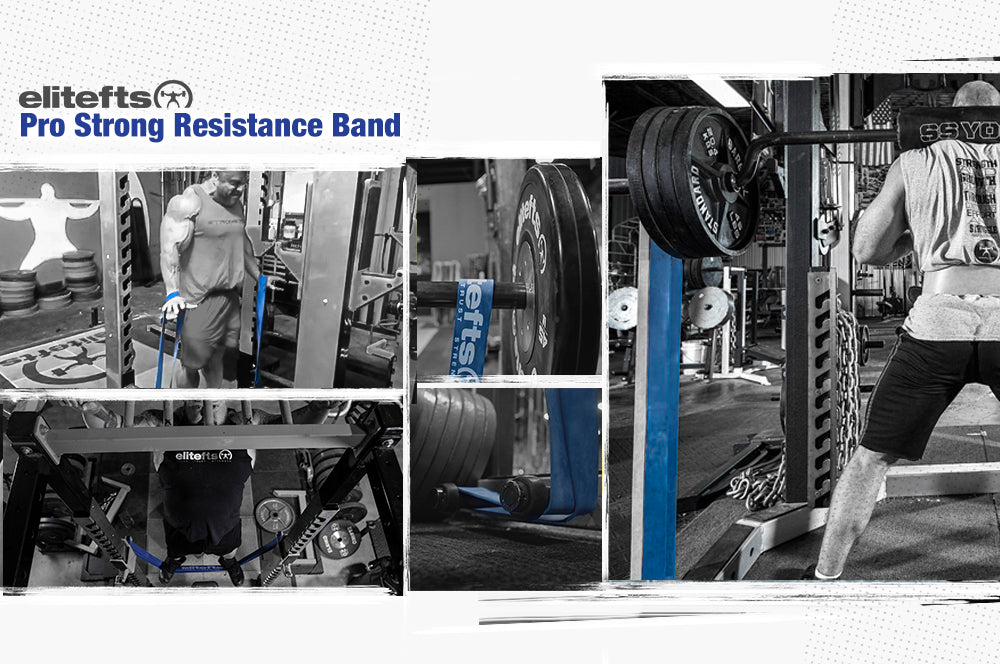
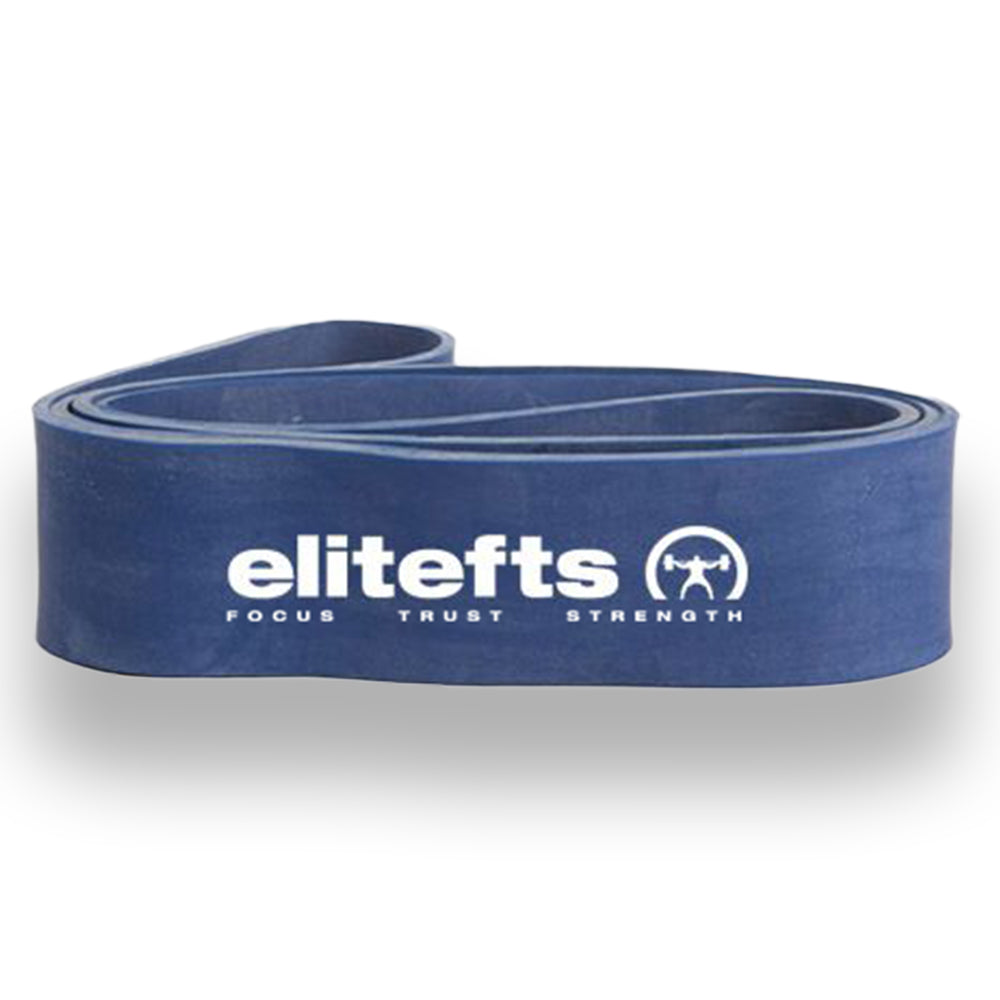
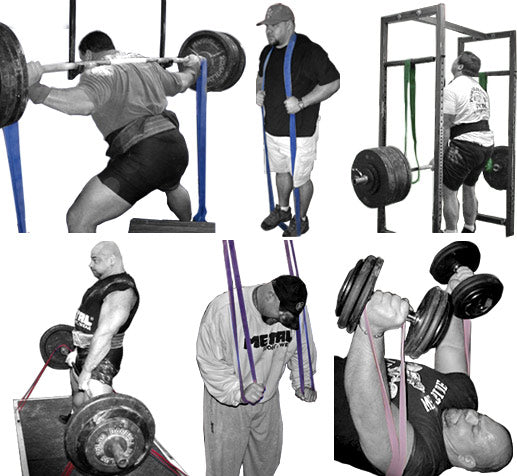
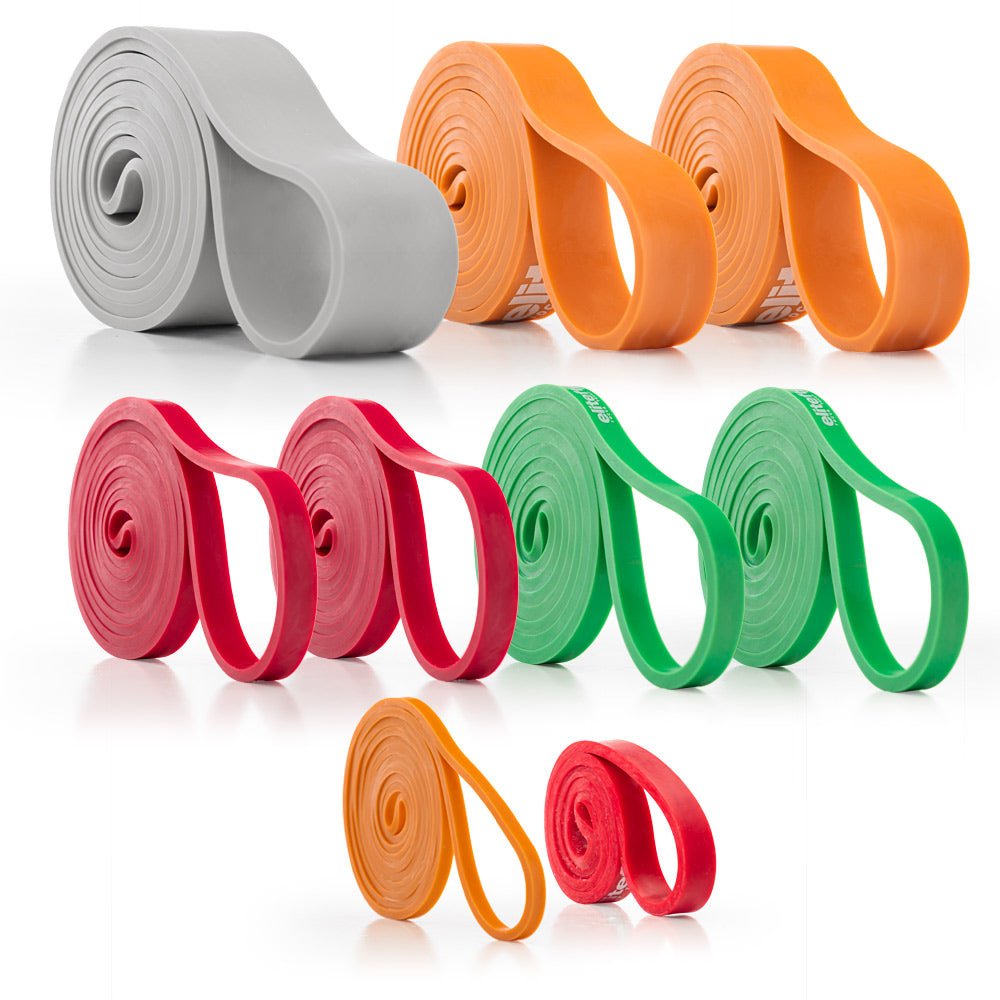
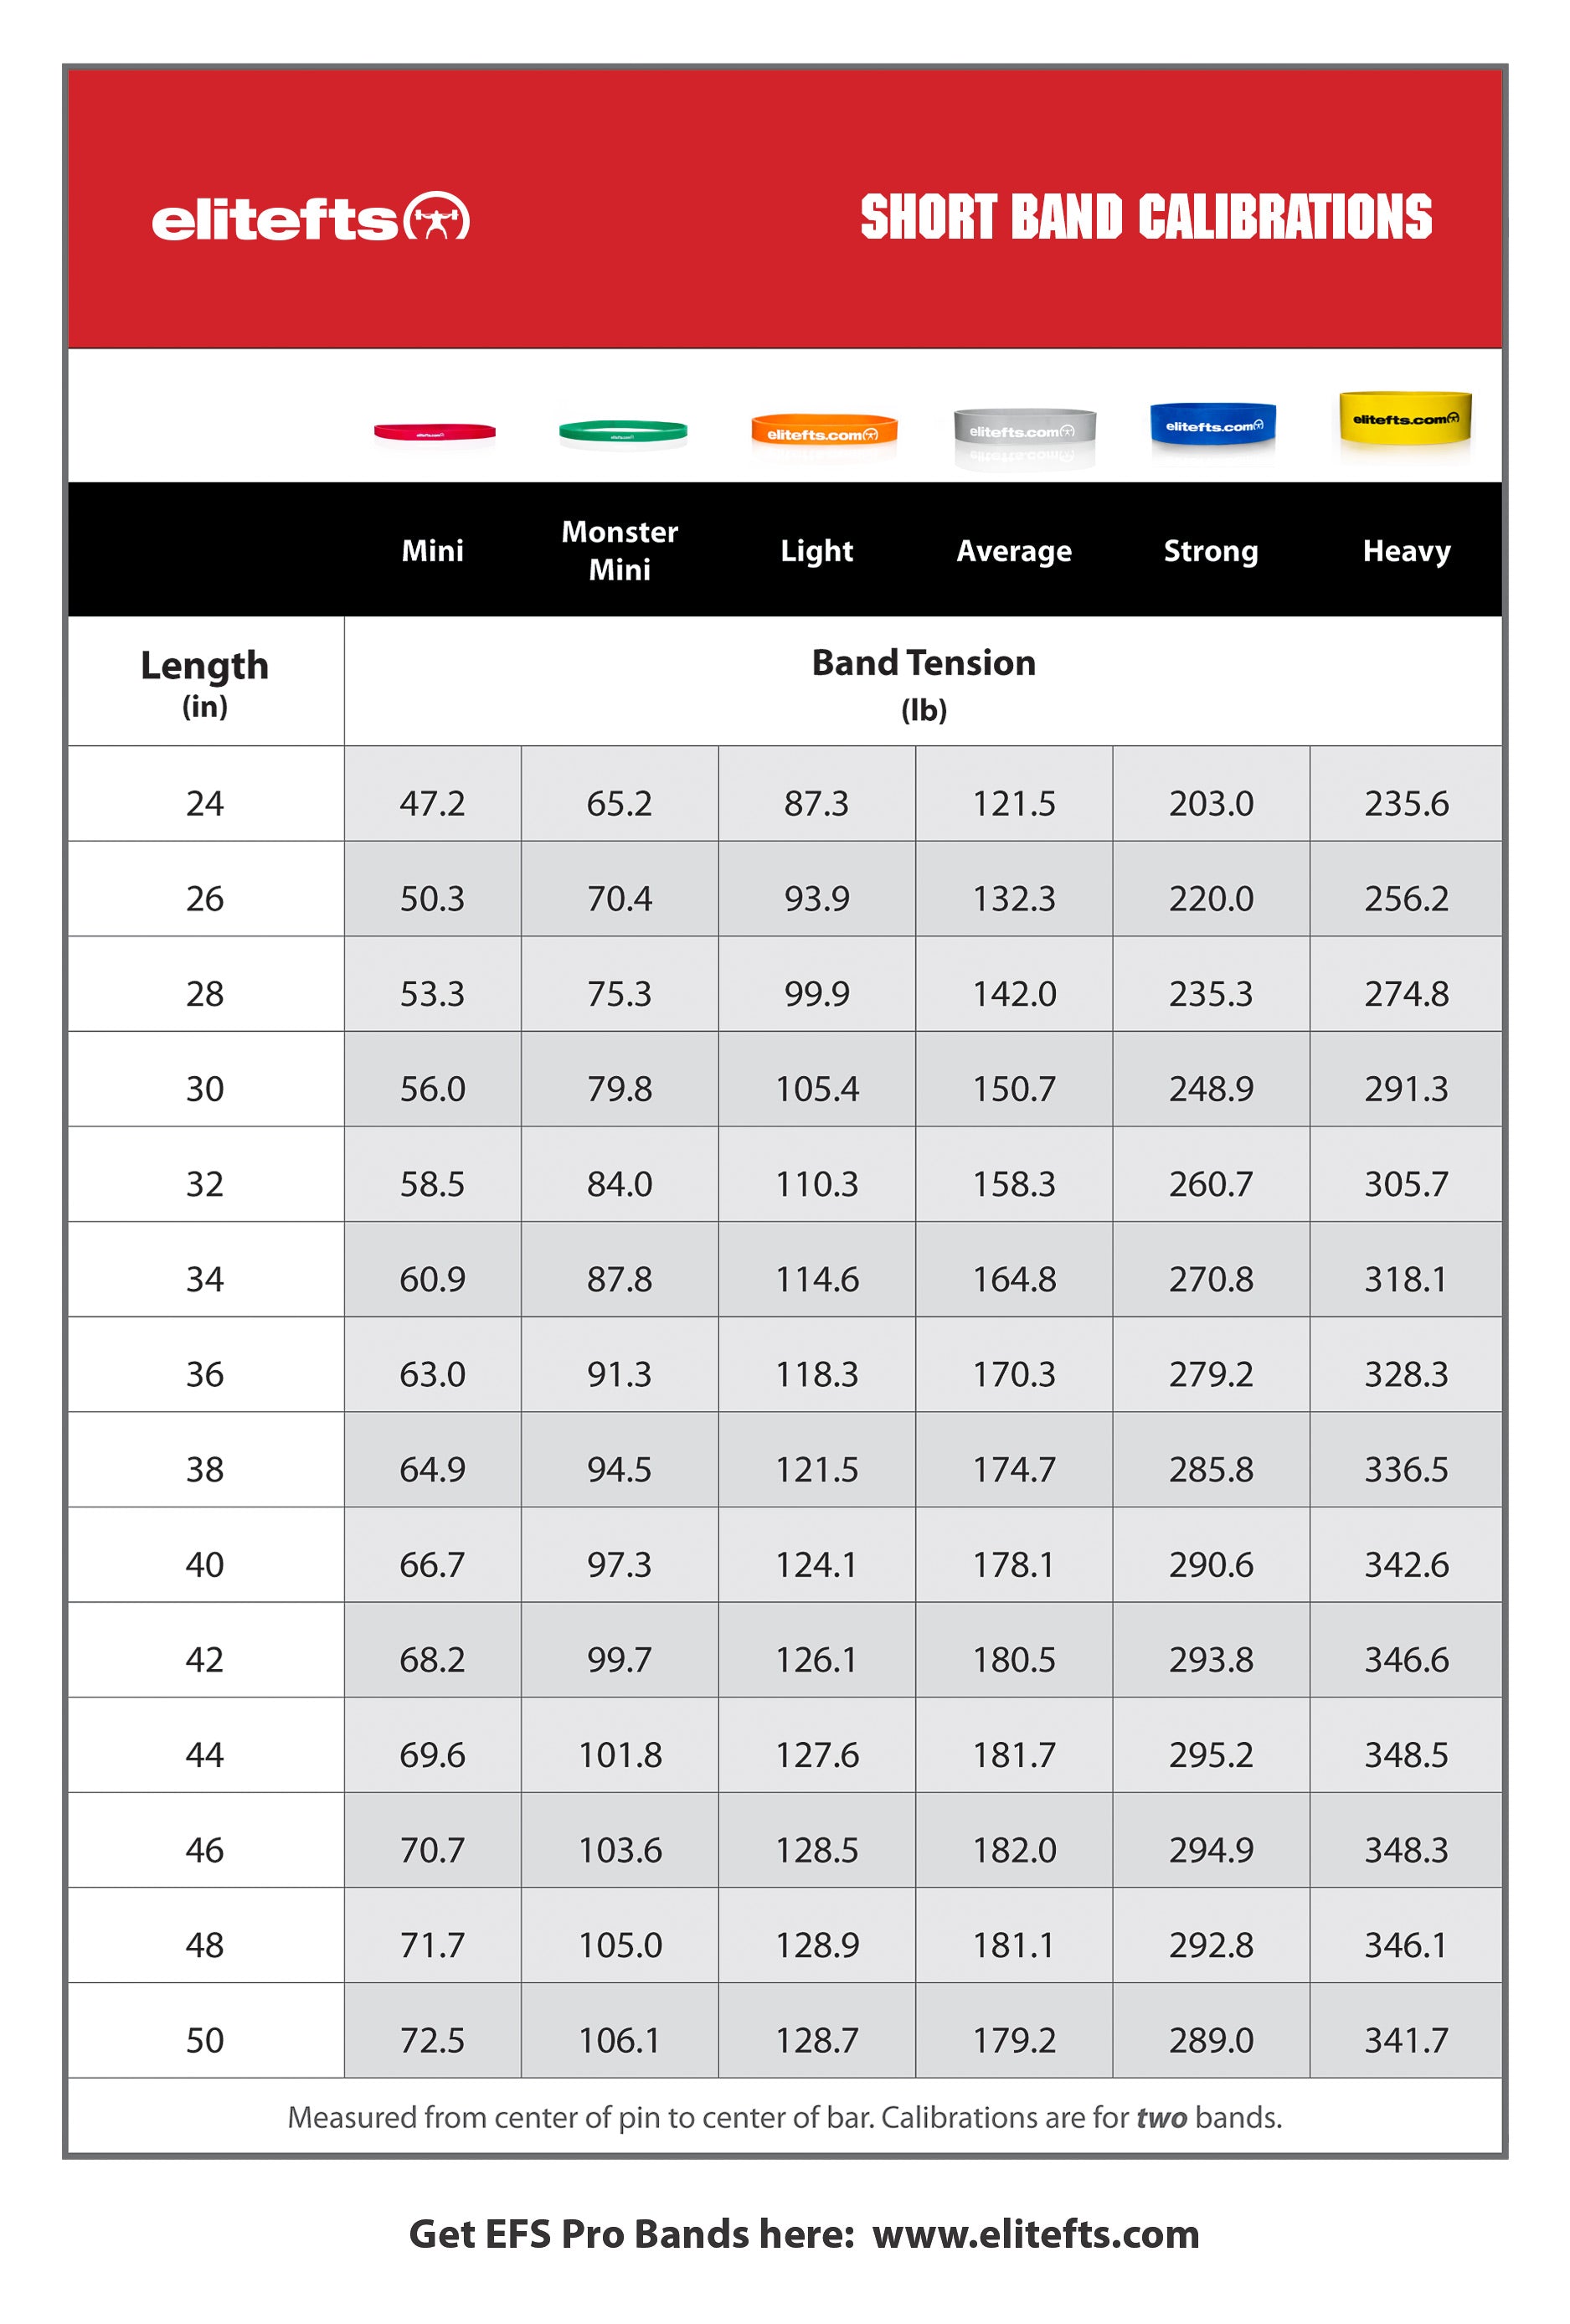
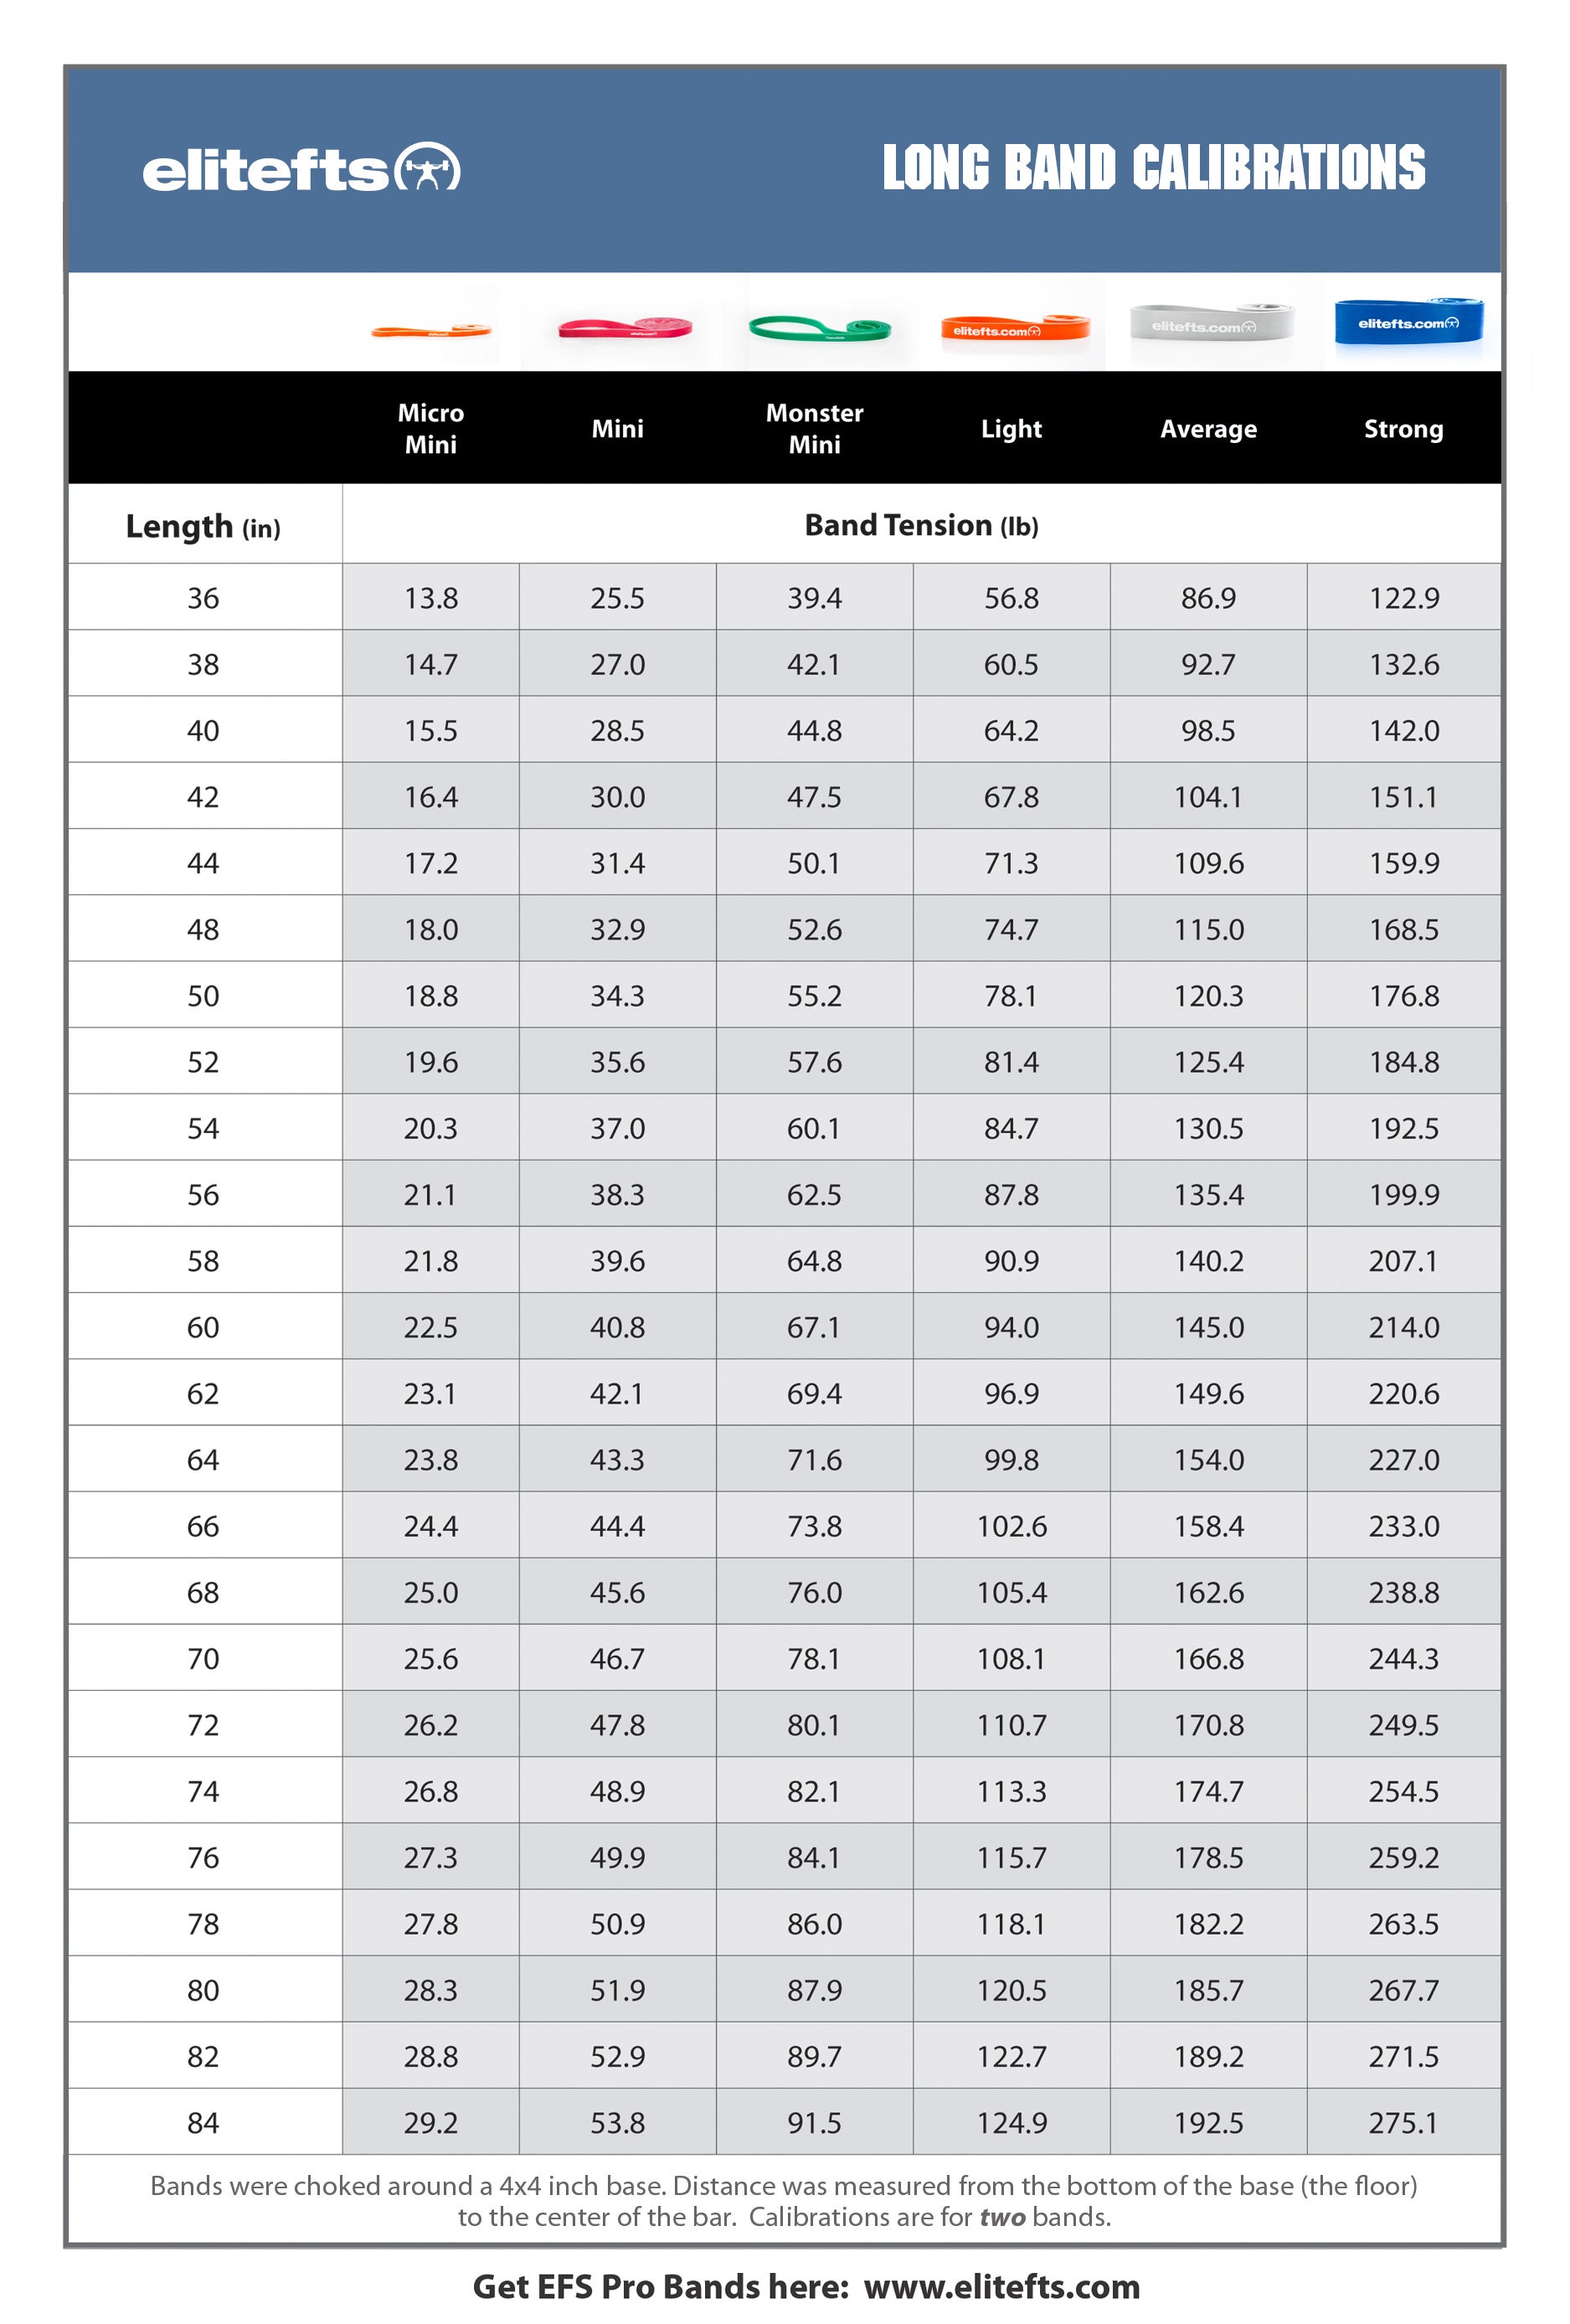
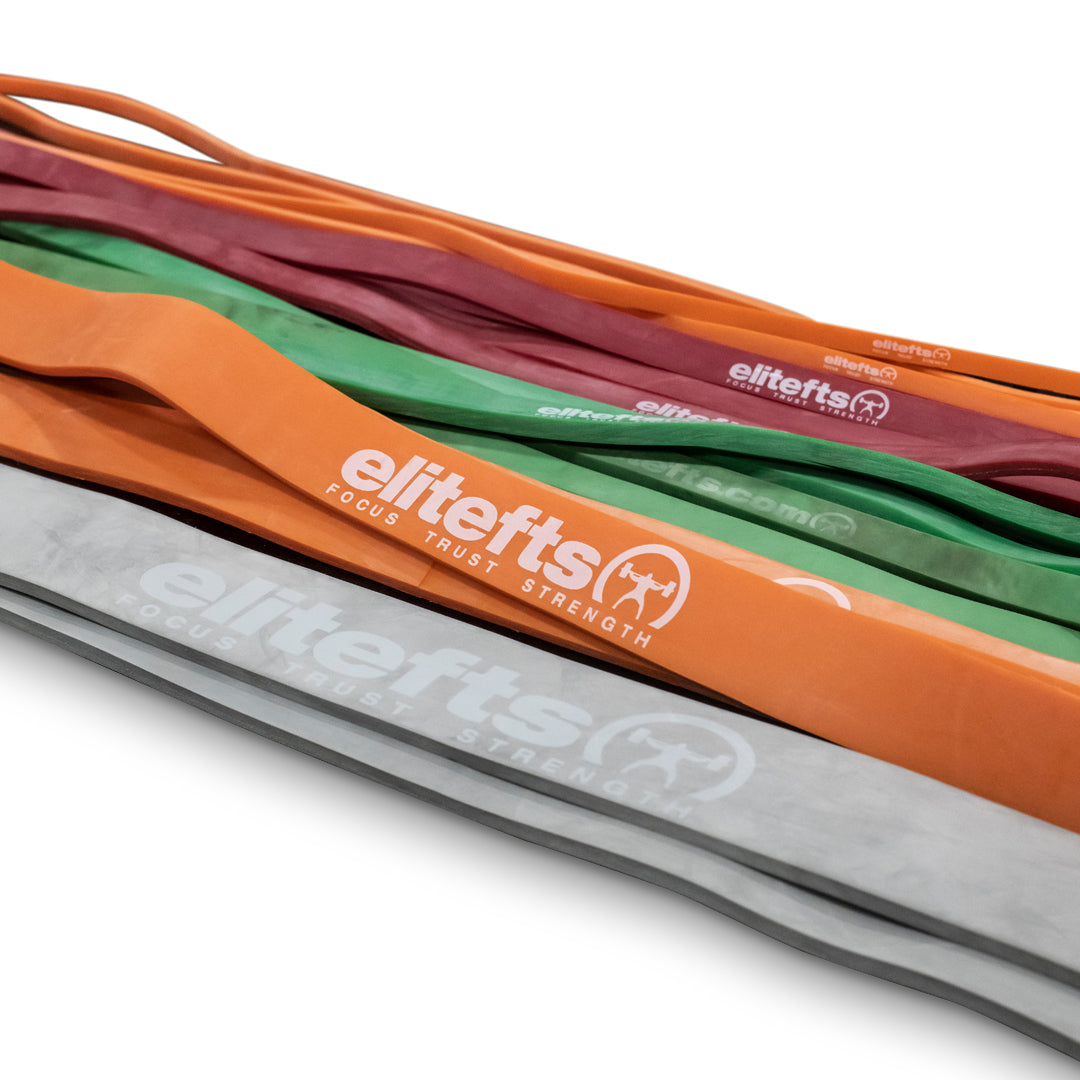
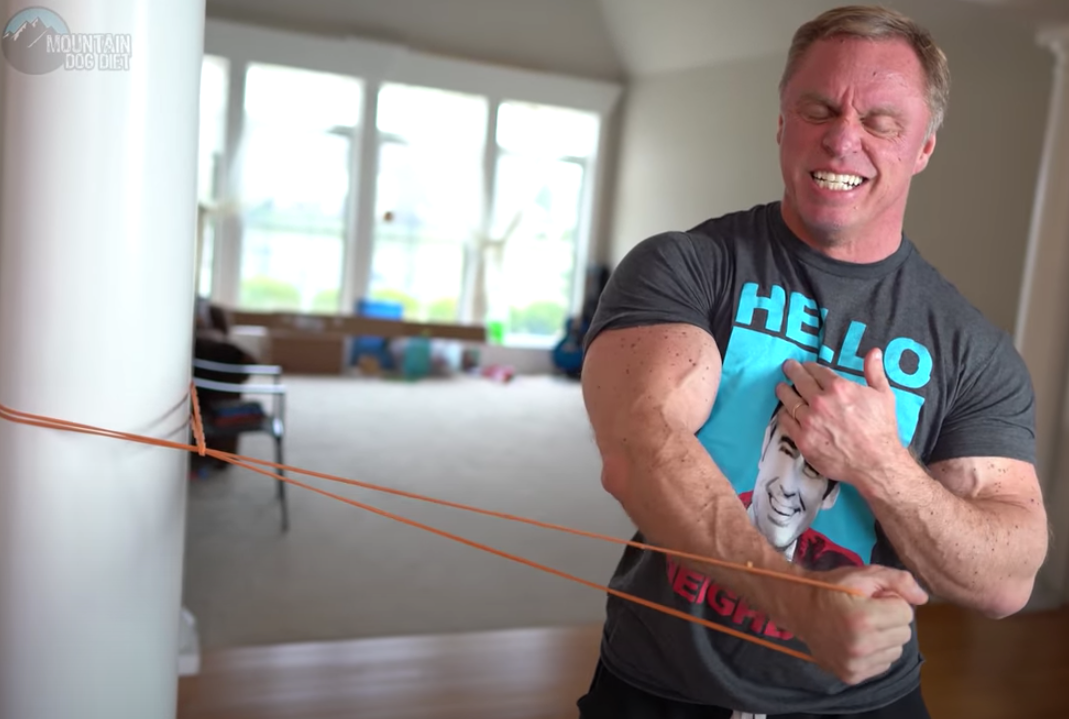
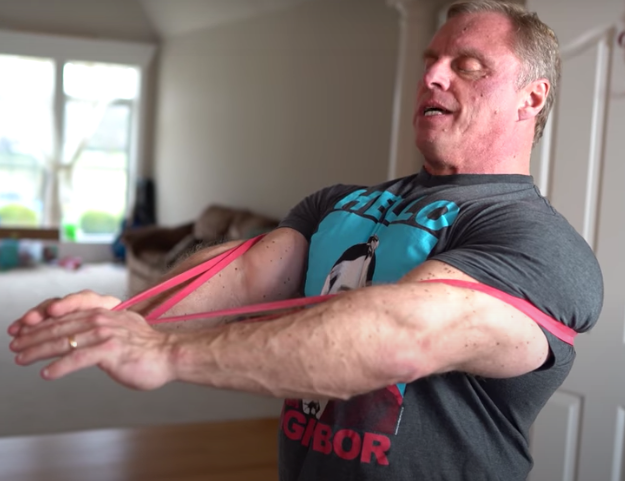
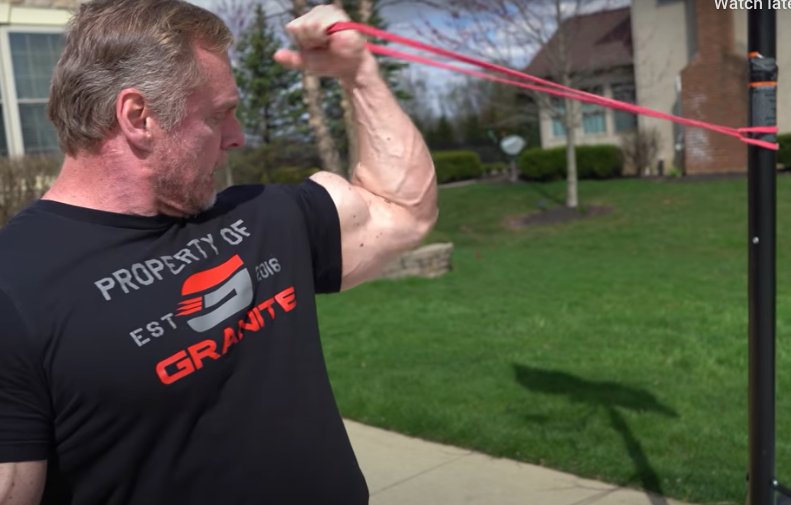
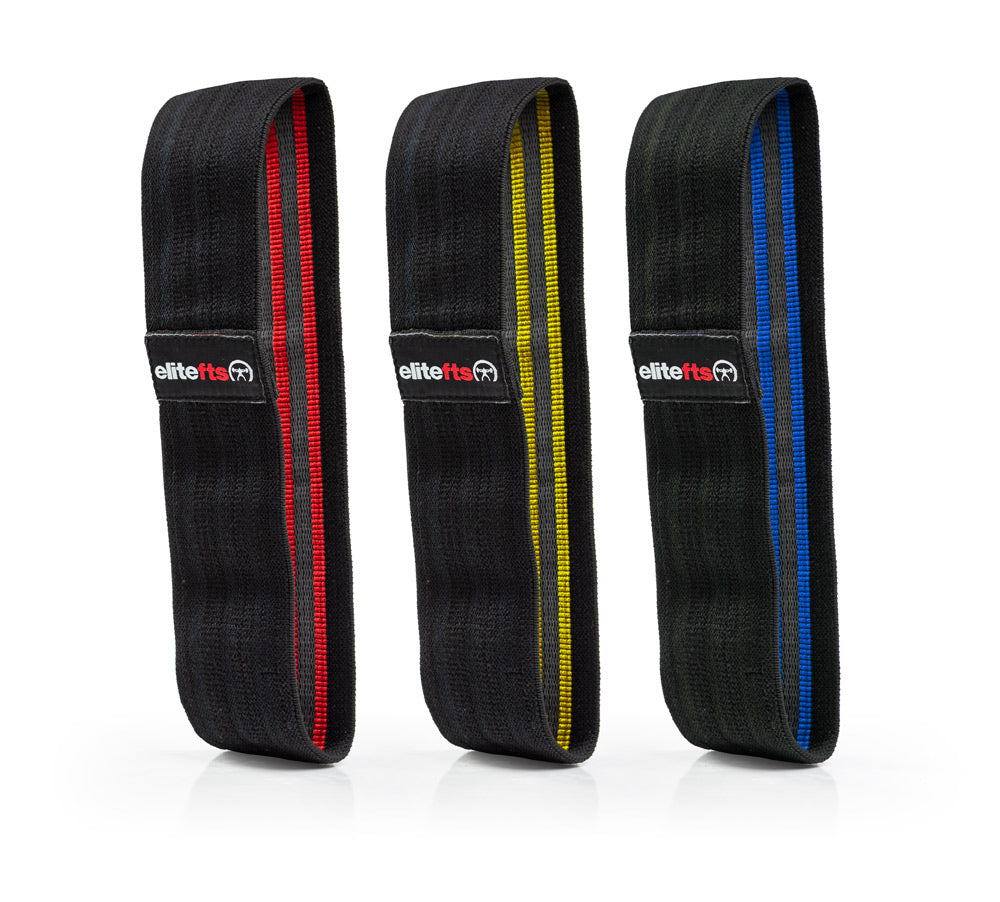
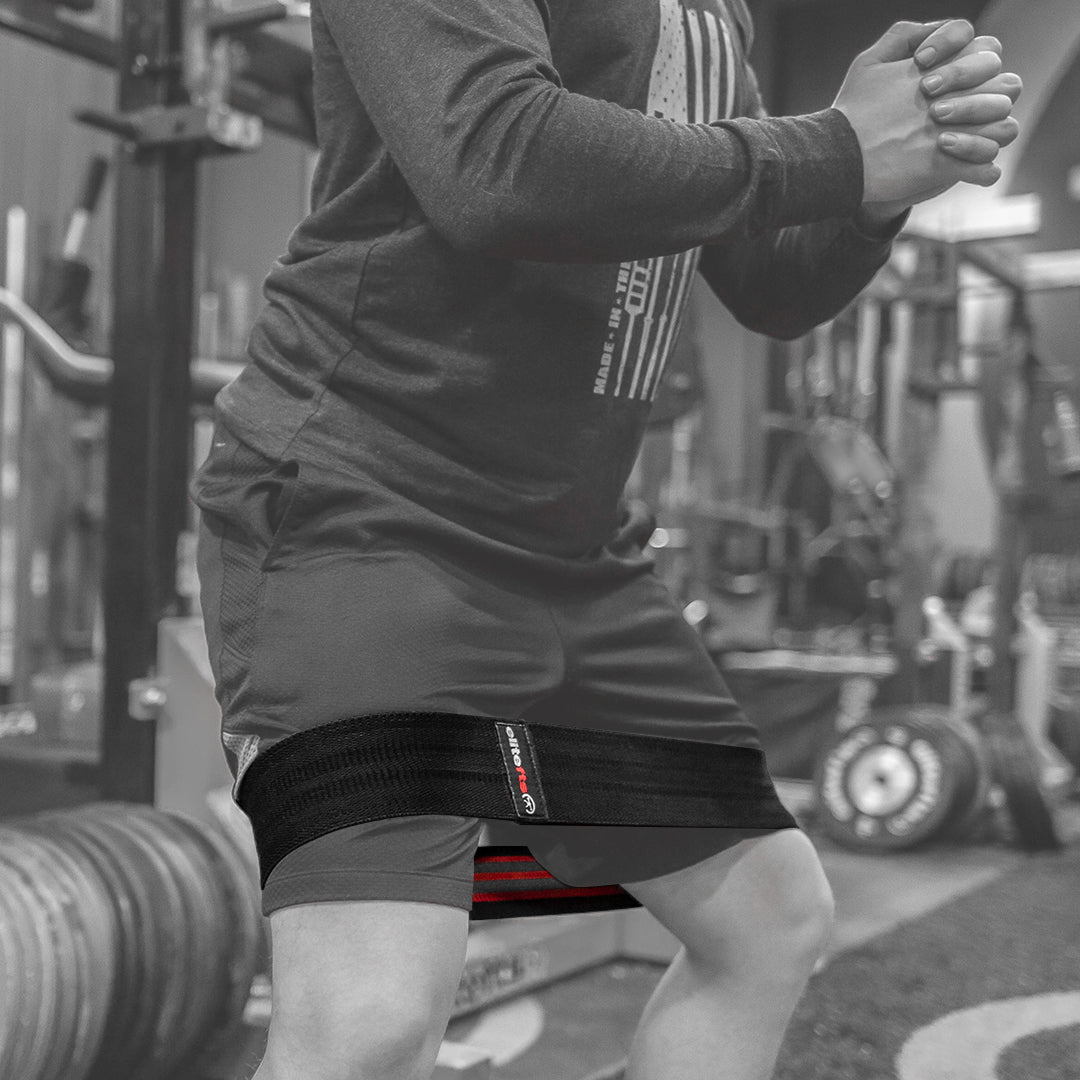
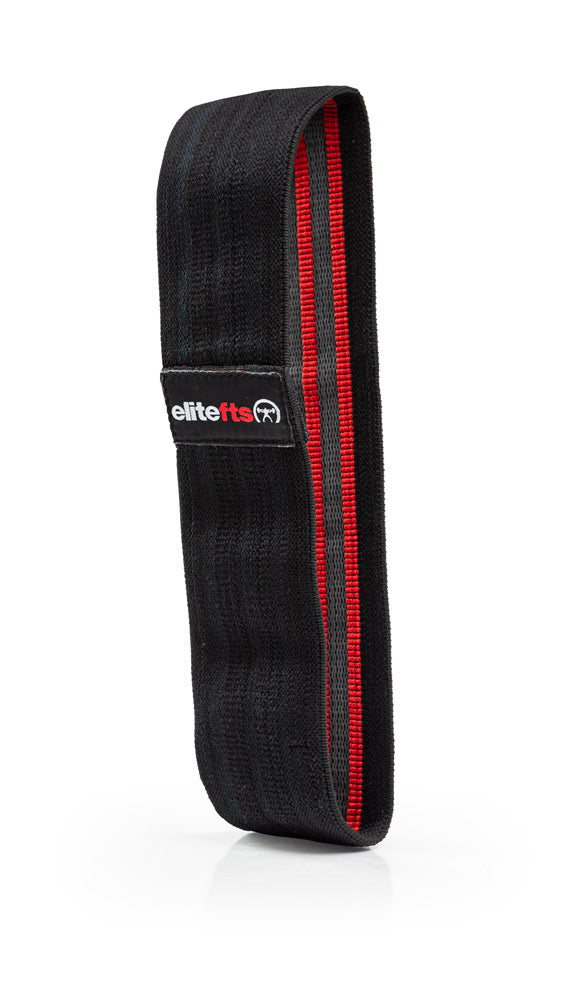
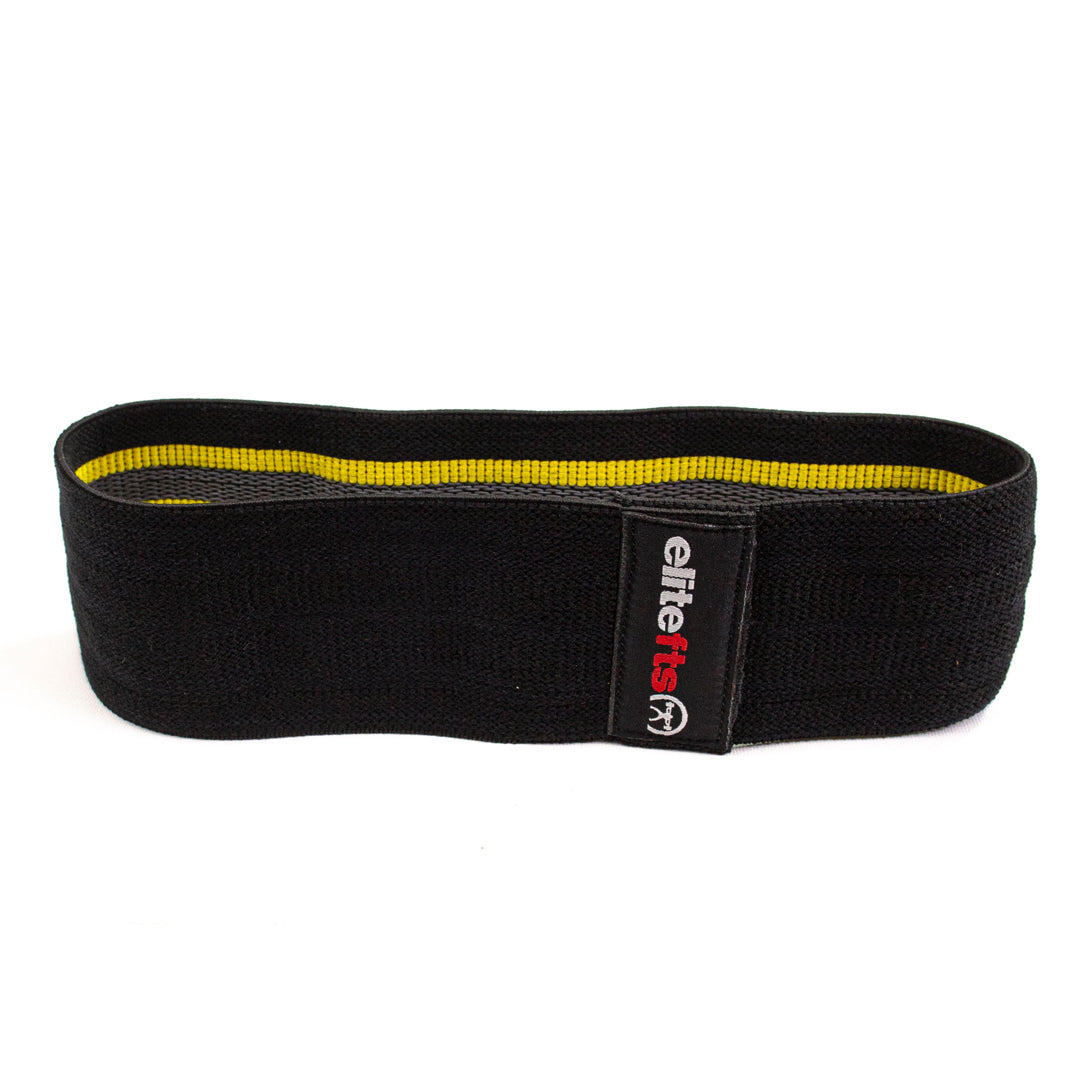
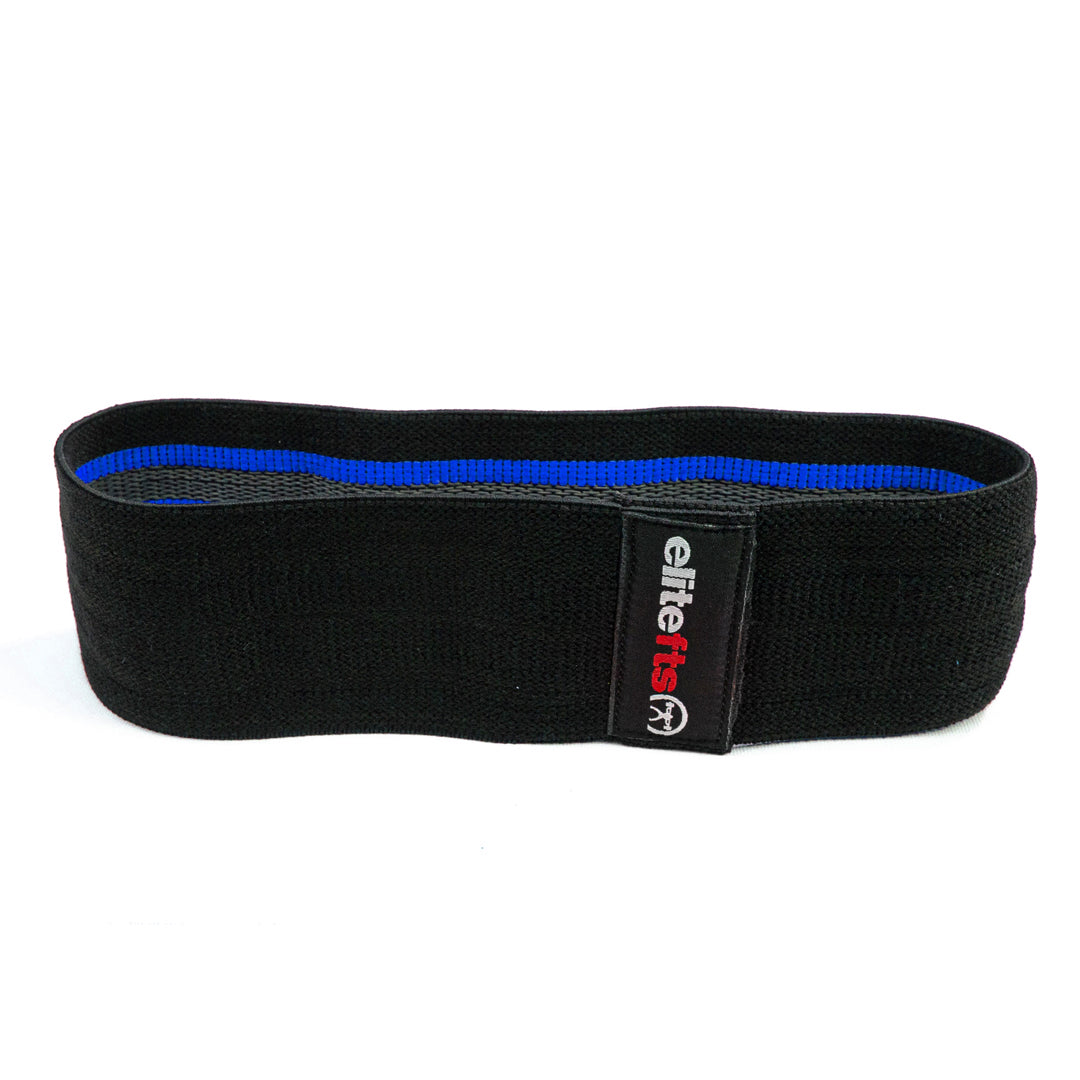
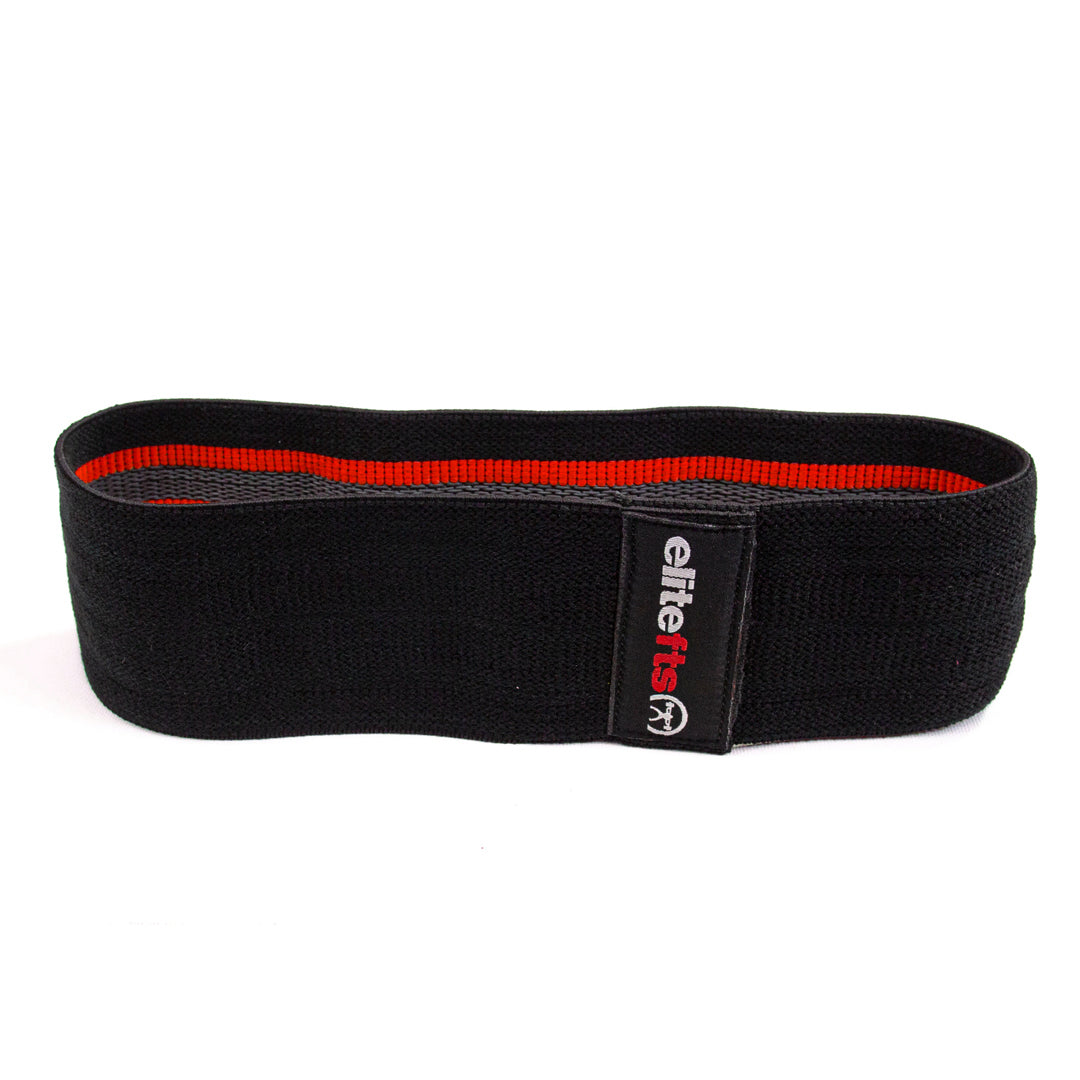
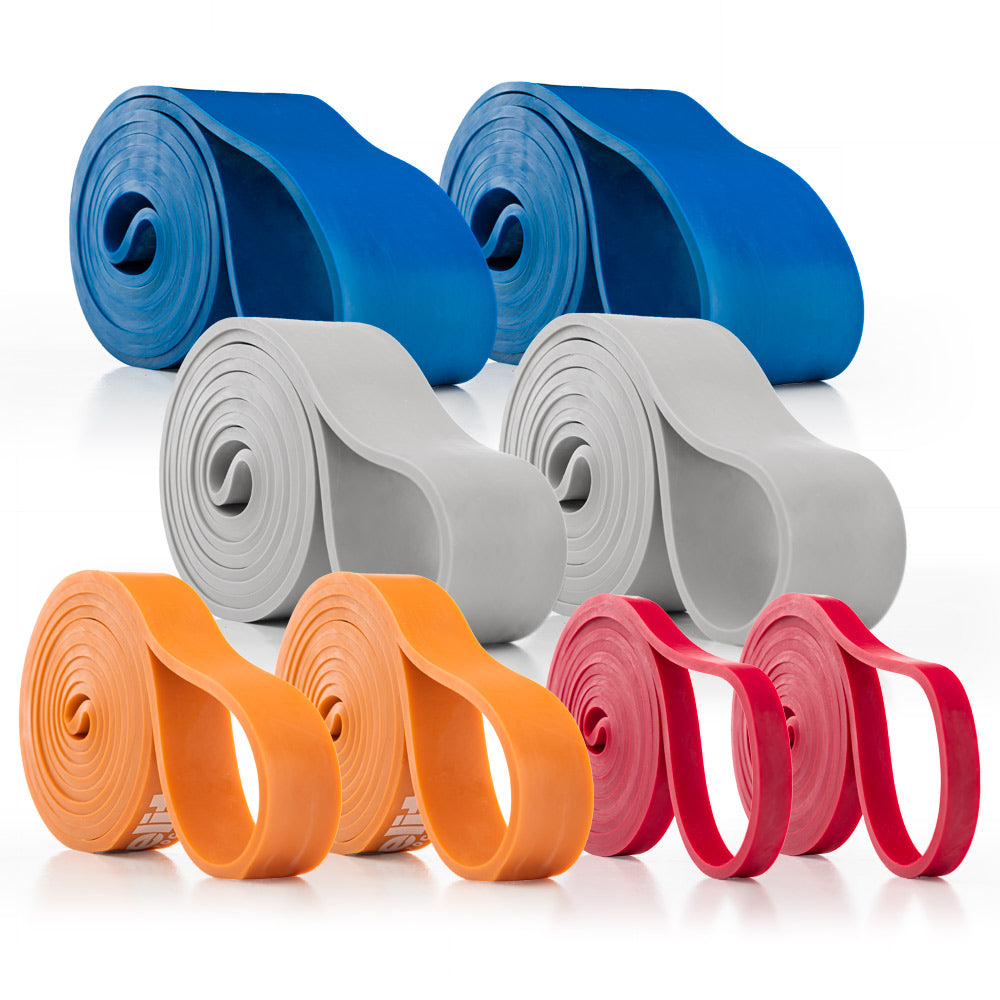
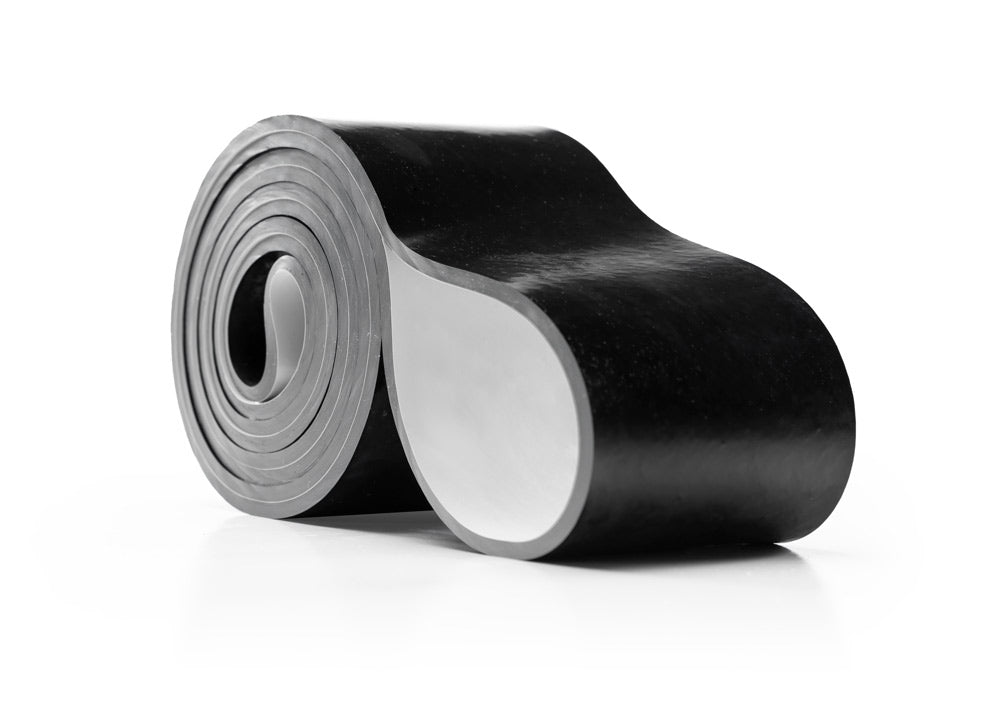
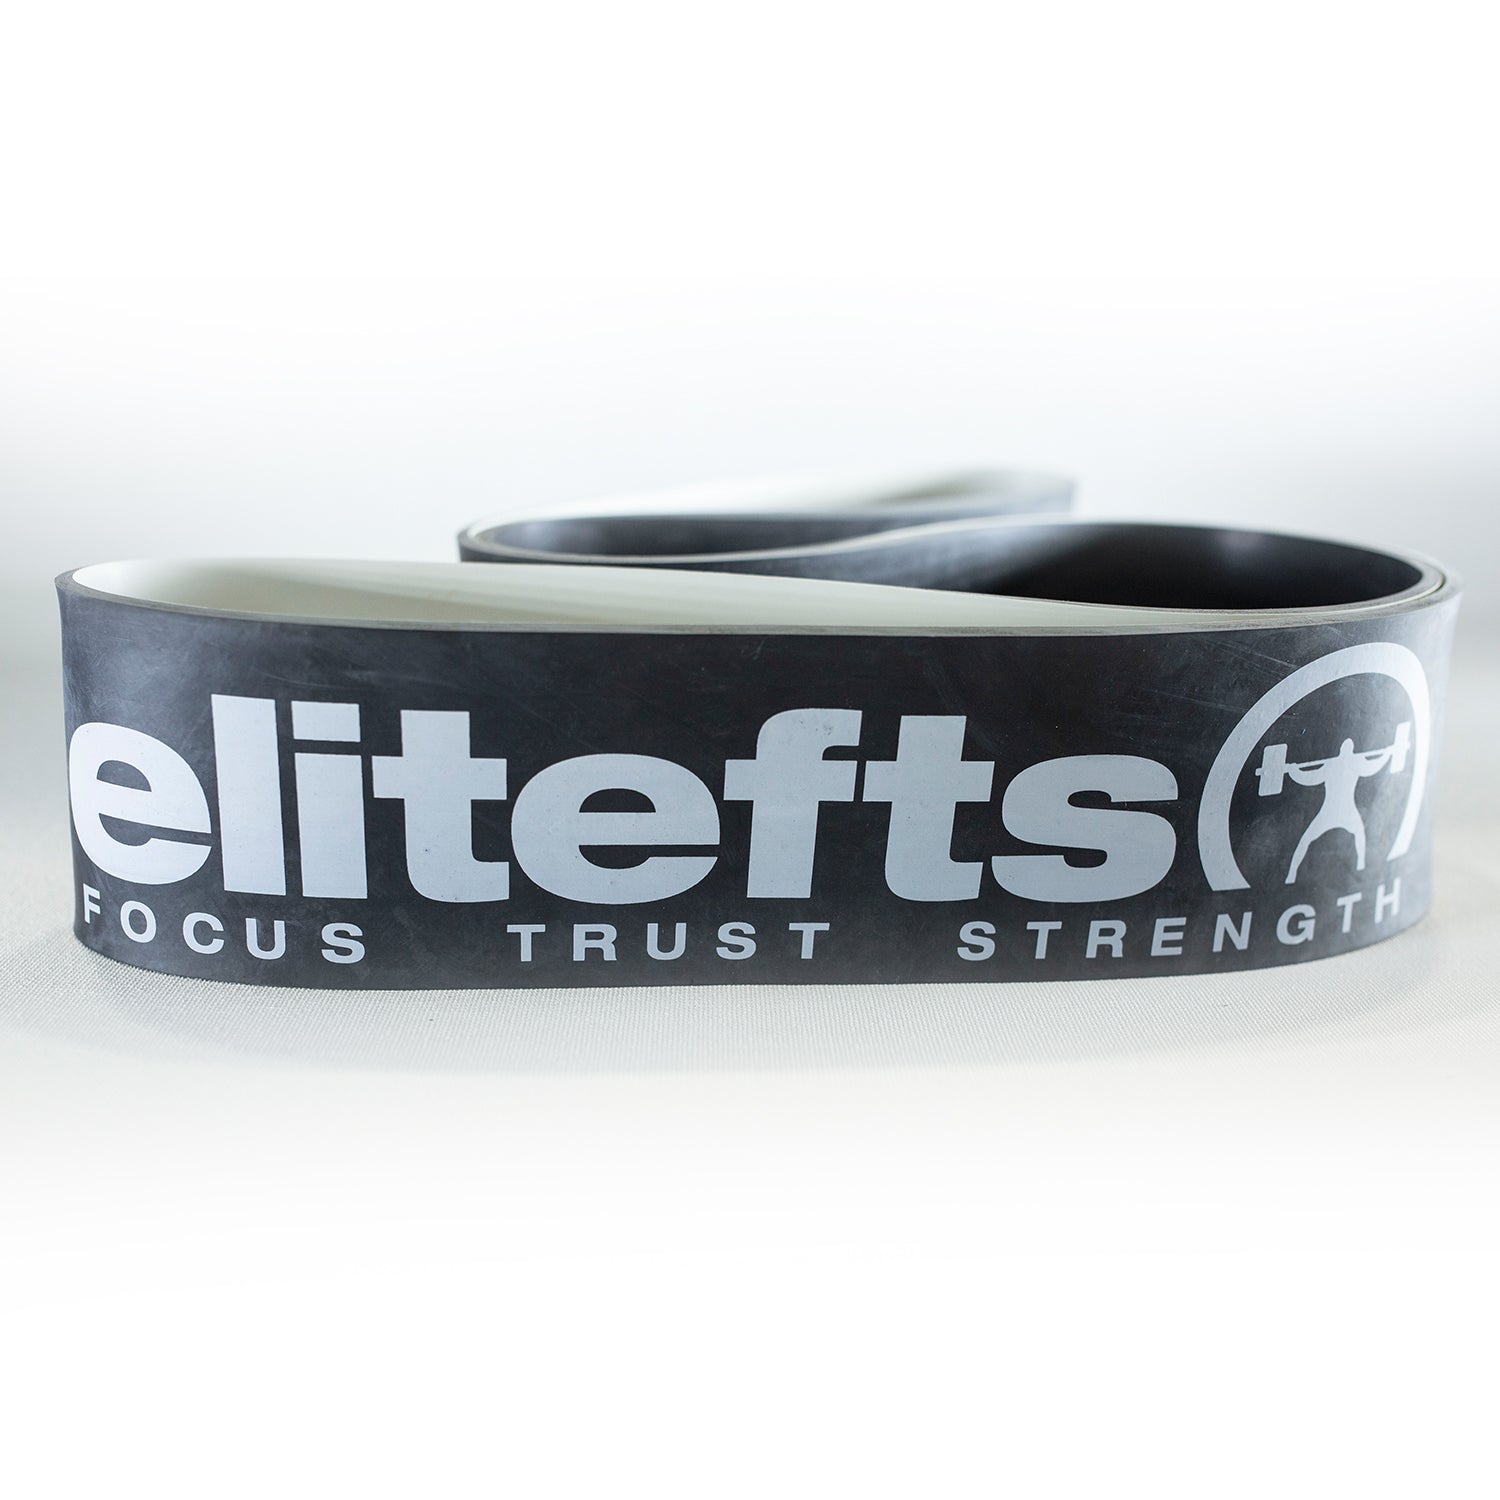
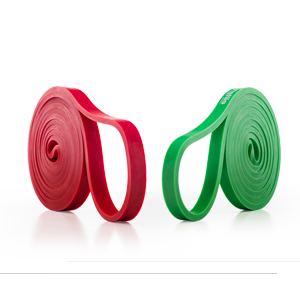
bands for accessory work.
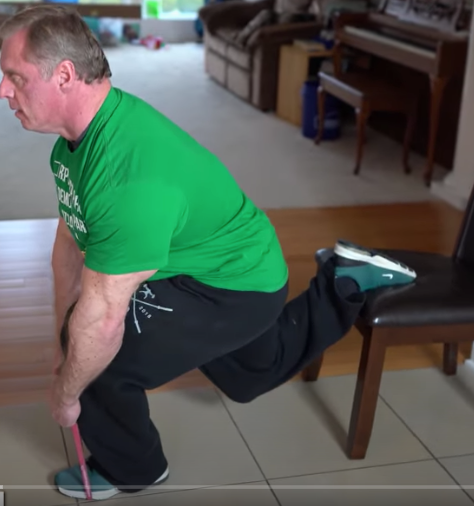
You can get very creative using bands for tricep pushdowns, ab work, face pulls, pull throughs, hamstring curls, etc. Having a variety of bands available for training at your home gym is essential.
MORE: Transform Home Space into Home Gym
Dumbbells are also great accessory tools I would recommend for accessory work. You don’t need to buy a complete set of dumbbells but three or four pairs of medium to heavy dumbbells are great for tricep extensions, Tate presses, hammer curls, flyes, etc.
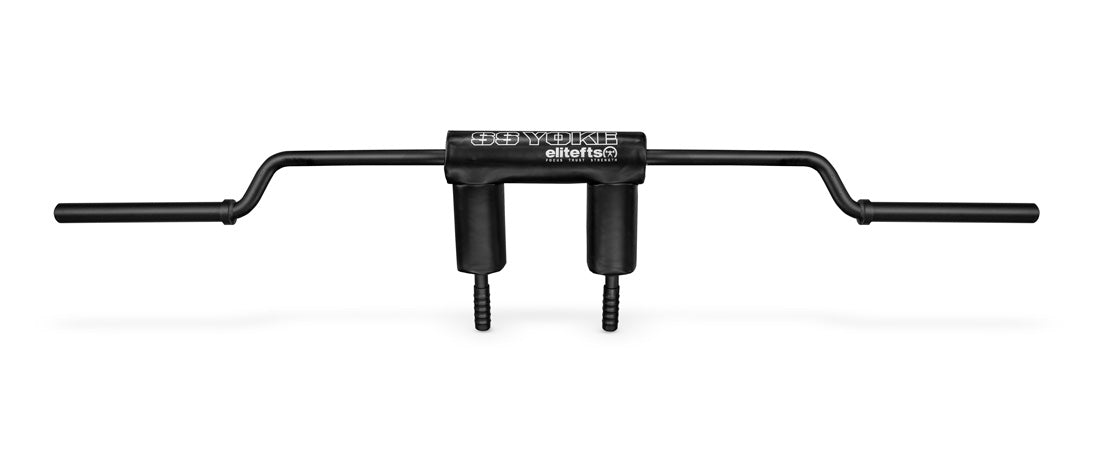
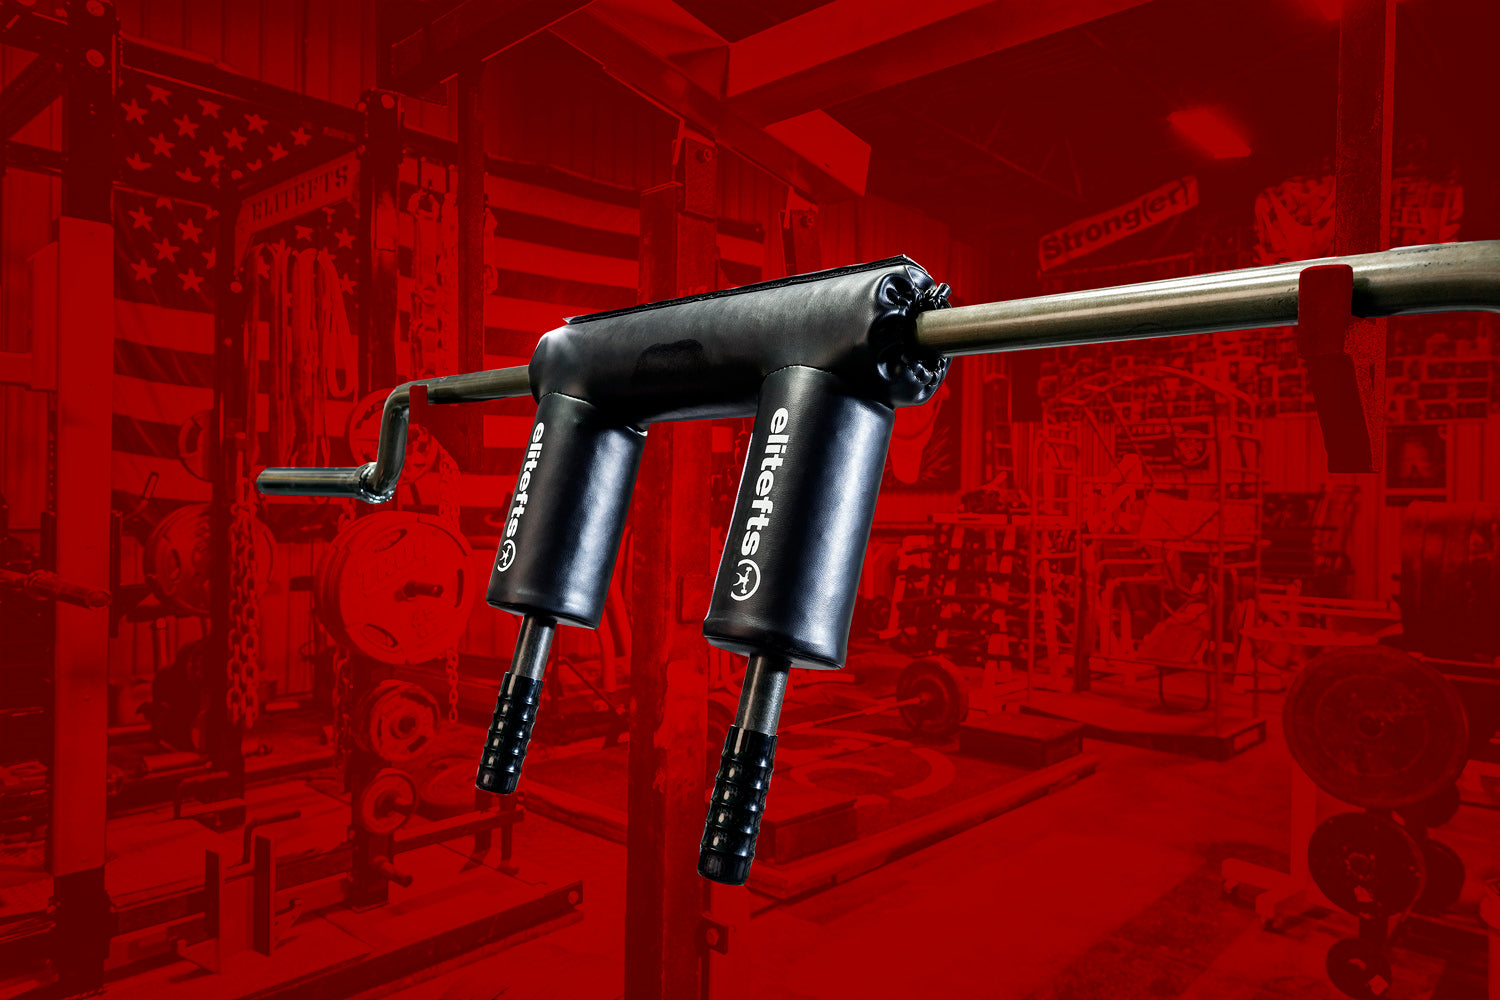
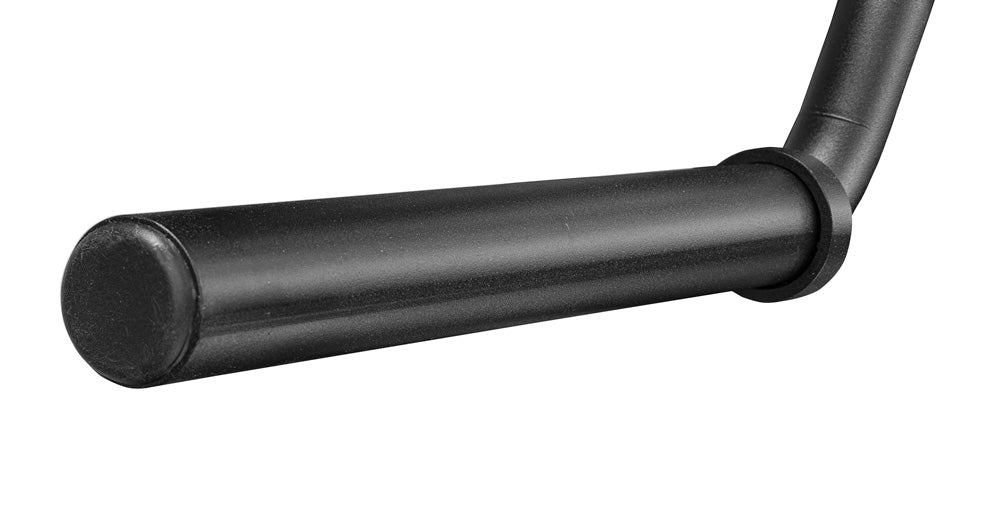
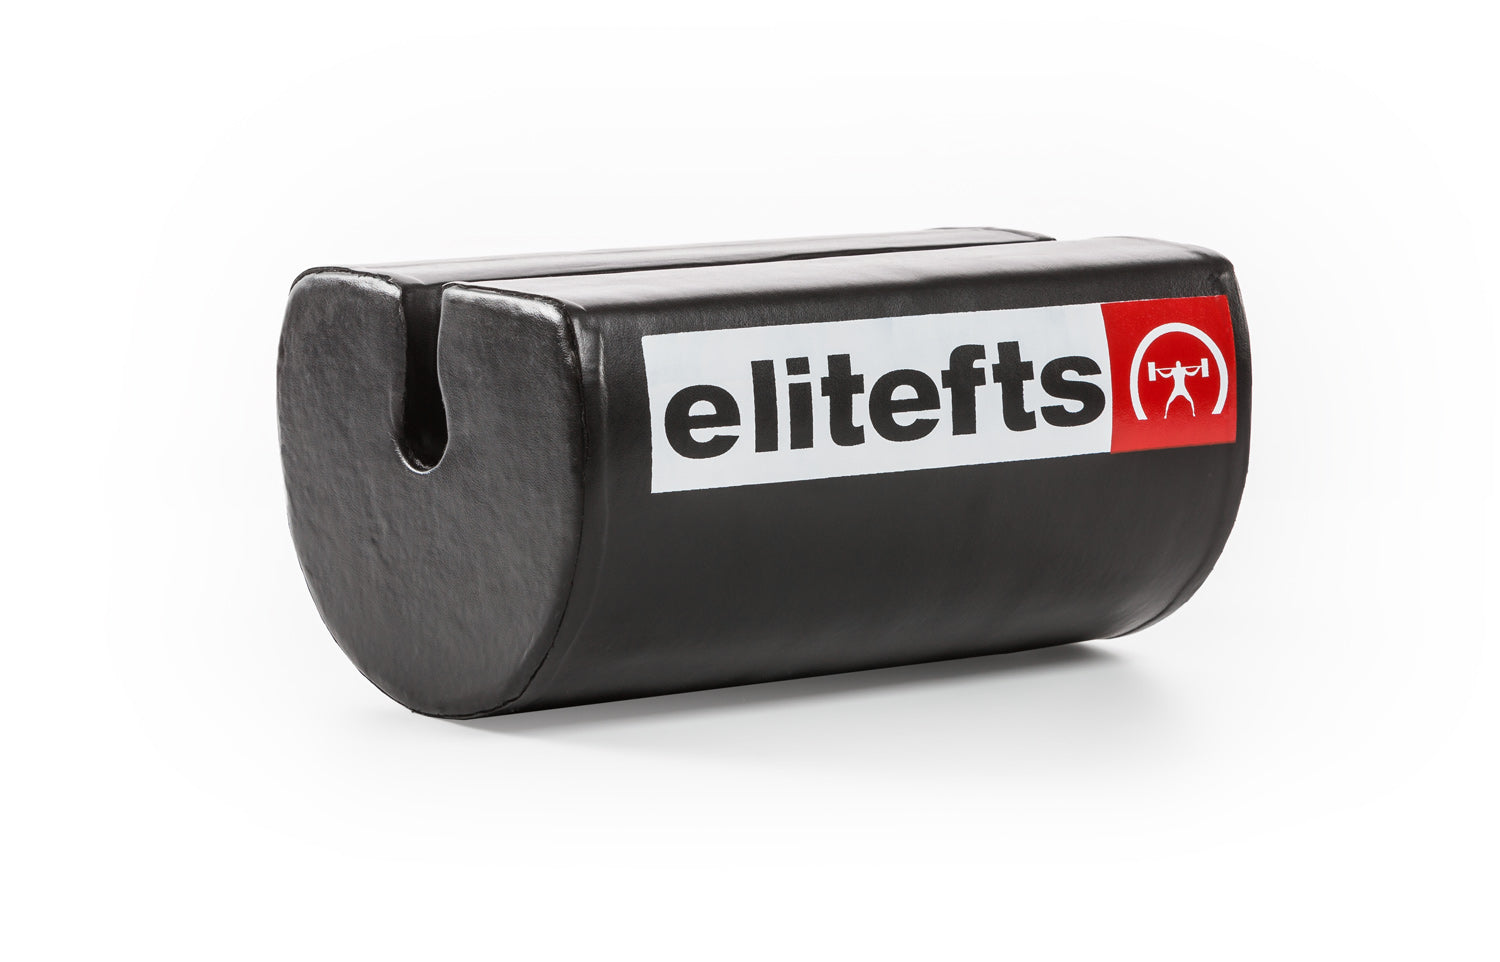
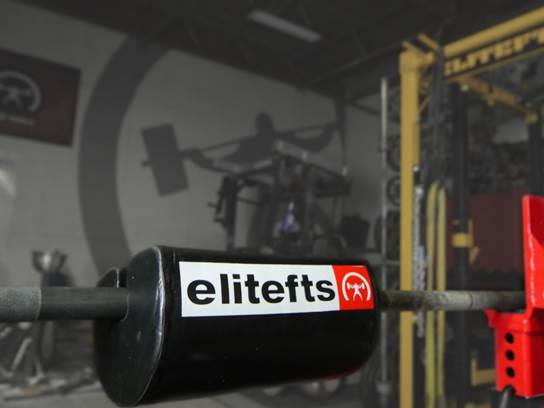
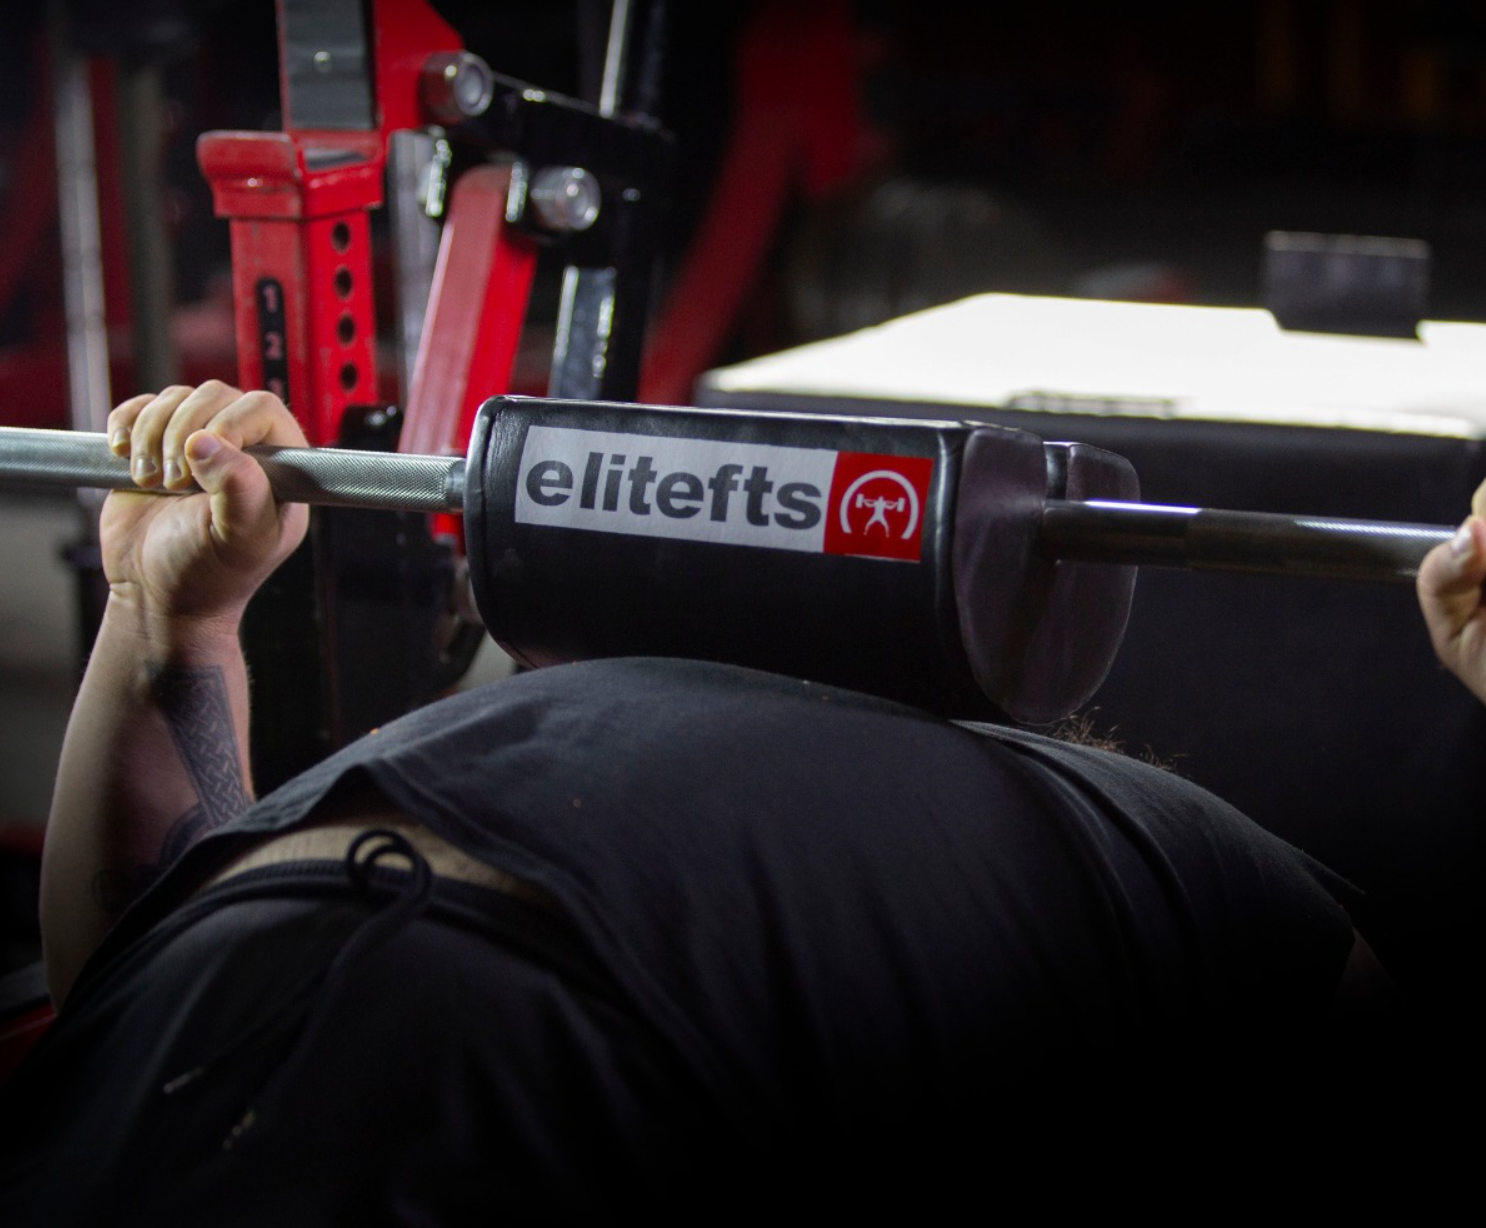
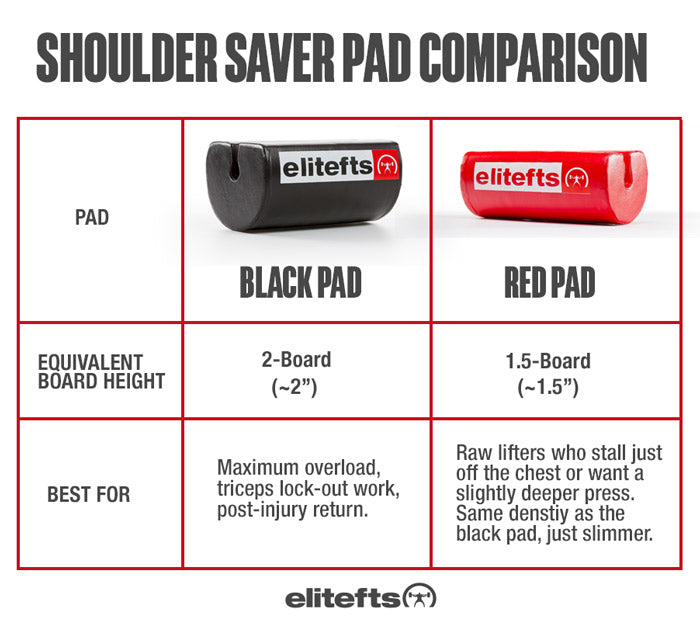
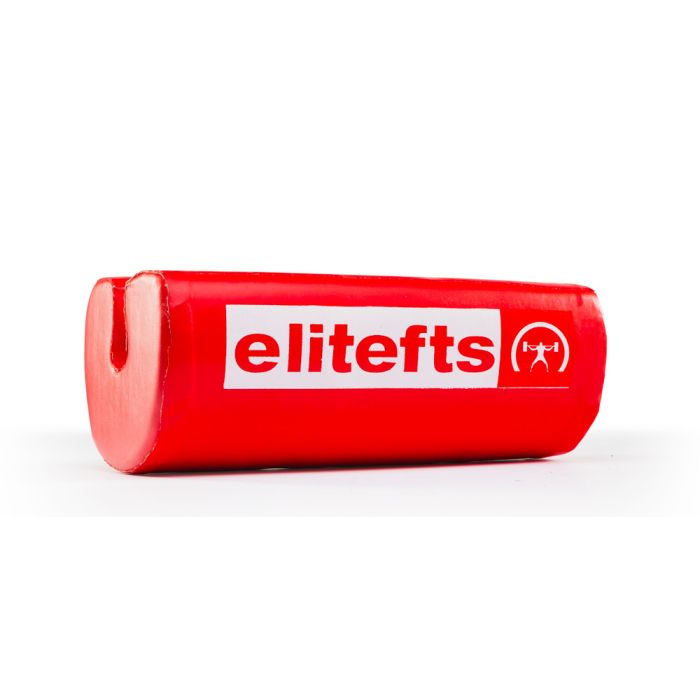
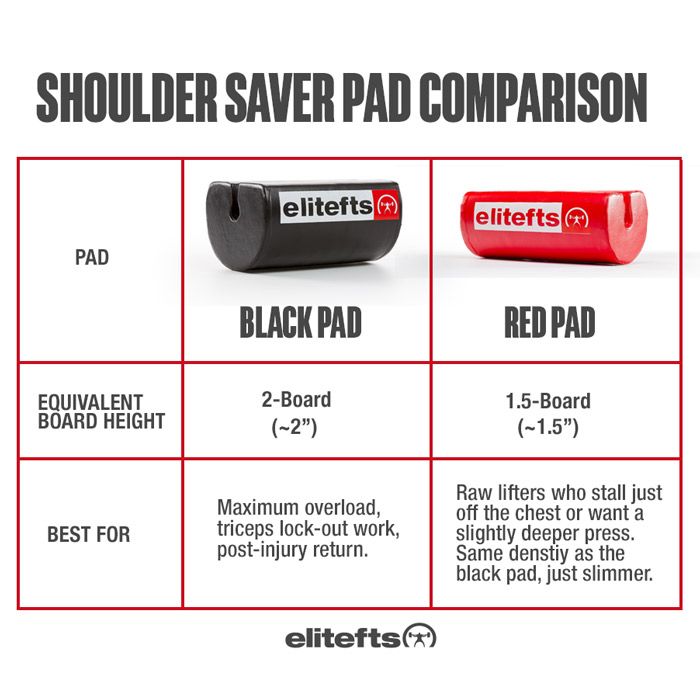
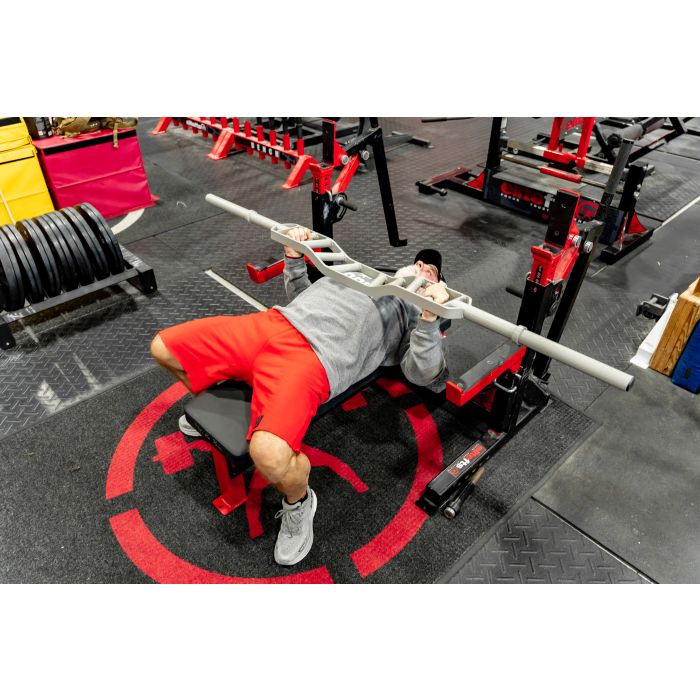
Another simple accessory tool that we utilize quite often is the
elitefts shoulder saver pad. It attaches to the bench bar and simulates a 2 or 3 board press, which is great for working your lockout and hammering your triceps.
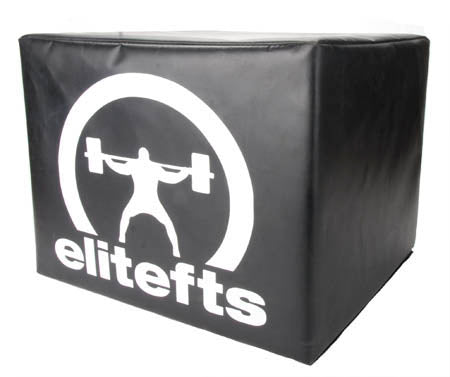
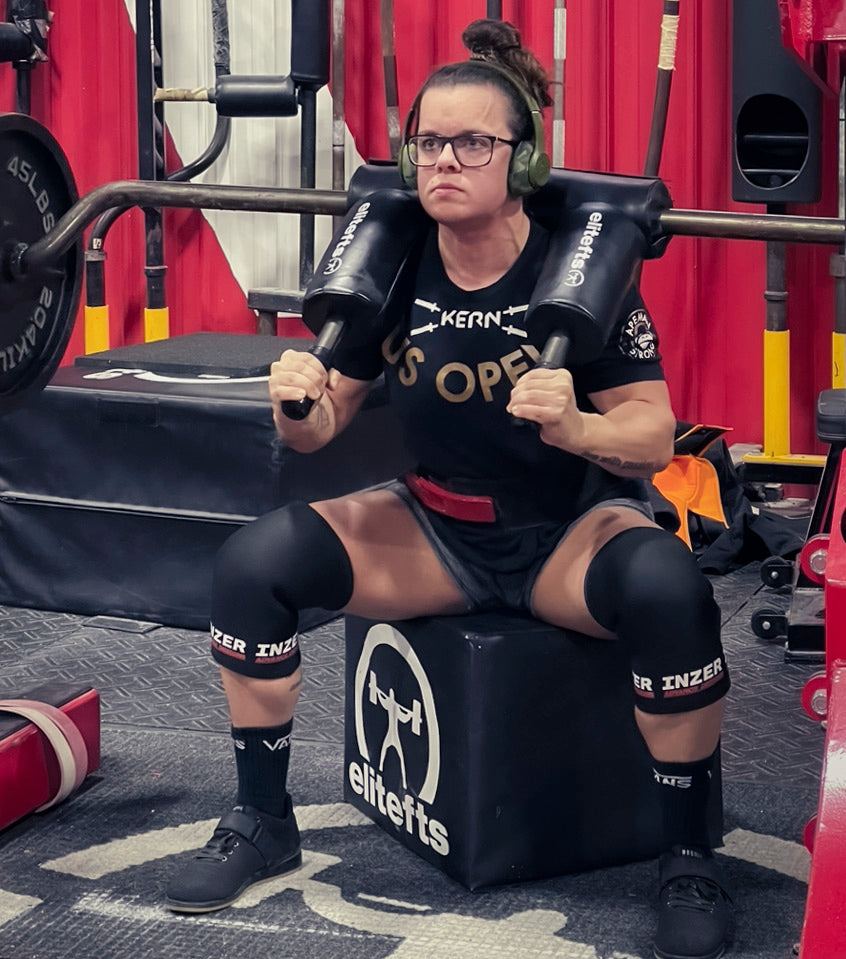
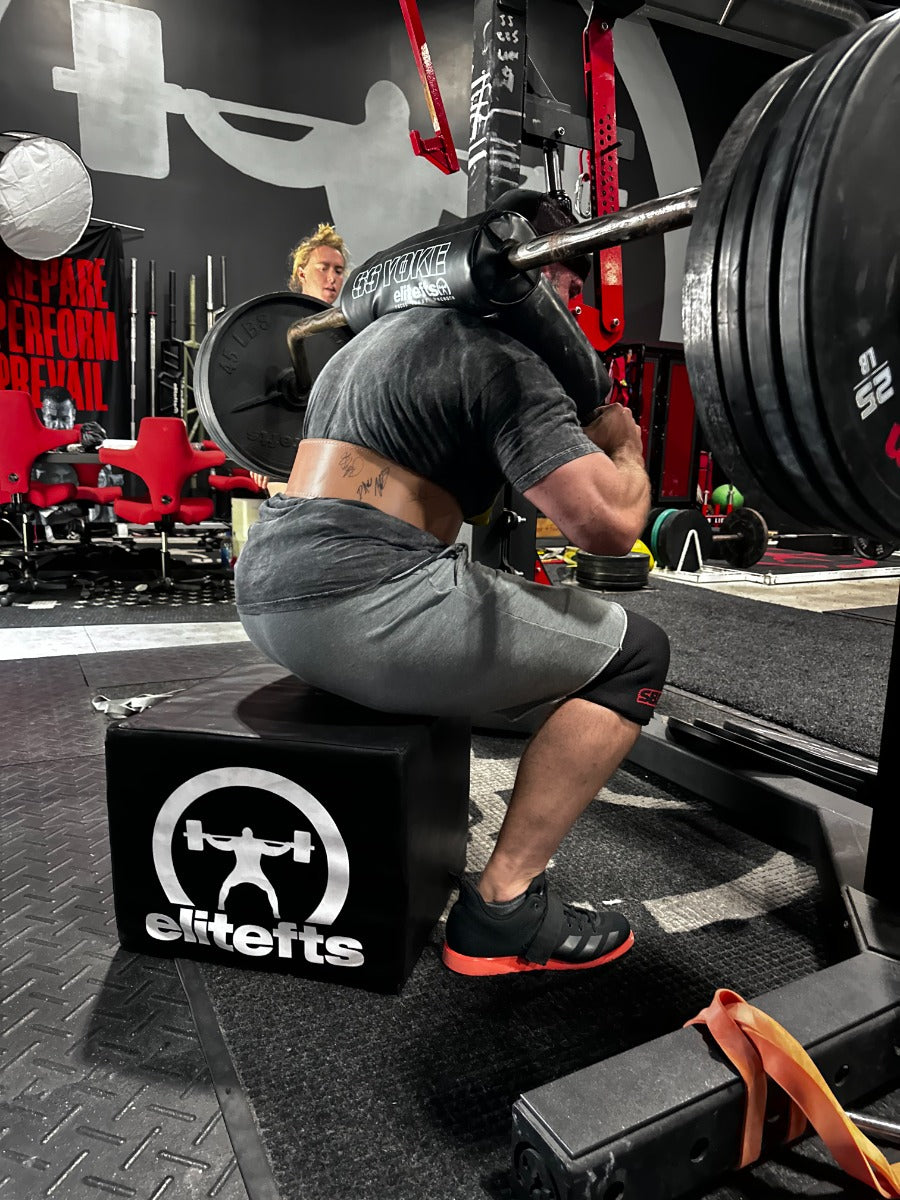
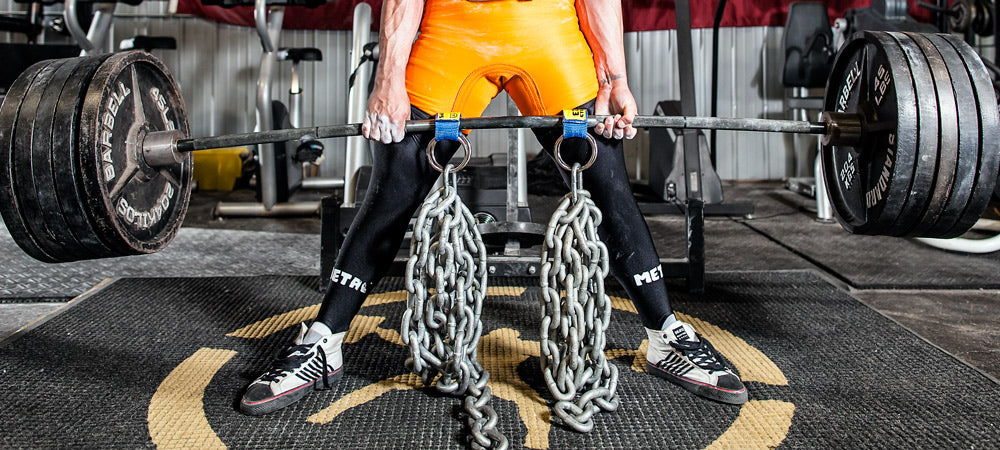
We are always box squatting in our gym. Squatting to a box has a lot of benefits teaching lifters to sit back properly and hit depth on a regular basis. You can buy an
adjustable box for squatting, or if you’re handy, you can construct one or two boxes and adjust the height by adding or removing pieces of rubber matting.
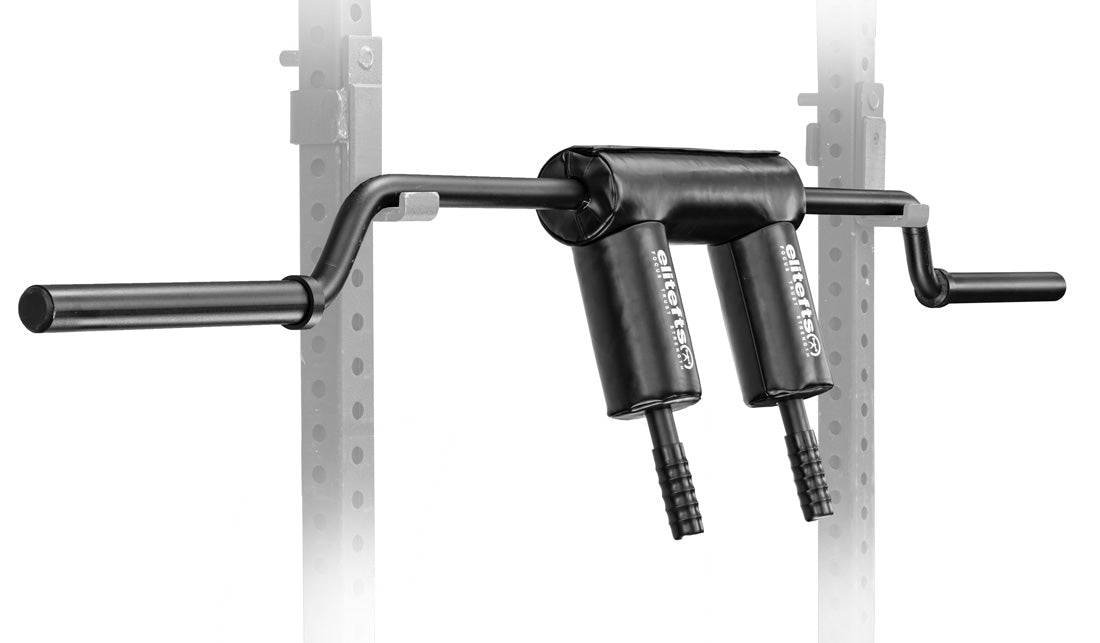
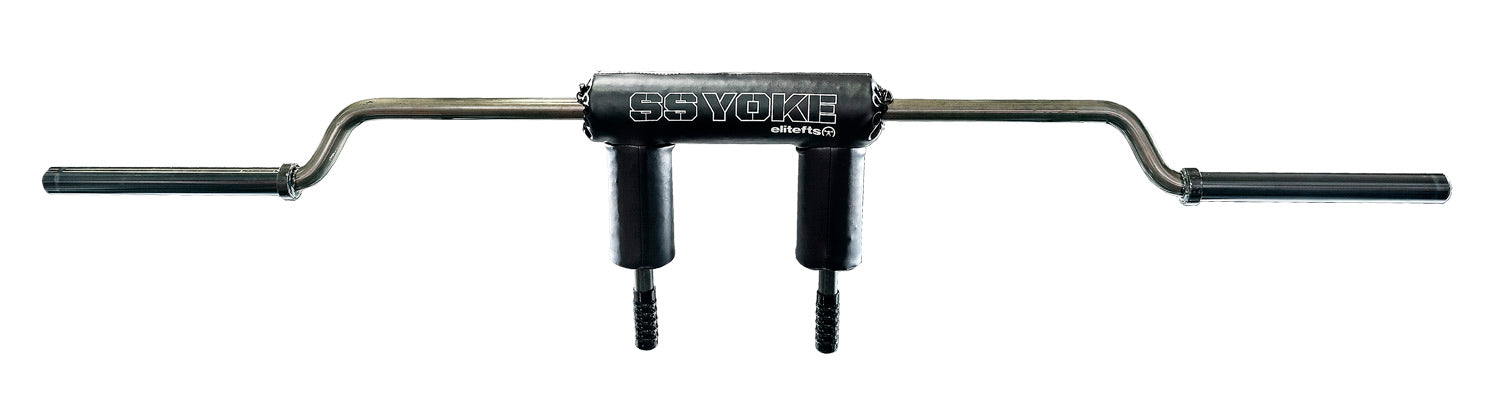
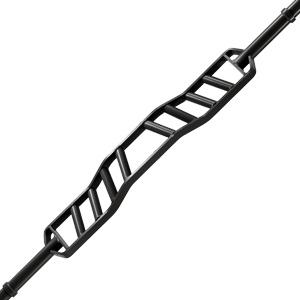
Stage III: Specialty Bars
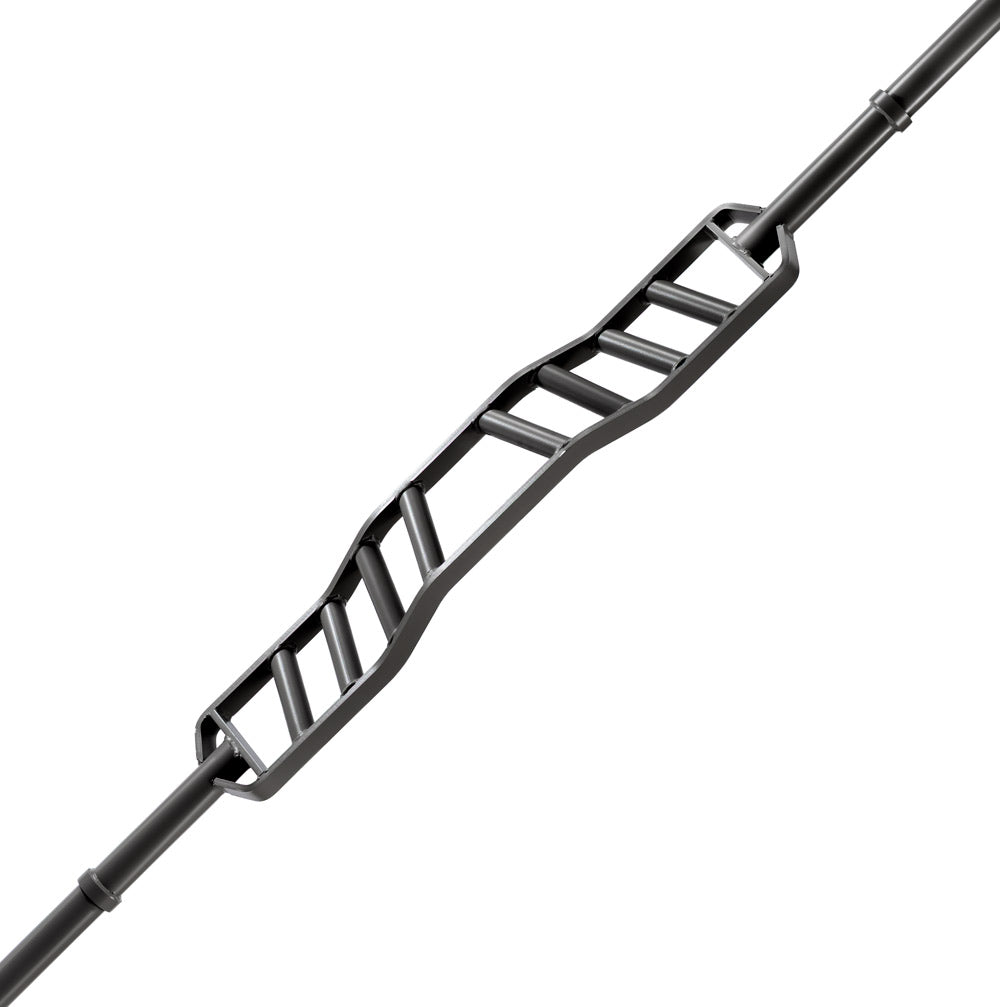
Once you’ve got the equipment for the basics and some accessory work in your gym you can start to elaborate withdifferent bars, especially if you compete. It makes a big difference training with proper bars like a
Texas Squat Bar or Mastadon Bar for squatting, and a
Texas Deadlift Bar for deadlifting. Once you have a proper squat and deadlift bar, I would highly recommend a
Safety Squat Bar and a
Rackable Cambered bar for training. Each bar changes the center of gravity on the load and strengthens different stabilizer muscles, which improve your overall strength.
Stage IV: It’s Time!
If you’ve made it through Stage III, you’ve got a pretty awesome setup at home and you could easily continue to train and make progress as long as you put in the time and effort. Stage IV is time when you decide you’re going to have “the best” home gym you can put together. Like I emphasized at the beginning, it takes quite a while to collect your equipment and make the changes to your gym that make it “your sanctuary."
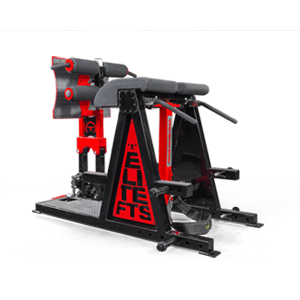
Monolift,
Competition Bench,
Belt Squat Machine, Reverse Hyper,
Lat Pull Down,
MORE plates,
MORE Dumbbells,
Prowler,
a sled,
Kettlebells, and a huge ass stereo!
We have been collecting equipment and putting our home gym together for over the past five years. It definitely is one of the most functional strength training facilities we have anywhere in our area and we have a great crew of lifters who travel a great distance to train with us on a regular basis. Once you create your own training sanctuary you will never have to resort to training at a typical commercial gym ever again, so crank the Slipknot, use chalk and huff some ammonia caps with a big smile and a clear conscience. This is YOUR sanctuary!